Today I’d like to share the first of what I hope are many recipes to come. I filmed this on Monday night after I came home from work. This is one of my many simple and quick dinners that I make after a long day. While I typically pre-make most of my meals, one or two nights out of the week I feel inspired to play around in the kitchen a bit.
One of the best parts of recovering from an eating disorder is the freedom that I have in the kitchen. When I was sick I would have had to weigh the sweet potato, and measure out exactly how much coconut milk, olive oil, and chickpeas I used. To be honest, I probably wouldn’t even cook with some of these ingredients because they are too calorically dense. After recovery, all of that fear is just a distant memory. Now I can experiment, estimate, make mistakes, and I know everything will be okay. This has allowed me to become a better amateur chef and a happier person.
I hope you enjoy this meal as much as I did! I think I actually preferred it heated up the next day. It is super filling, nutritious, and it is vegan! (I am not vegan – but this is!)
Ahhh Fall.The crisp air, the changing foliage, the emerging of sweaters and boots from the back of the closet, the warm apple cider, and the integration of pumpkin spice into every consumable good possible.At least that’s how my autumns were growing up in New England.In New Orleans, fall comes on a little differently.The weather stays hot and humid, the trees stay lush and green, people continue to wear shorts and crop tops, all drinks are chilled to cool you down, but at least pumpkin spice is still everywhere you look!That’s what I love about food trends, they are the great equalizer of all the very different regions of the country!
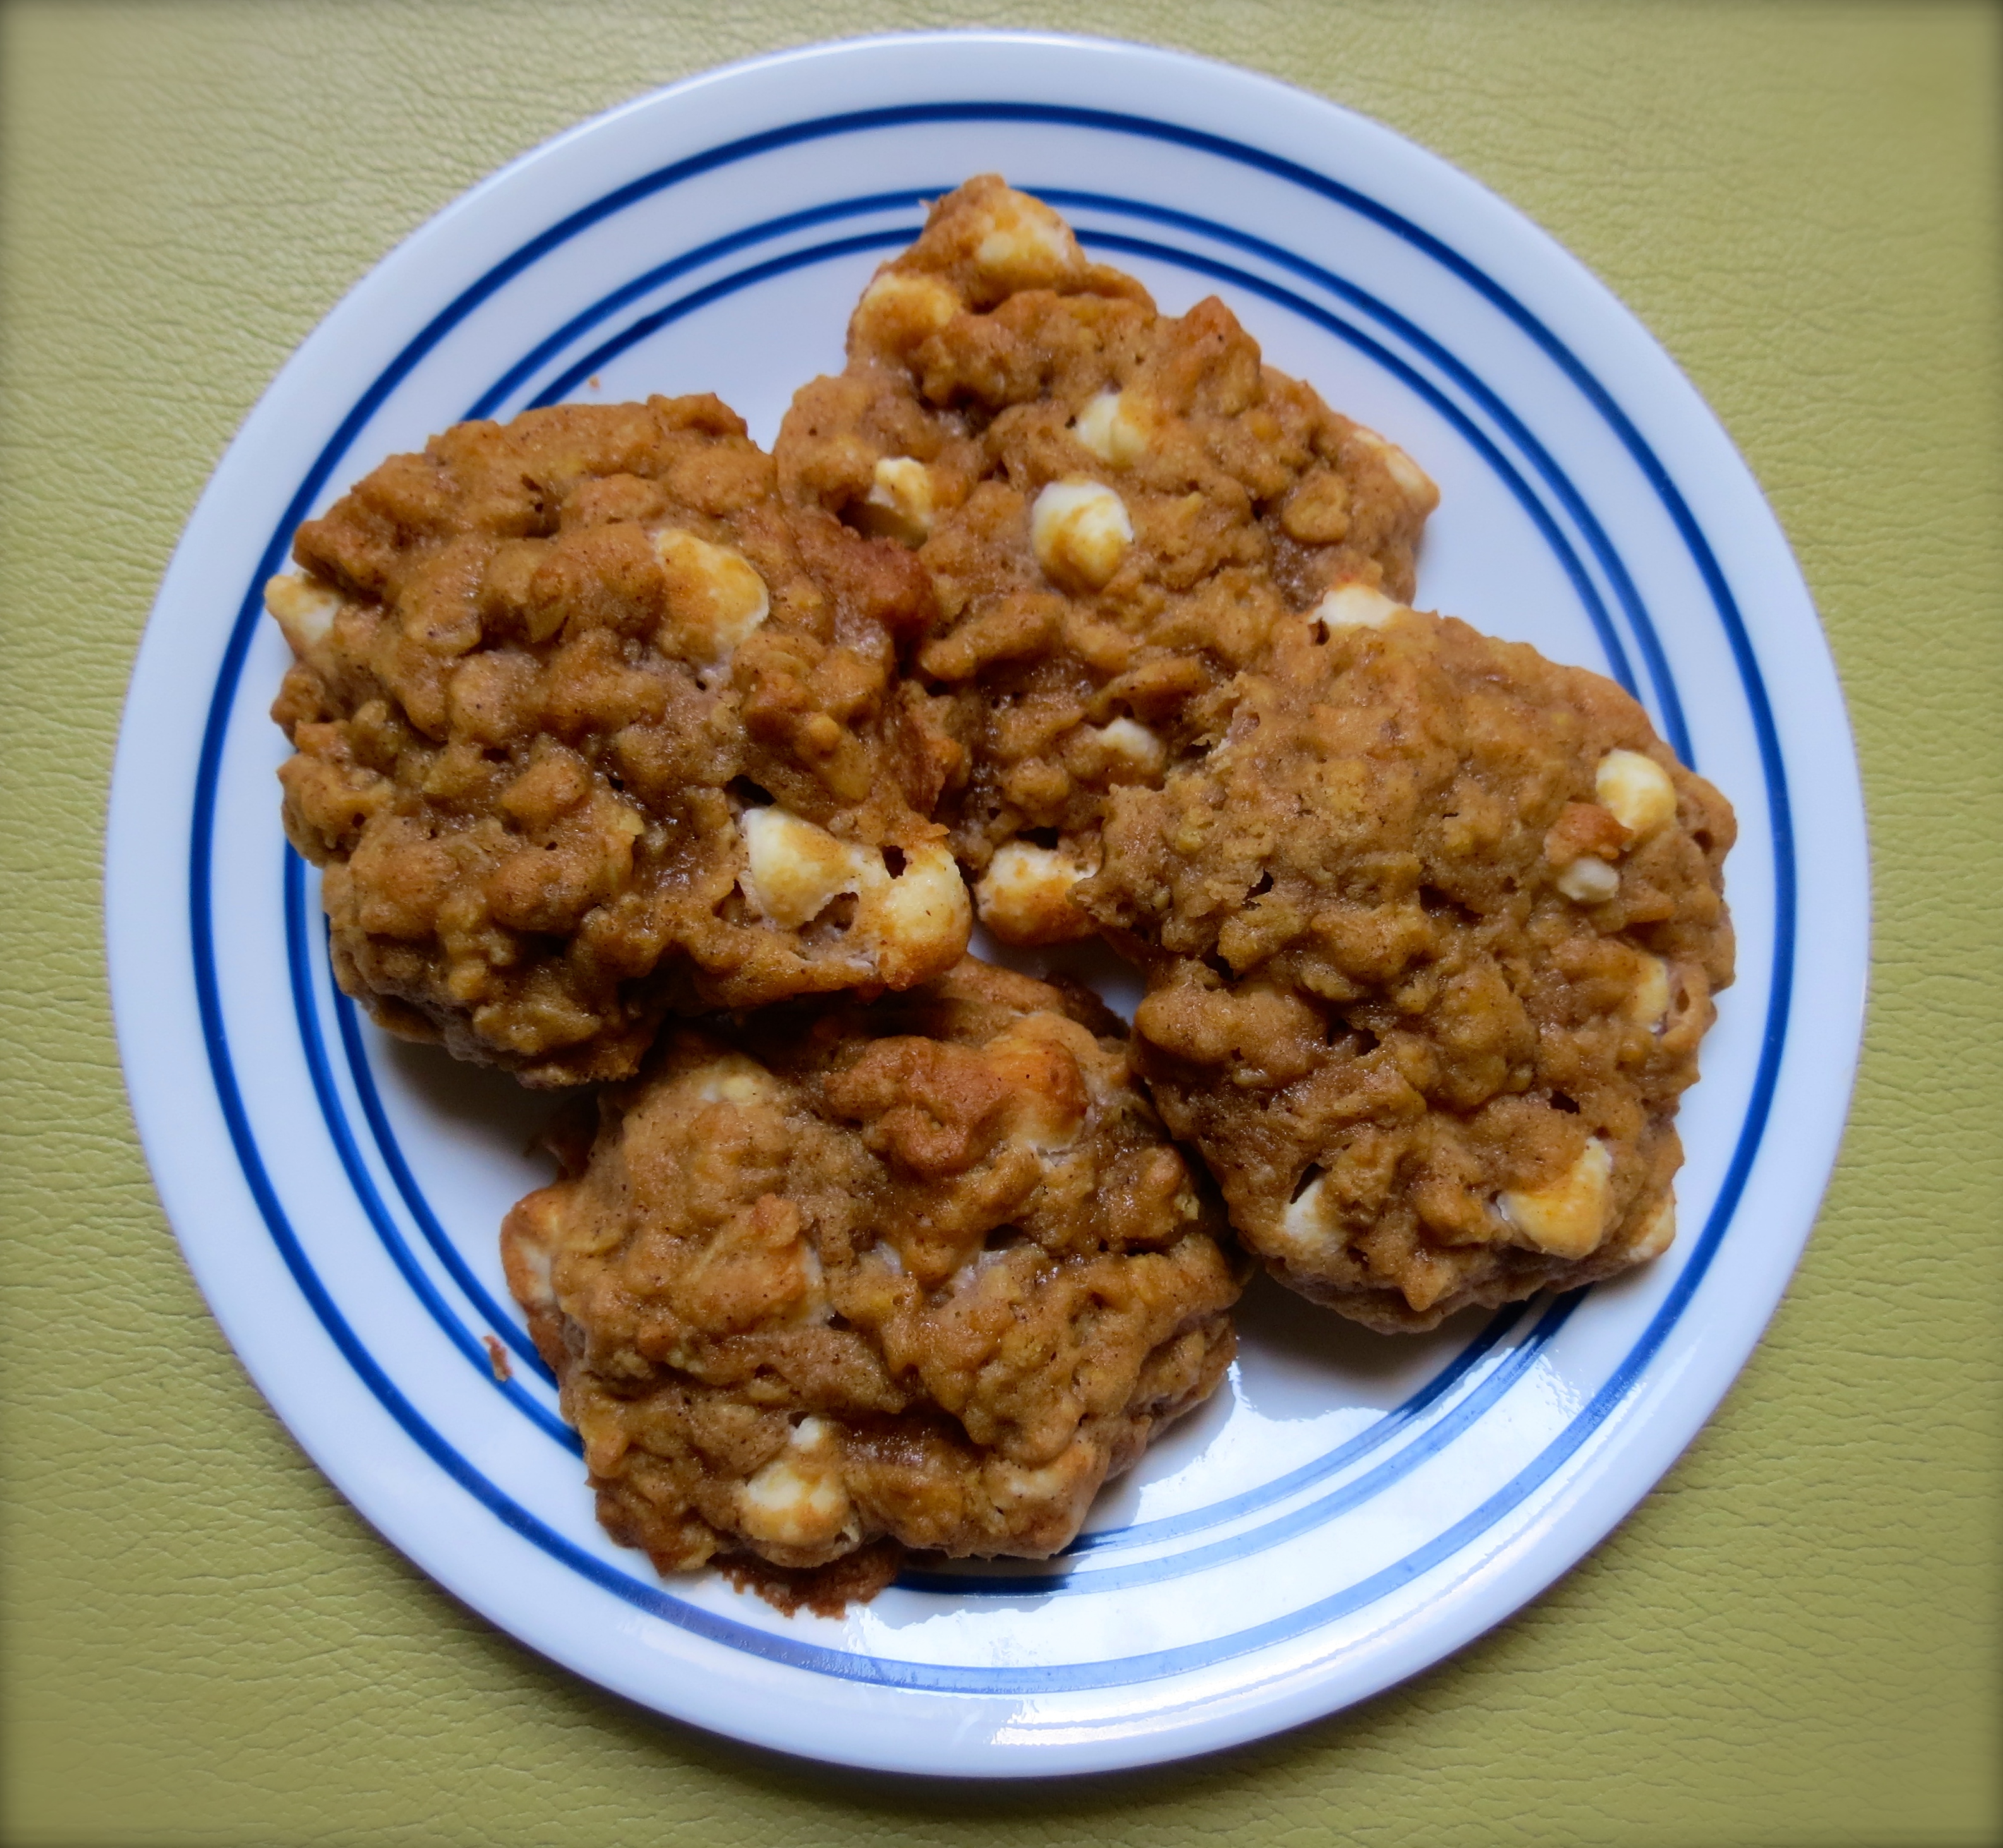
Yes, fall is here, and no matter what that may look like for you, I’m betting money that you have seen at least one pumpkin flavored item marketed at your face.So, who am I to buck a trend?That’s why today I have for you all my DELICIOUS White chocolate pumpkin oatmeal cookies!
I am particularly proud of these cookies because this is my first recipe that I have developed completely on my own.I did not follow someone else’s recipe nor did I tweak a previously written recipe.I took the knowledge that I’ve accumulated thus far in baking and I designed my very own cookie!The best part?They were a total success!Everyone really seemed to enjoy them and I must humbly say, they were very delicious.Well how could they not be?They were a beautiful combination of white chocolate and pumpkin in an oatmeal cookie base.
The only notes I have on the recipe is that the dough is a little bit oily because of the pumpkin, so make sure that when you’re forming them to put on the pan you construct them extra carefully into balls.Otherwise they melt out a little bit before they hit the oven and bake oddly.This happened to about 5 of my cookies before I figured out that I needed to take more care in shaping them.Also, take the time to let them cool and firm up a little bit.I was too anxious to wait and ate 3 straight out of the oven, but the ones I had the next day were much better.So try your best to be patient!!
White Chocolate Pumpkin Oatmeal Cookies
The Ingredients:
2 cups flour
1 tsp baking soda
1/2 tsp cinnamon
2 tsp pumpkin pie spice
pinch of salt
1 cup butter, softened
1 cup sugar
1 cup brown sugar
1 egg
1 tbsp vanilla
1 cup pumpkin puree
2 cups rolled oats
1 cup white chocolate chips
The Method:
1. Preheat oven to 350 degrees
2. In a mixing bowl combine flour, baking soda, cinnamon, pumpkin pie spice, and salt and set aside
3. In a separate bowl cream together the butter and the 2 sugars
4. Add the egg, vanilla, and pumpkin to the egg mixture and mix thoroughly
5. Add the dry ingredients to the wet until they are all incorporated
5. Mix in the oatmeal and white chocolate chips
6. On a greased cookie sheet form balls of dough and bake for 14 minutes
7. This recipe should yield 3 dozen cookies
8. ENJOY!
Growing up I was always that kid that absolutely REFUSED to eat my vegetables. I remember sitting at the kitchen table for hours while my mom forced me to have at least one bite of spinach. My parents tried everything! They covered the veggies with sauce or cheese, they tried to spruce them up to make them more interesting to me, but I was a very stubborn child. I was set in my ways and refused to learn to like vegetables. It’s ironic that now as an adult (or a larger child, as I often consider myself) I absolutely LOVE veggies! I try and have a vegetable component in almost every meal, and one of my favorites is the sweet potato!
Sweet potatoes are actually one of my absolute favorite foods of all time.They are second in line behind my everbelovedoatmeal.They include many essential vitamins, including B6, C, D, and A!You basically cover all the important alphabetical vitamins in one serving of this fun vegetable!That’s another thing – they’re a vegetable that tastes like a dessert!What a serious win win.
I buy tons of sweet potatoes every time I go to the store because they can store for a long time.Whenever I don’t feel like cooking a big meal I simply wash a sweet potato, poke a few holes in if with a fork and microwave it for 8 minutes – rotating once at the 4 minute mark.Then I can just cut it open straight from the microwave and load it up with whatever delicious fillings I want!(Chickpeas, cheese, yogurt, honey, cinnamon sugar, nutella, or simply salt/pepper and butter!)However, when I have more time I like to get a little fancier with my sweet potatoes and make myself some sweet oven baked fries!The recipe is easy and the outcome is SO DELICIOUS OH MY GOSH!You’ll just have to try it yourself to believe me!(And this is also a great way to get some vital nutrients into picky kids!)
1. Preheat oven to 375 degrees
2. Place sweet potato in microwave for 1-2 minutes so that it’s softer and easier to cut
3. Cut sweet potato into long fry-like strips and place into a bowl (I keep the skins on because I love them, but you can peel your potato if desired)
4. Add the rest of the ingredients of top of the cut potatoes and mix with your hands until each slice is fully covered and the ingredients have all mixed together
5. Spread out the strips onto a sprayed baking sheet
6. Place in oven for 30 minutes
7. Let cool for 5 minutes and then enjoy!
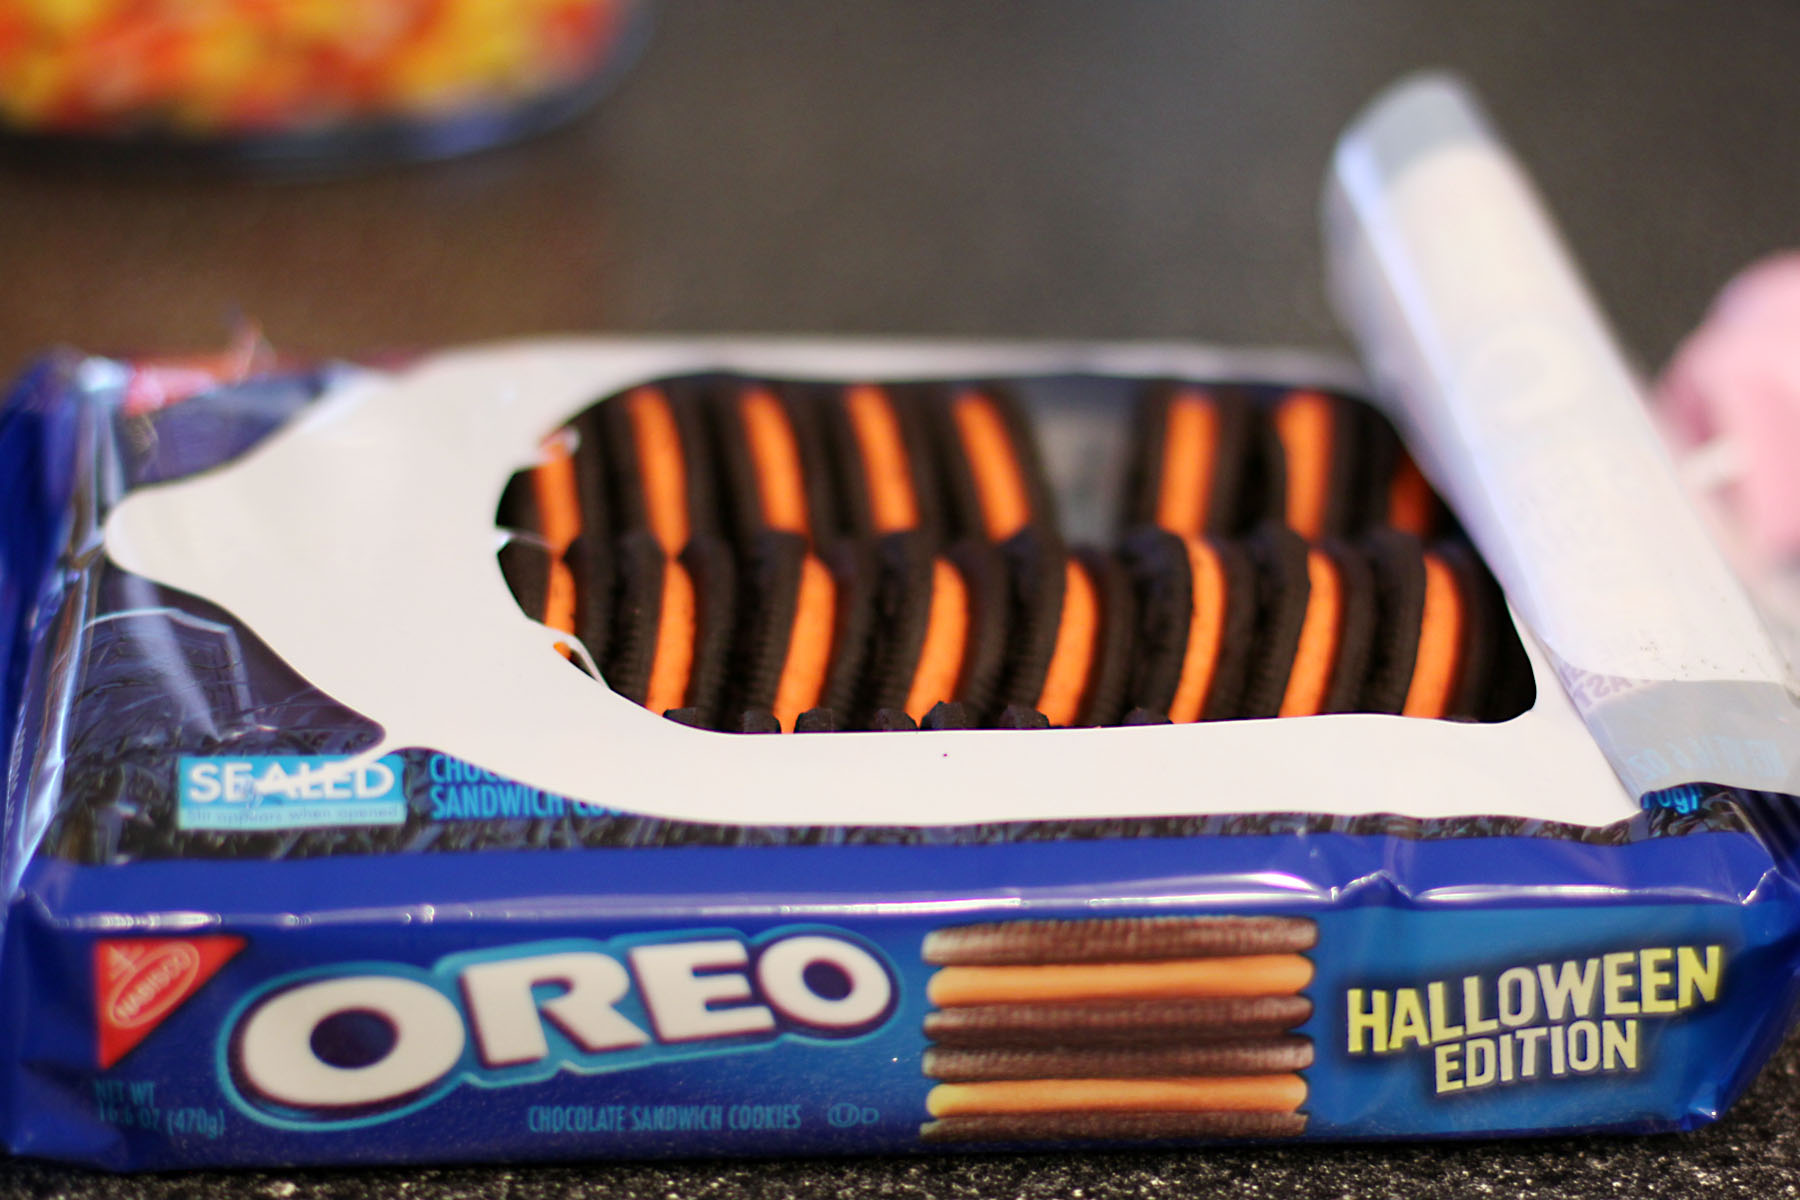
Do you have a favorite type of Oreo?Personally I like the ones that come out around Halloween time with the orange frosting.They don’t taste any different from the regular ones I don’t think, but for some reason the orange makes it easier to consume an entire package of them…I also like the double stuffed ones because there is nothing wrong with putting more of that mysterious frosting stuff in my mouth.I’m not really into the golden ones, or the uh oh oreos.I know there’s a myriad of other flavors such as mint, peanut butter, birthday cake, and cookie dough!? but I’ve never actually tried those ones.Let me know if any of them are worthwhile in the comments!
these are undeniably the best
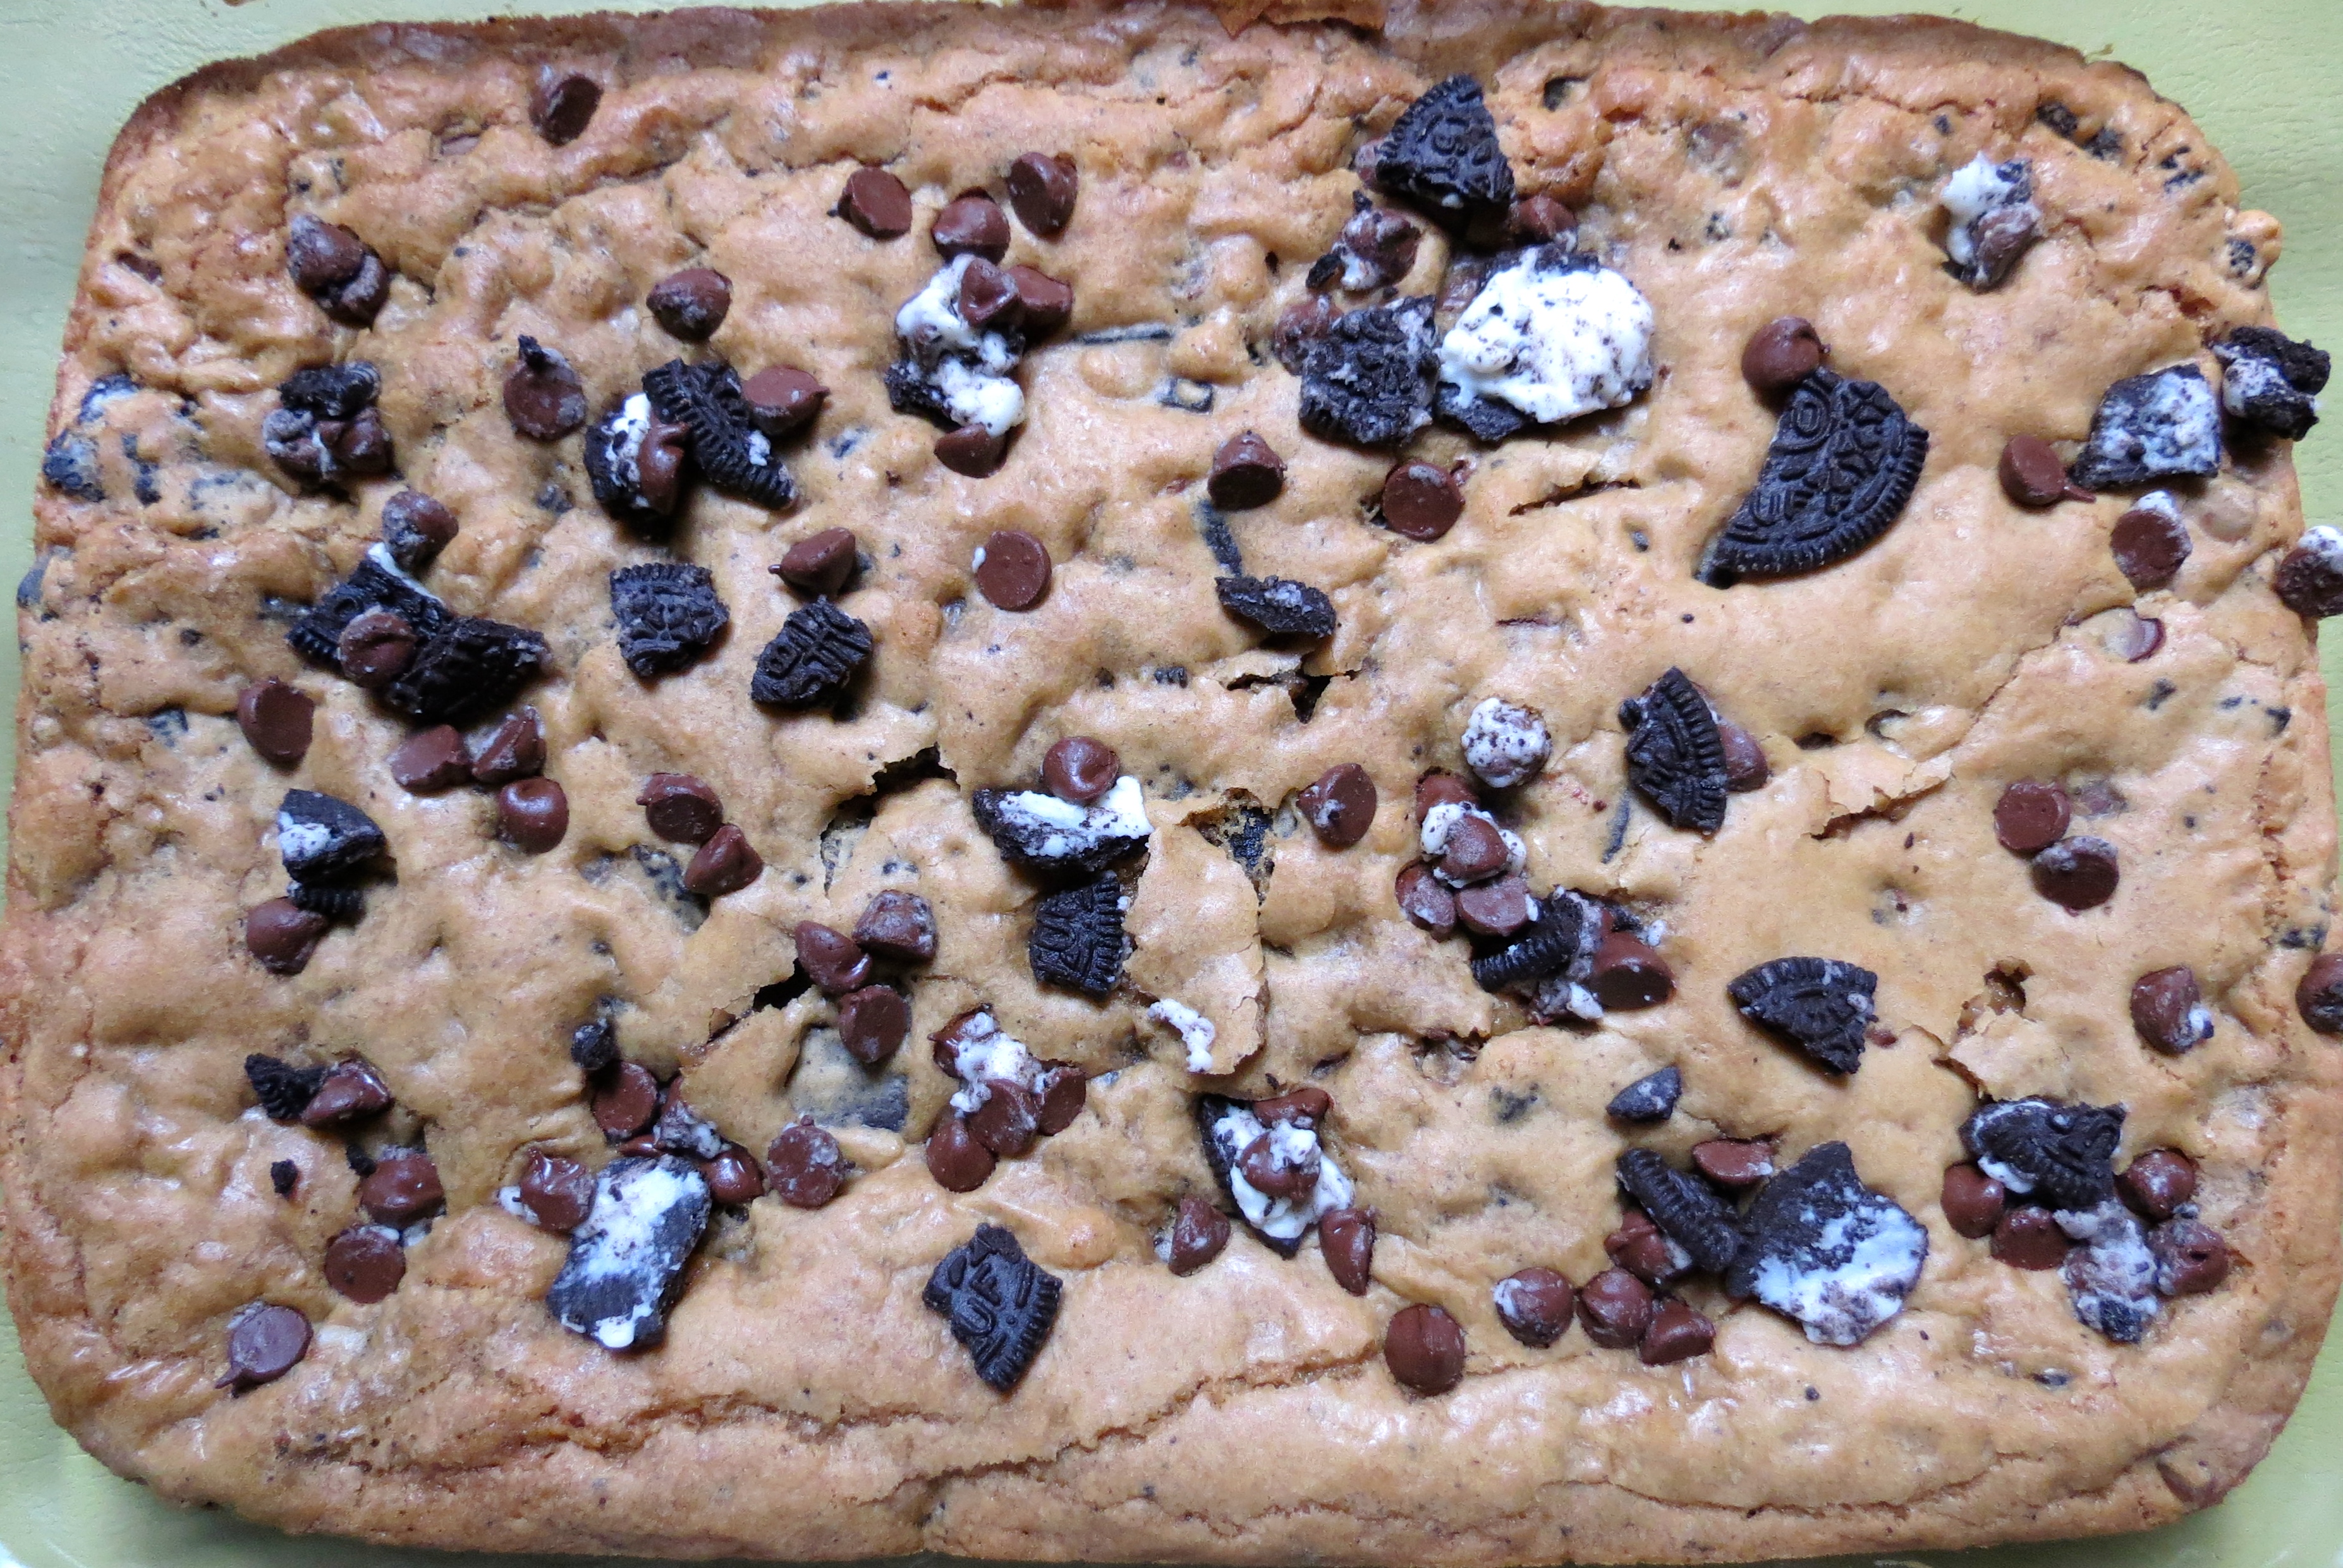
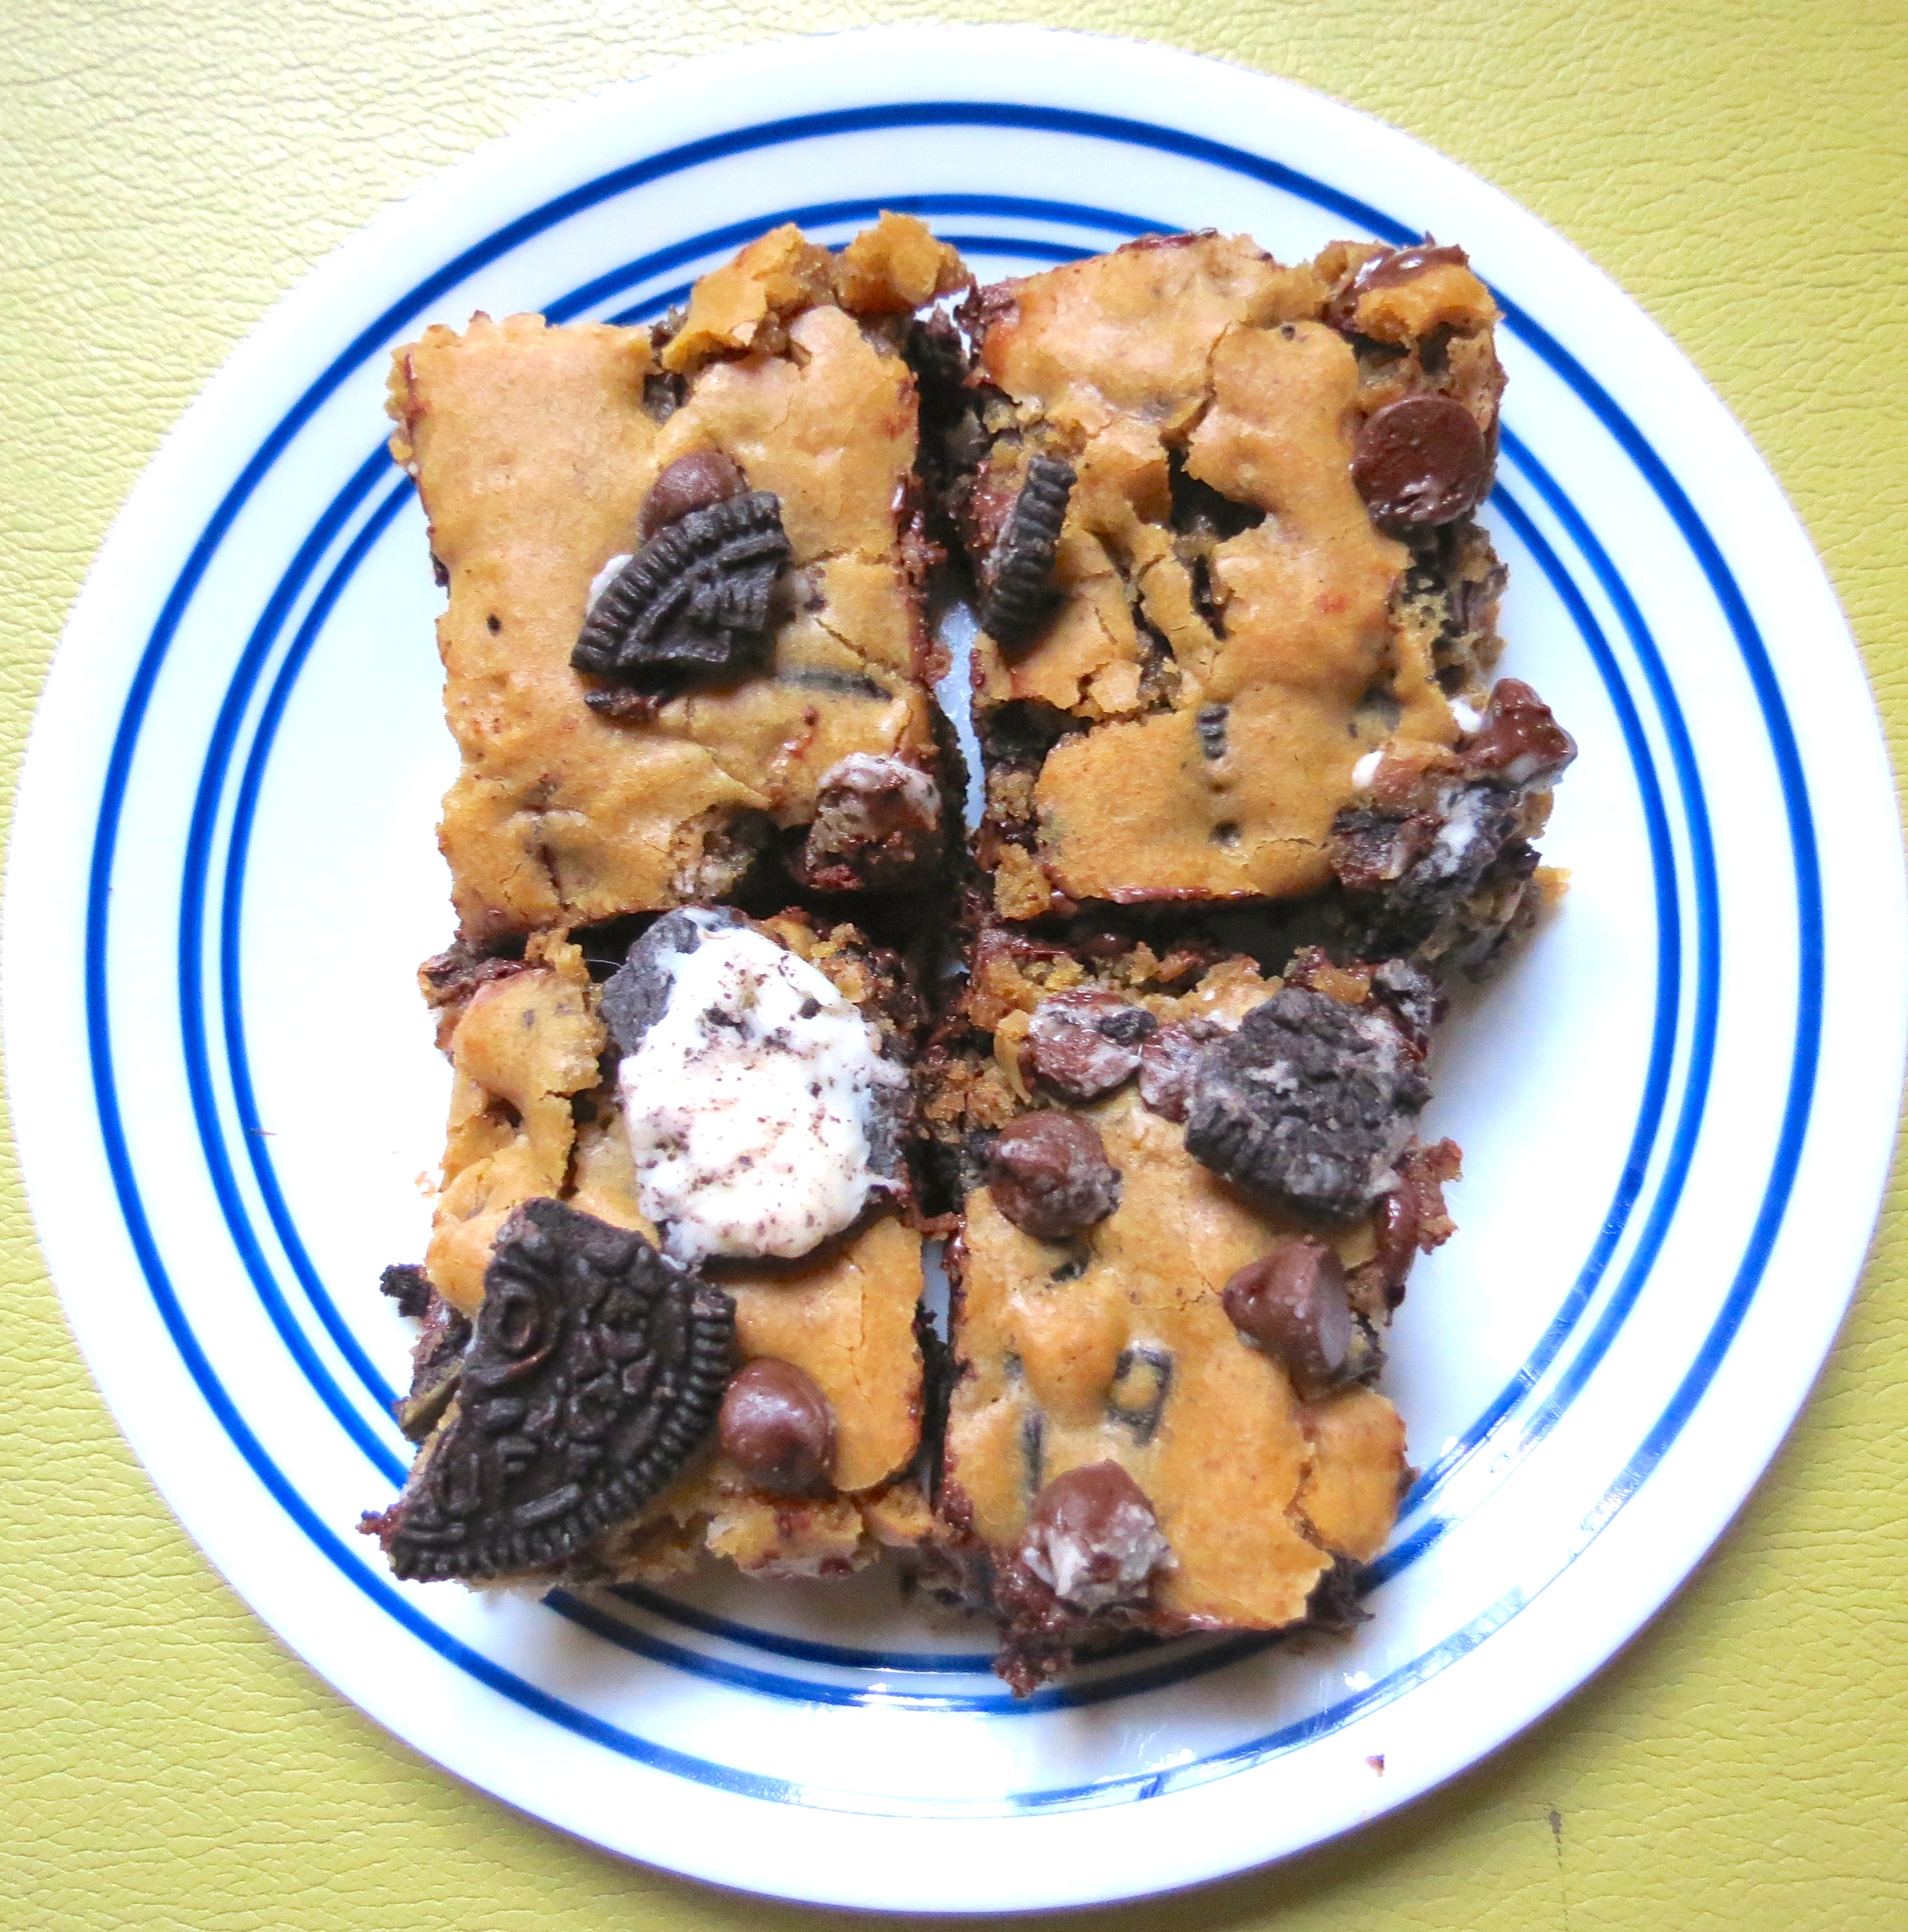
For these cookie bars I used double stuffed oreos.Like I’ve said countless times, you can never go wrong with double stuffed!From this endeavor I learned a few things about my new kitchen Including the fact that I have a pretty weak oven.These had to cook for nearly 40 minutes when the recipe I based them on only had them in for 25!
Also, because I don’t have an electric mixer I creamed the butter and sugar myself (cue your impressed faces at my powerful muscles) Either way they came out AMAZING and my sorority sisters devoured them at our chapter meeting!
CHOCOLATE CHIP OREO COOKIE BARS
The Ingredients:
BARS- 2 cups brown sugar
2/3 cup salted butter
3 eggs
1 tsp vanilla
2 1/2 cup flour
2 1/4 tsp baking powder
1/2 tsp salt
12 crushed oreos
1 cup chocolate chips
TOPPING- 2 crushed oreos
1/4 cup chocolate chips
The Recipe:
1. Preheat oven to 325 degrees 2. Soften the butter in the microwave then add to the brown sugar in a large bowl. Cream them together
3. Mix in eggs and vanilla
4. In a separate bowl mix together 1 cup of flour with the baking powder and salt
5. Pour the dry into the wet and mix together
6. Add in the rest of the flour
7. Fold in the oreos and chocolate chips
8. After baking for 15 minutes add the toppings and continue baking for another 10 to 20 minutes (depending on how useful your oven is)
9. ENJOY!
Hello friends! Sorry that it has been almost a whole week since I have posted on here but I had to take a several day hiatus from any baking activity in order to move in to my apartment down here in New Orleans. Things have been a little hectic and I lacked the means to bake anything for the first few days down here.
I have since settled in though and I finally found the time to focus on mind on having some fun in the kitchen! I really enjoyed this first baking adventure in my new apartment for several reasons: 1. I didn’t’ have to use the oven, which is nice when the temperature outside never drops below 90 degrees 2. I had to be a little creative when deciding what to make because the ingredients I have available to me were limited to the small convenience store we have on campus
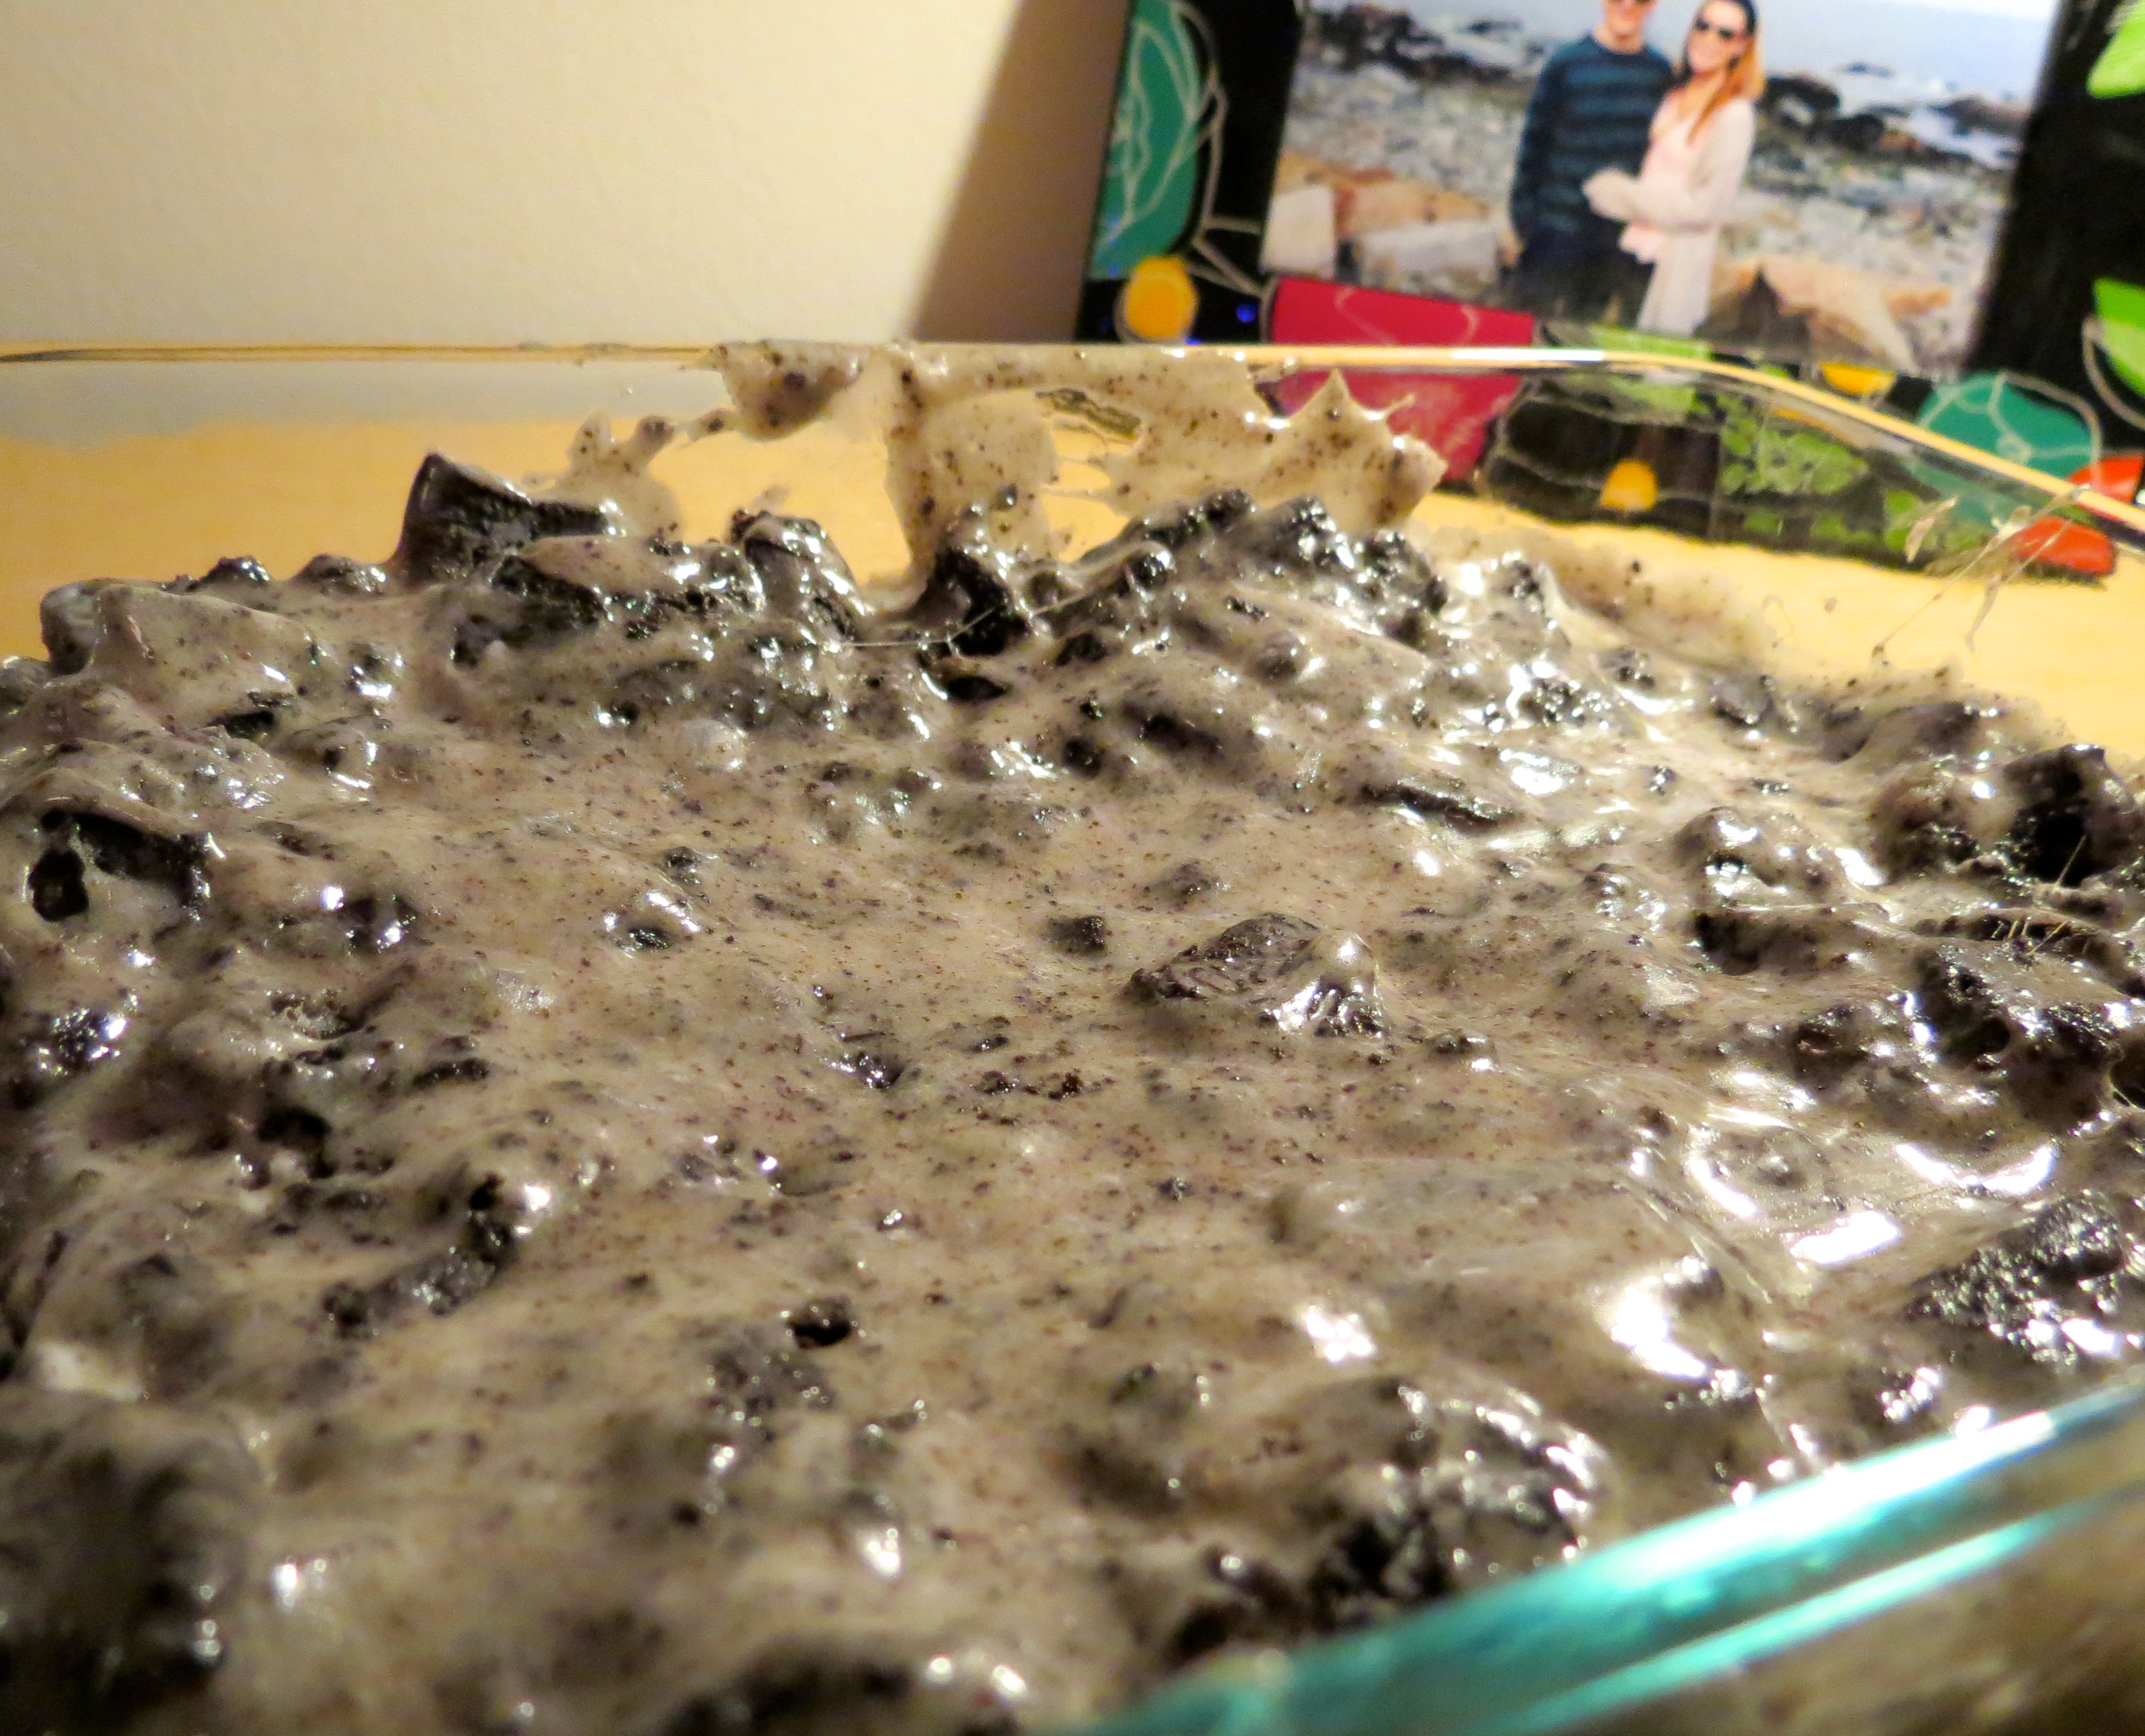
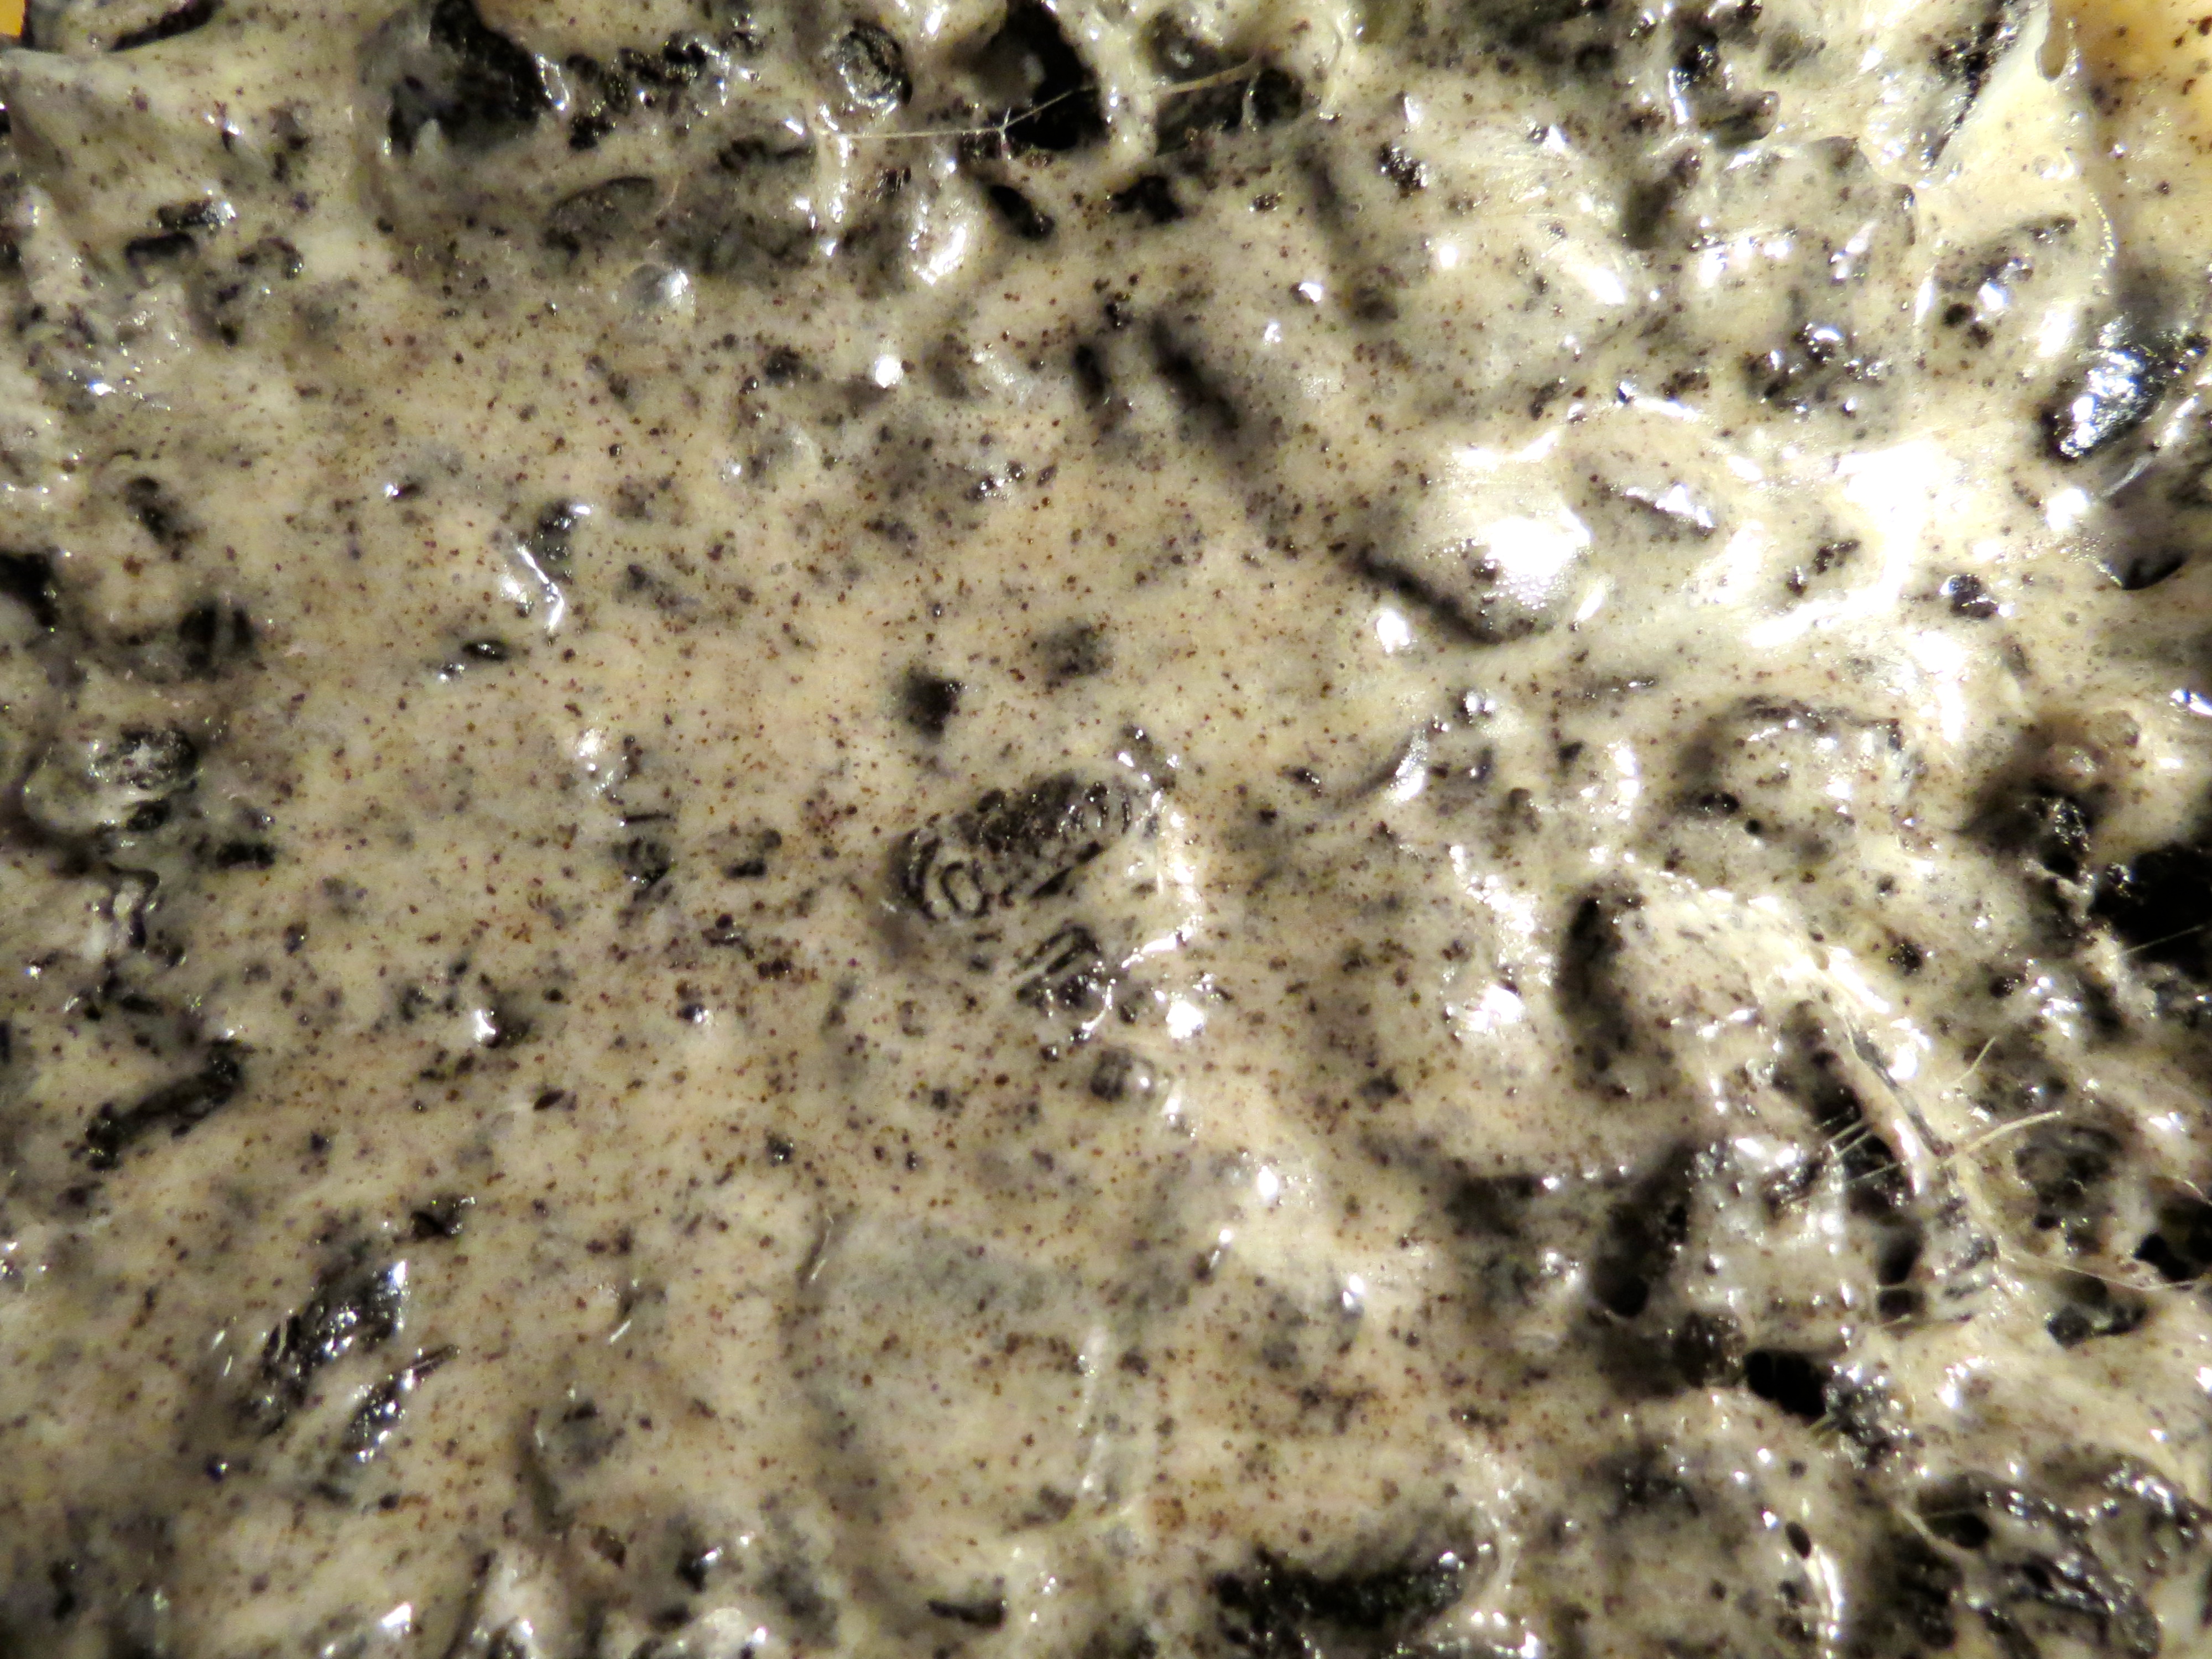
I was walking around the aforementioned convenience store trying to think of what I could make when my eyes landed on the marshmallows, “RICE KRISPY TREATS!” was my first thought and I grabbed the bag of mallows and some butter. Then I went to go get some Rice Krispy cereal and realized that they didn’t have any. I woefully stared at my other cereal options deciding which ones would be a good replacement for RK when my eyes landed on the Oreos next to the cereal on the shelf. I’m a big fan of Oreos. They’re crunchy, sweet, chocolatey, and vegan (who knew?). I picked up a box for myself and as I was standing there with the marshmallows and Oreos in my hand I knew at once that I was going to try a little experiment and combine the two for the ultimate treat. Thus, this magical indulgence was born!
I call them Oreo marshmallow bars because that’s what they are! I can’t think of a name more perfect for them. They’re incredibly easy to make and they take almost no time at all. You get to crush Oreos in a bag too, so they’re a great stress reliever for if you really feel like punching something. I mean, if you’re gonna punch something it might as well be a big bag of Oreos that you get to shove your mouth with later!
A few things to note from my experiment: After they set (and after I ate 3 straight from the pan… woops) I found that they were extremely difficult to remove smoothly from the pan, so maybe I would spray the pan before I put the mixture in. Also, depending on your crunch preference level you could mash the Oreos up a little bit more than I did. Or not, I liked em my way to be perfectly honest.
OREO MARSHMALLOW BARS
The Ingredients: 1 package of Double Stuffed Oreos (it’s like 30 Oreos I think) 1 bag of mini marshmallows (somewhere around 6 cups to be more accurate) 1/2 stick of butter
The Method: 1. Place all of the Oreos in a bag and smash with a rolling pin or other heavy object until they are smushed to tiny bits 2. In a large pot heat the butter and marshmallows and stir until the two have melted together and have reached a smooth consistency 3. Remove the marshmallows from heat and add the crushed oreos 4. Mix and mix and mix! 5. Pour into an 8×8 baking dish and let sit in the fridge for ~15 minutes 6. Cut into 12 sections and enjoy!
I’m pretty much an expert on saying goodbye. At least three times a year I bid adieu to my home, my family, my boyfriend, and of course, my cat. Now it is once again time for me to pack up and head down to school in New Orleans. Once again, I must say goodbye. Missing my loved ones is not something I have an easy time with, and now I have added one more beloved item to my long list of things I will miss irrevocably. My mother’s beautiful Kitchenaid electric mixer! They all but had to drag me kicking and screaming away from that magical machine. Baking will never be simple again without it in my kitchen.
However, before I left it all behind in New Hampshire I made sure to get in one last chance to use it.I decided that whatever my last baked good in my mom’s kitchen was going to be needed to be my best yet.This way, no matter what disasters await me in my ill-equipped and dangerously tiny kitchen at school, I would have one final delicious memory.
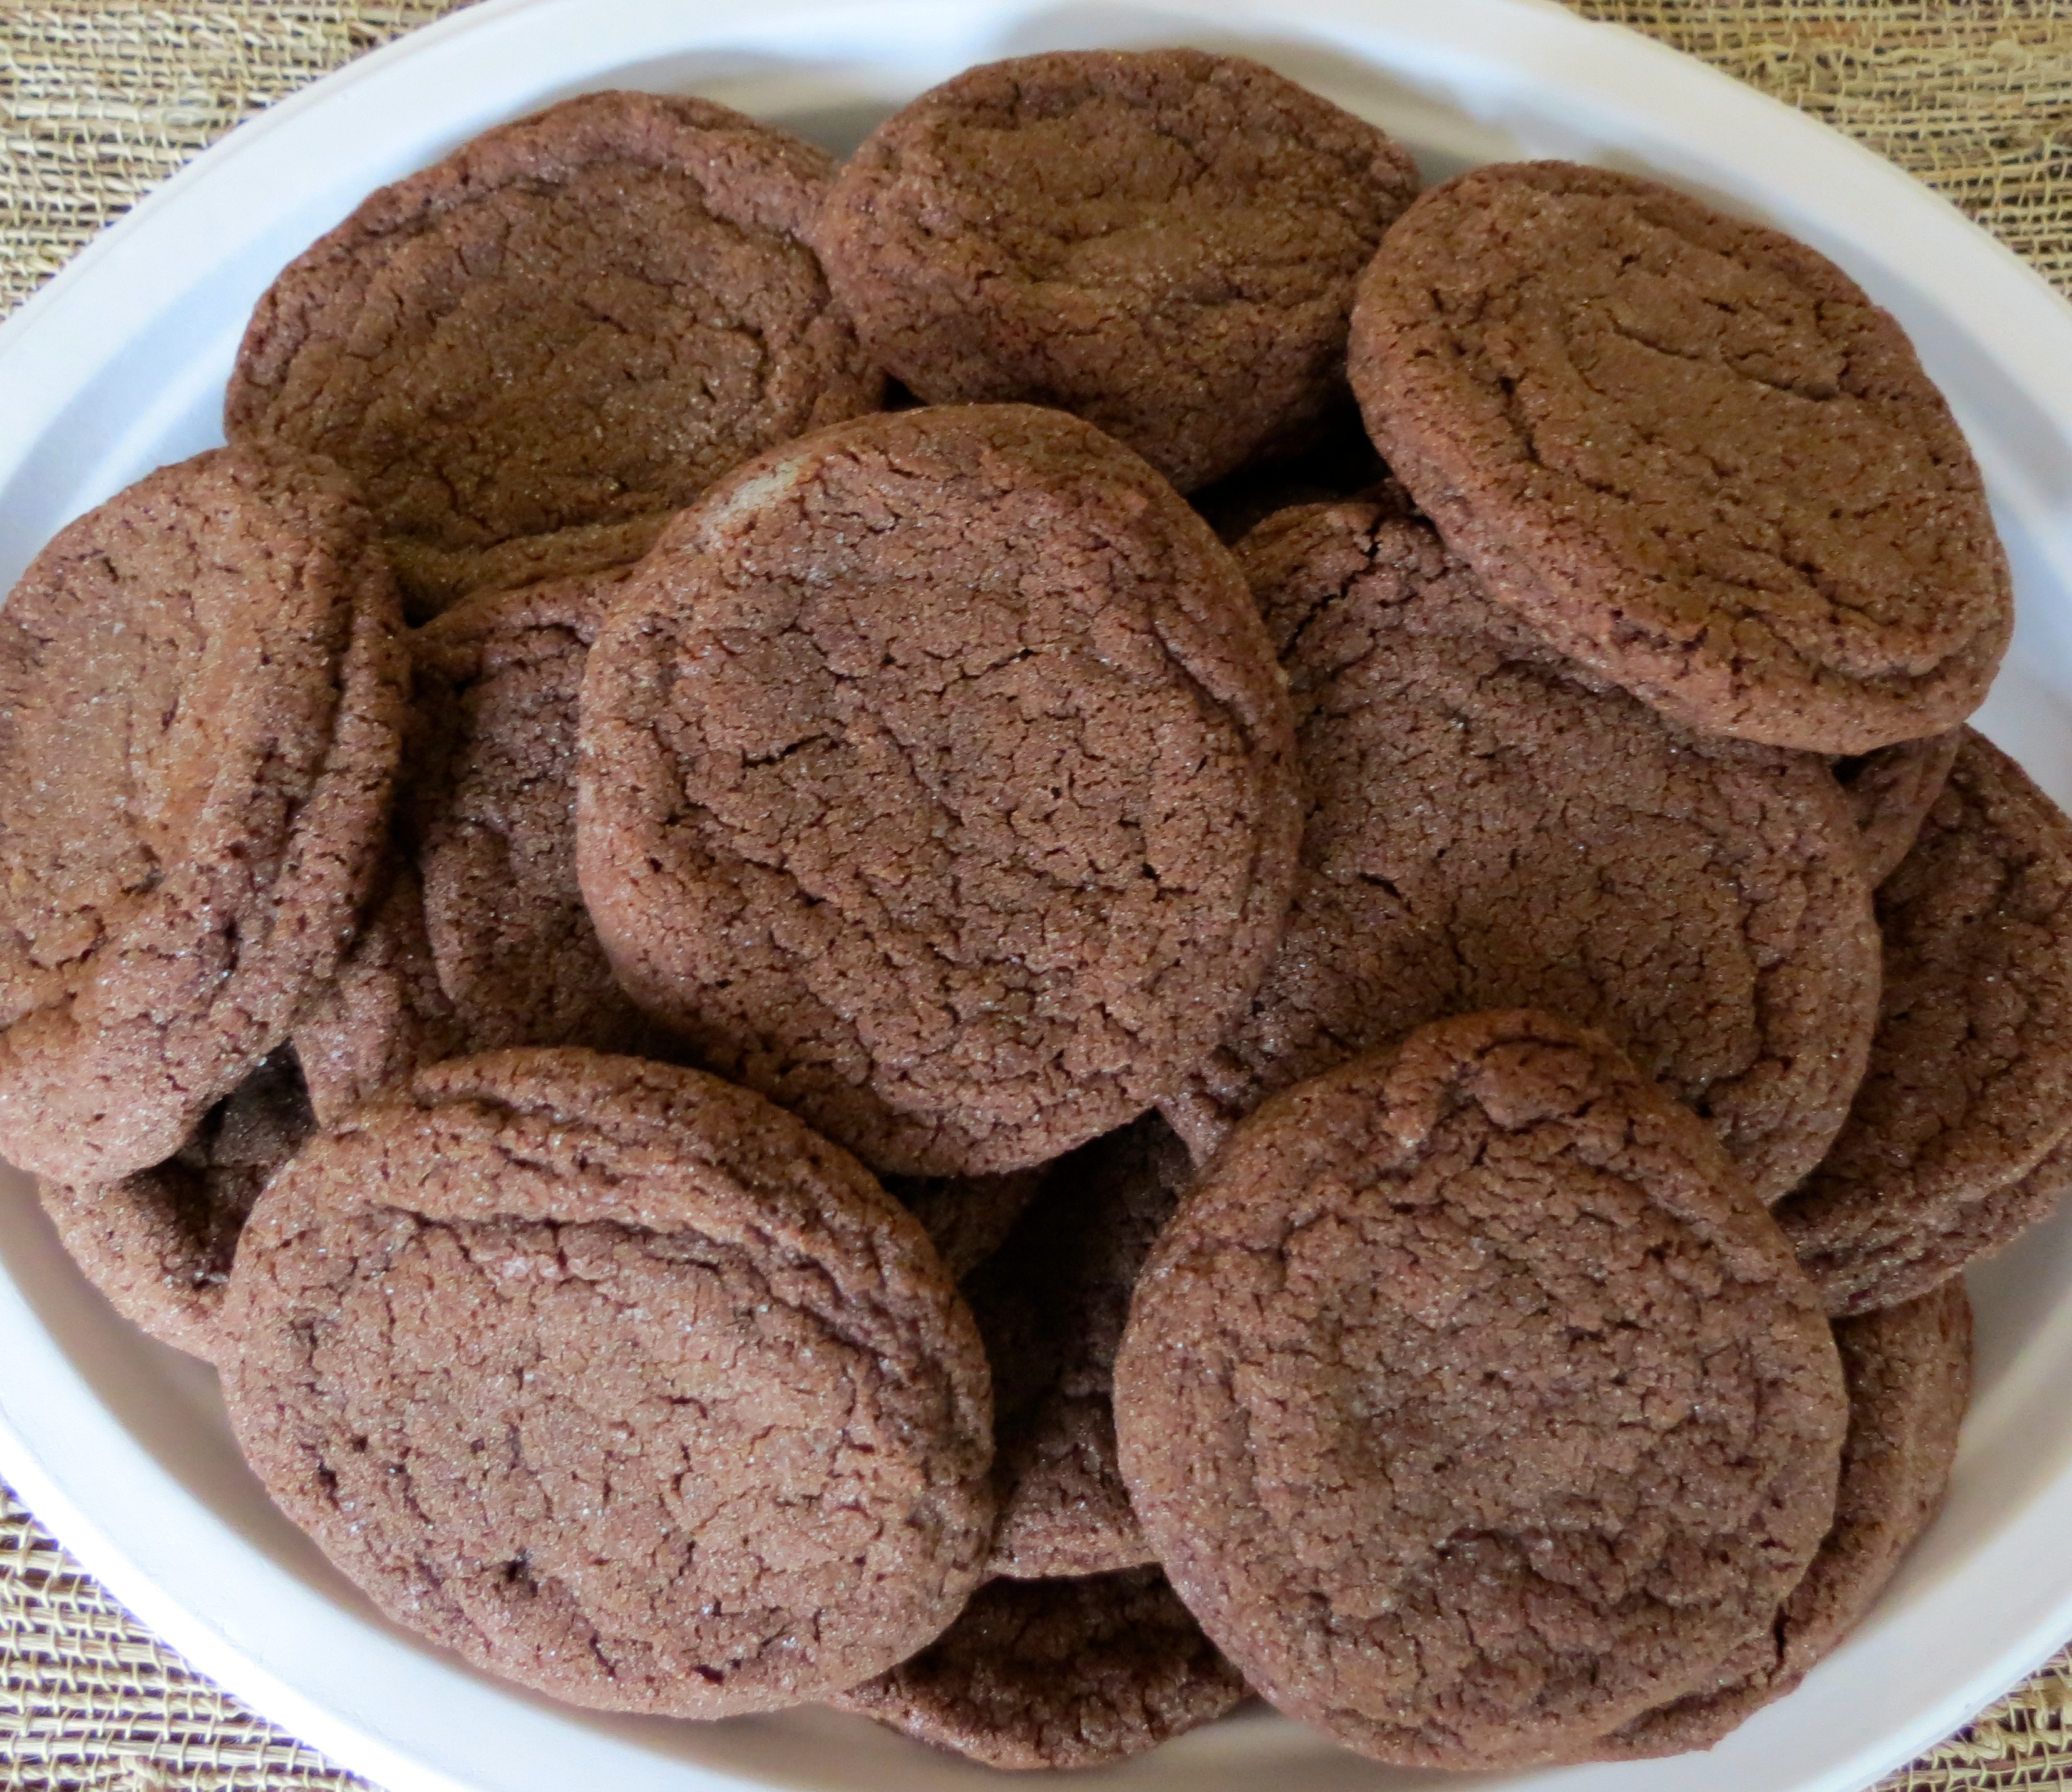
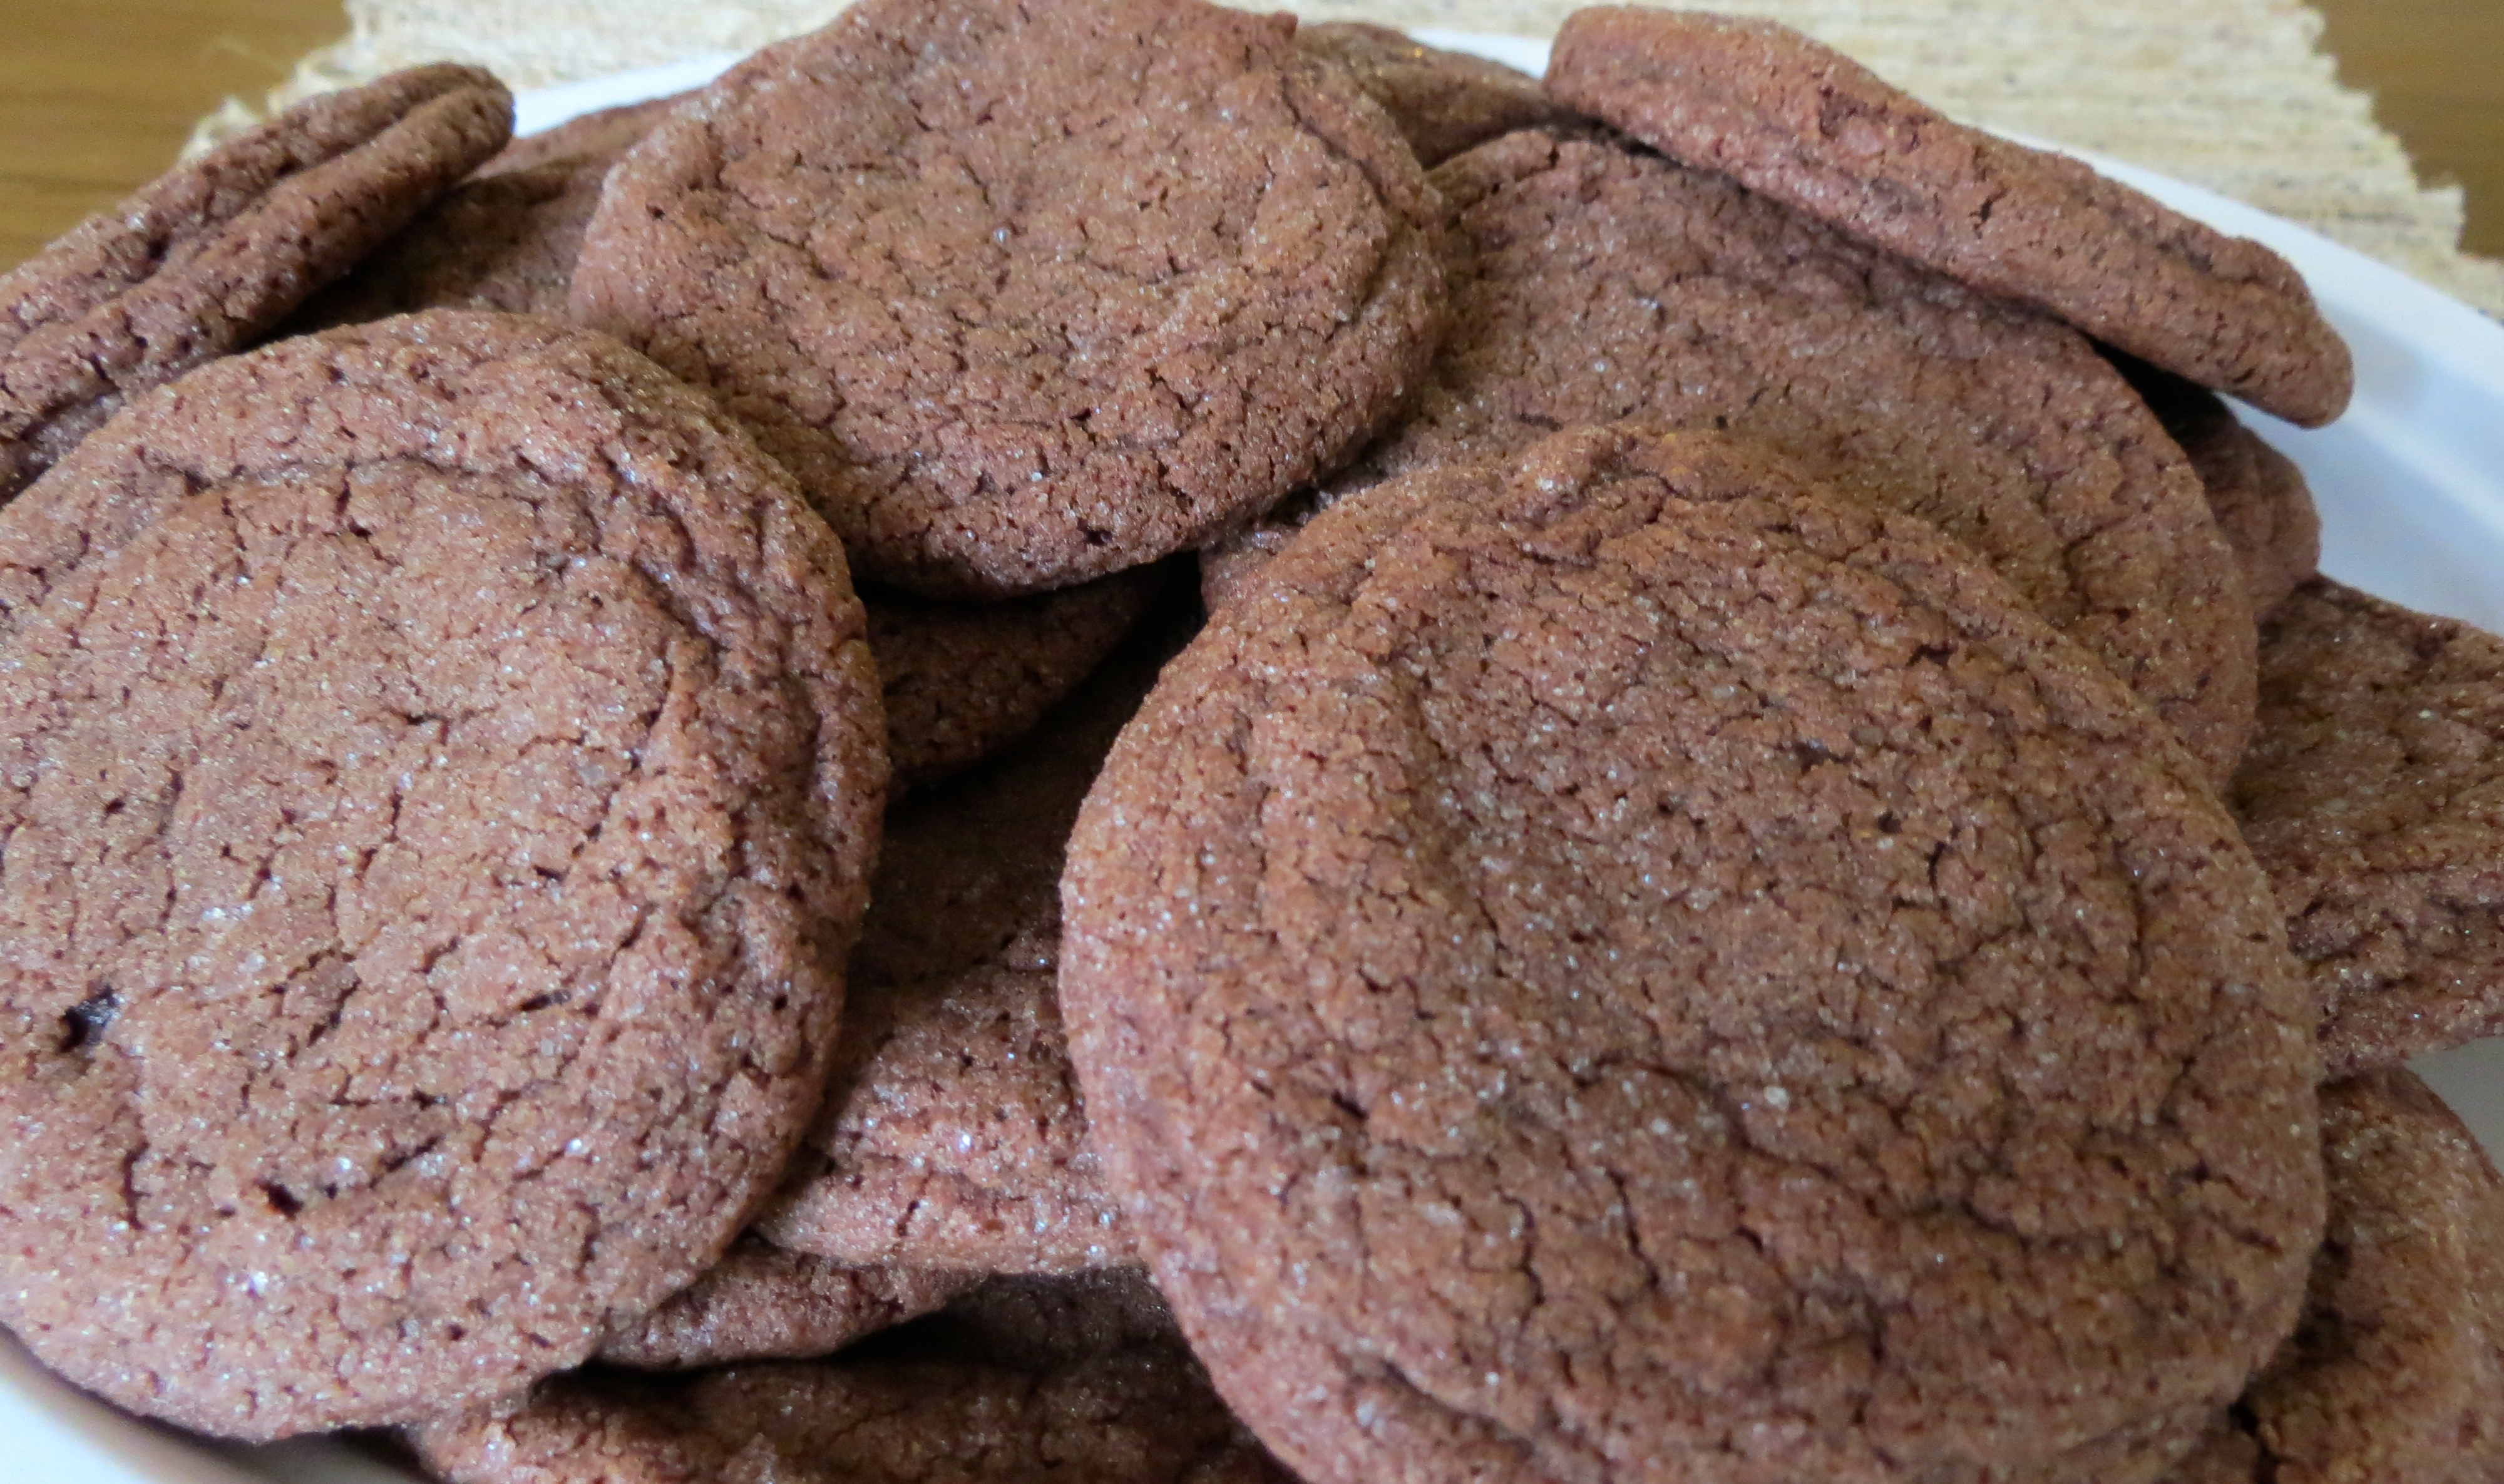
For this special treat I decided to put a fun spin on an old classic.Plain sugar cookies are some of the most wonderful tasting morsels that we can experience on this earth, add chocolate to them?Well, forget about it!People were swooning for these cookies (myself included) and it will not be the final time that I make them.I made mine pretty big, because I was not settling for any bite sized cookies.You could probably get more cookies out of this recipe by rolling smaller balls of dough and shortening the baking time by a minute or so.I recommend making them jumbo though, you’re gonna want to eat a lot at once anyways!Besides the fact that these cookies simply tasted amazing, they also had that chewy and soft texture that just makes cookies perfect.Seriously, I can’t brag about myself enough with these cookies.You’ll just have to try them for yourself and see what I’m talking about!
CHOCOLATE SUGAR COOKIES:
The Ingredients: 2 cups + 2 tbsp flour ¾ cup cocoa powder 1 tsp baking soda ¾ tsp salt 2 ½ sticks unsalted butter 2 cups sugar, plus 1/2 cup 2 eggs 2 tsp vanilla
The Method: 1. Preheat oven to 350 degrees 2. Mix flour, cocoa powder, baking soda, and salt together 3. Using a standing mixer (#BAE), cream the butter and 2 cups sugar together 4. Add the eggs and vanilla to butter and sugar 5. Add the flour mixture in slowly until it is all combined 6. Roll dough into balls and roll balls in sugar 7. Bake for ~12 minutes 8. Enjoy!
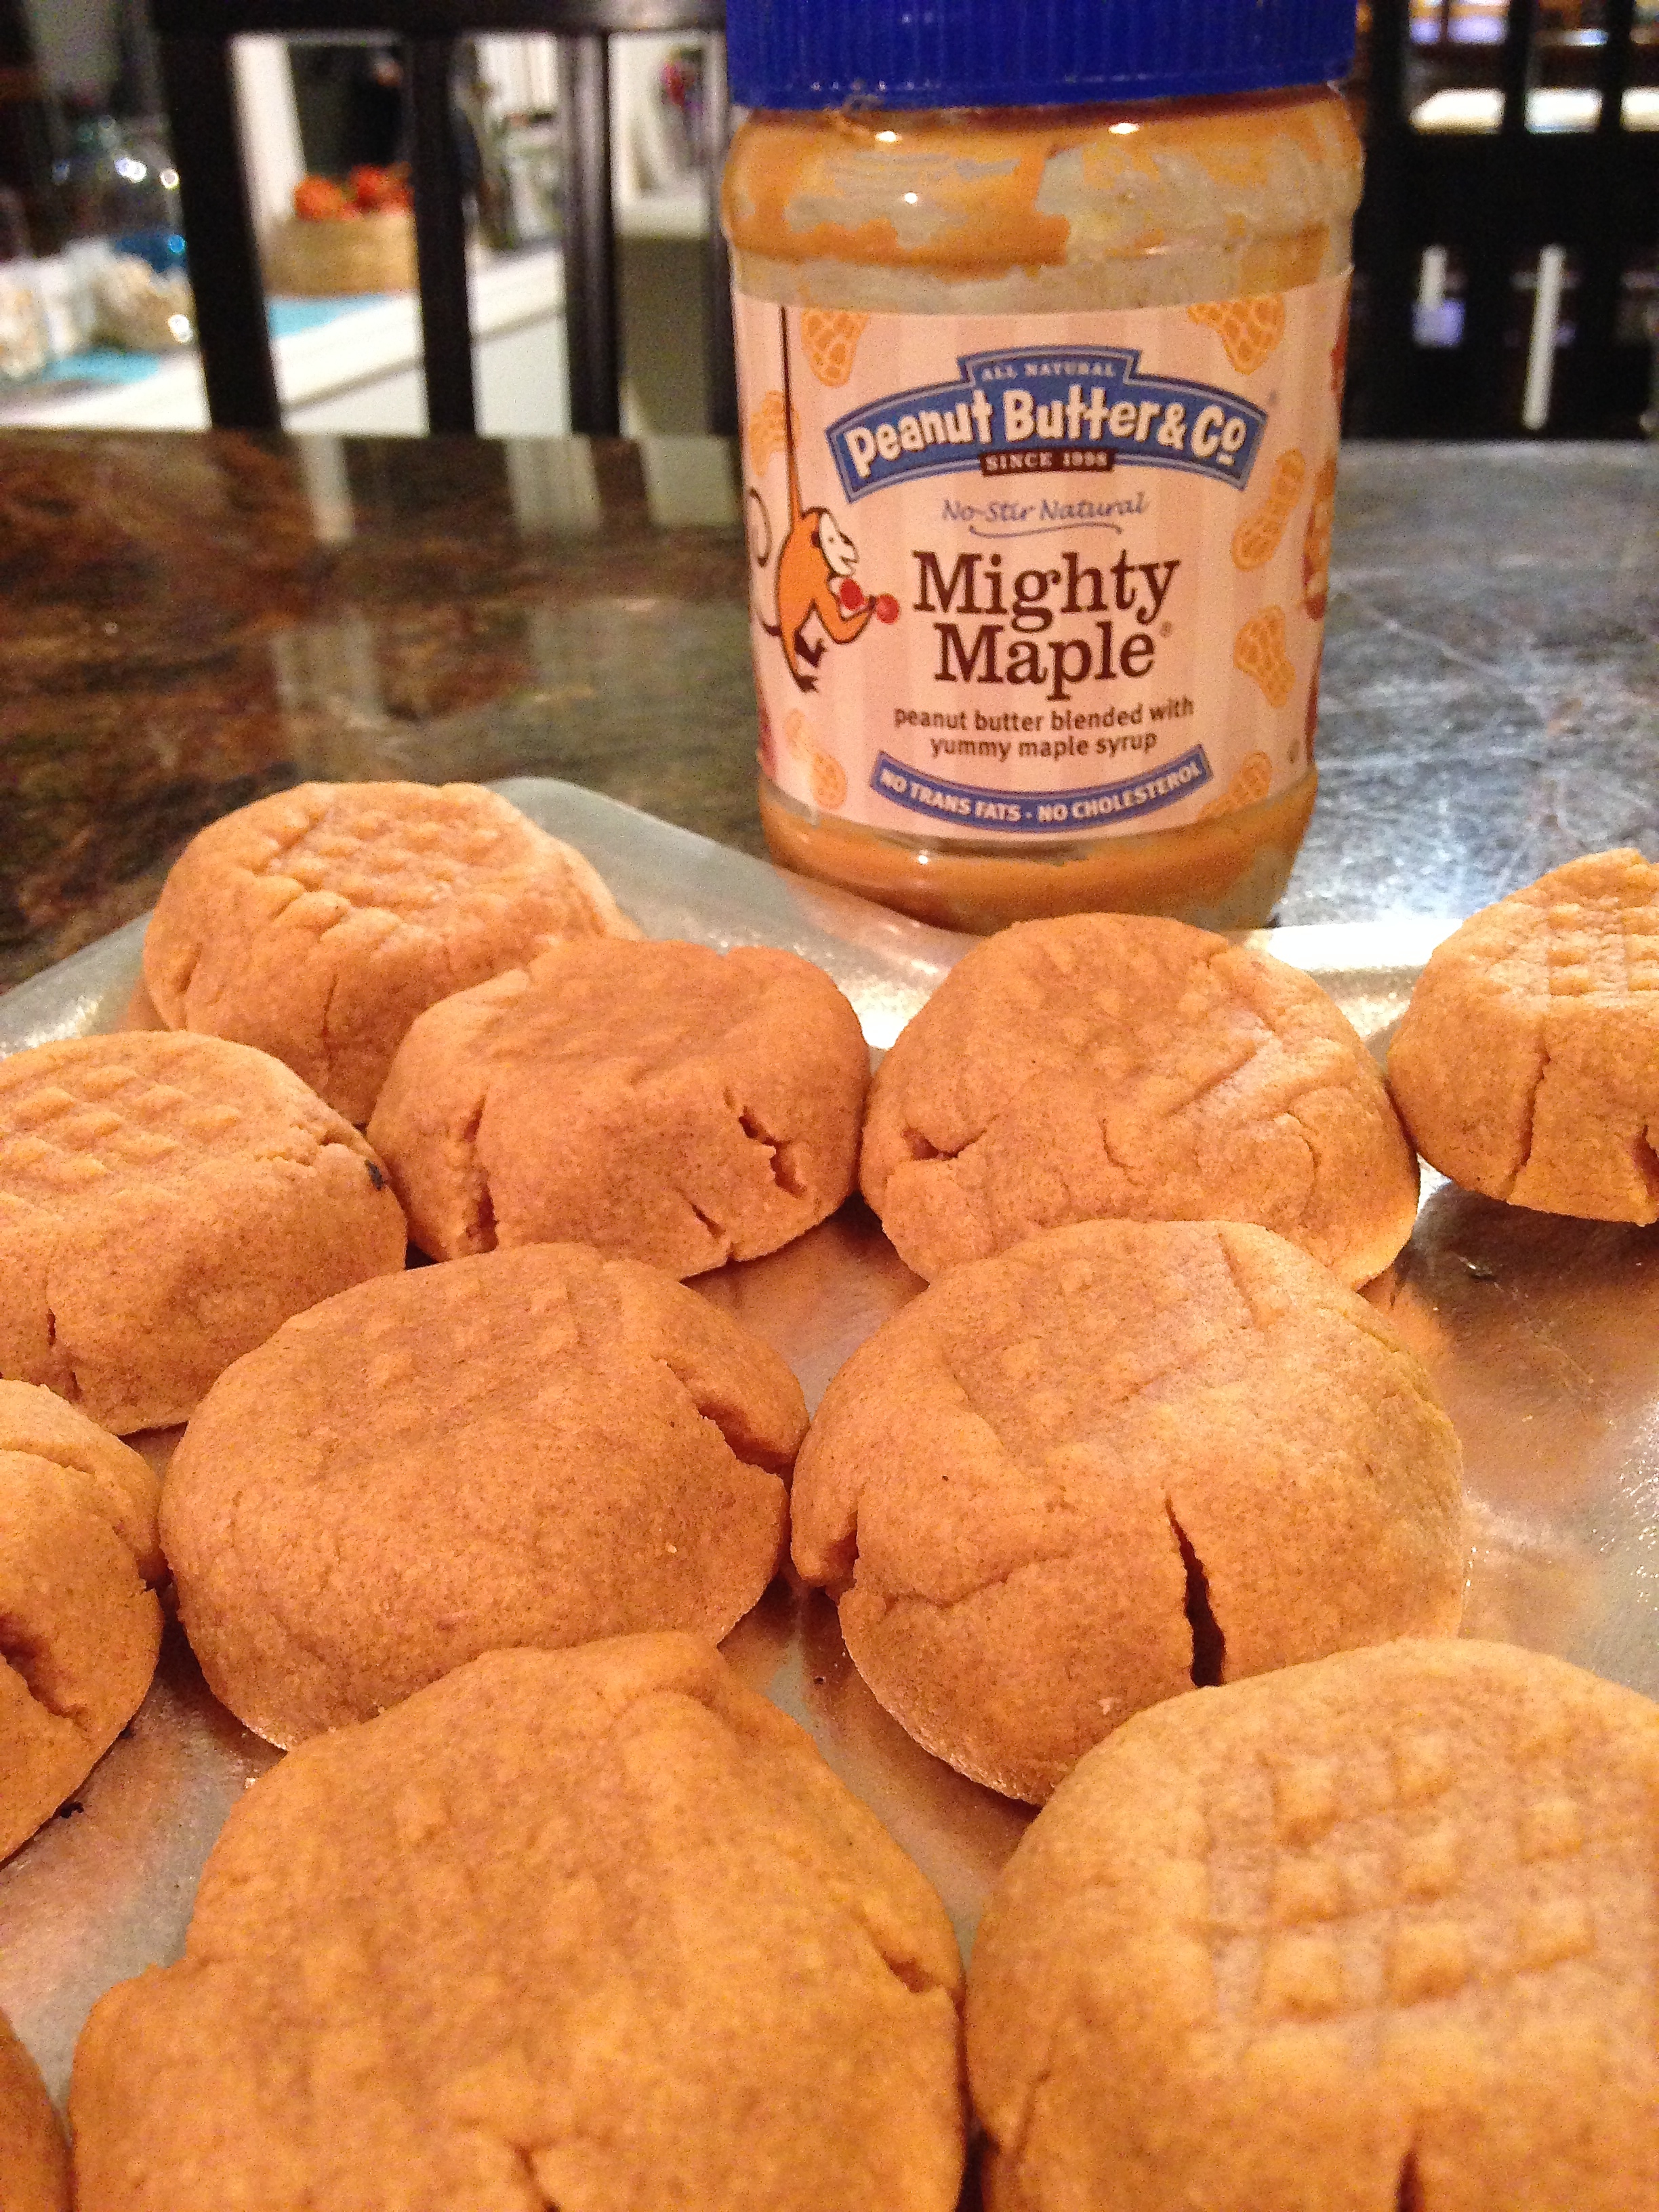
I have to be honest with you all about something, I have absolutely no idea what gluten is. Nada. None. Zilch. I know that people with Celiacs can’t eat it, I know that it’s in pizza & beer, and i know that to get products without it costs you almost double your money. Beyond that, what exactly gluten is is a complete mystery to me. Once I found out it was in flour and that basically everything delicious in the world is made of it, I counted my lucky stars that I’m not intolerant of this mysterious compound. (Is compound the right word? Is it an element? who knows!?) However, two of my very good friends are. Intolerant, that is. In honor of them I decided to incorporate some flour-less baked goods into my repertoire. After doing a bit of searching around on the interwebs, I discovered that for flour-less baking to successful (and delicious), peanut butter needs to get involved. Okay you guys, I’m about to drop another bomb on you – I hate peanut butter. Fortunately, these cookies weren’t for me so I decided to go ahead and make them anyways regardless of my interests. I’m not the gluten-free one here, this project was not about my own desires!
Here’s the thing, I don’t own regular peanut butter.The only peanut butter that I have is Mighty Maple peanut butter from Peanut Butter & Co.While I hate regular PB, this company’s flavored stuff is much more tolerable and I can actually be found eating it from time to time.That’s the secret ingredient to this cookie – it’s what gives them the subtle (and wonderful) maple-y aftertaste.
The results of this gluten free adventure were wildly successful.The cookies didn’t last long at work, and people who didn’t even care about gluten free baking were munching down on these things like they were the best cookies in the world. (Actually, I was told that they might be!)Honestly, I think because I decided to go flour-less instead of using a replacement flour, these cookies are accessible to a number of crowds beyond just the gluten free folk.My only recommendation would be to double the recipe, otherwise the cookies won’t last long!
GF Maple Peanut Butter Cookies
The Ingredients: 1 cup maple peanut butter 1 teaspoon baking powder 1 cup sugar 1 egg
The Method:
1. Preheat oven to 350 2. Beat the maple peanut butter & sugar in a bowl, then mix in the baking powder and add the egg. Mix well until well combined 3. Roll the dough into small balls and place balls on a baking sheet (this is where I chose to make a pretty design on top of the cookies with a fork!) 4. Bake for 10 minutes 5. Enjoy!
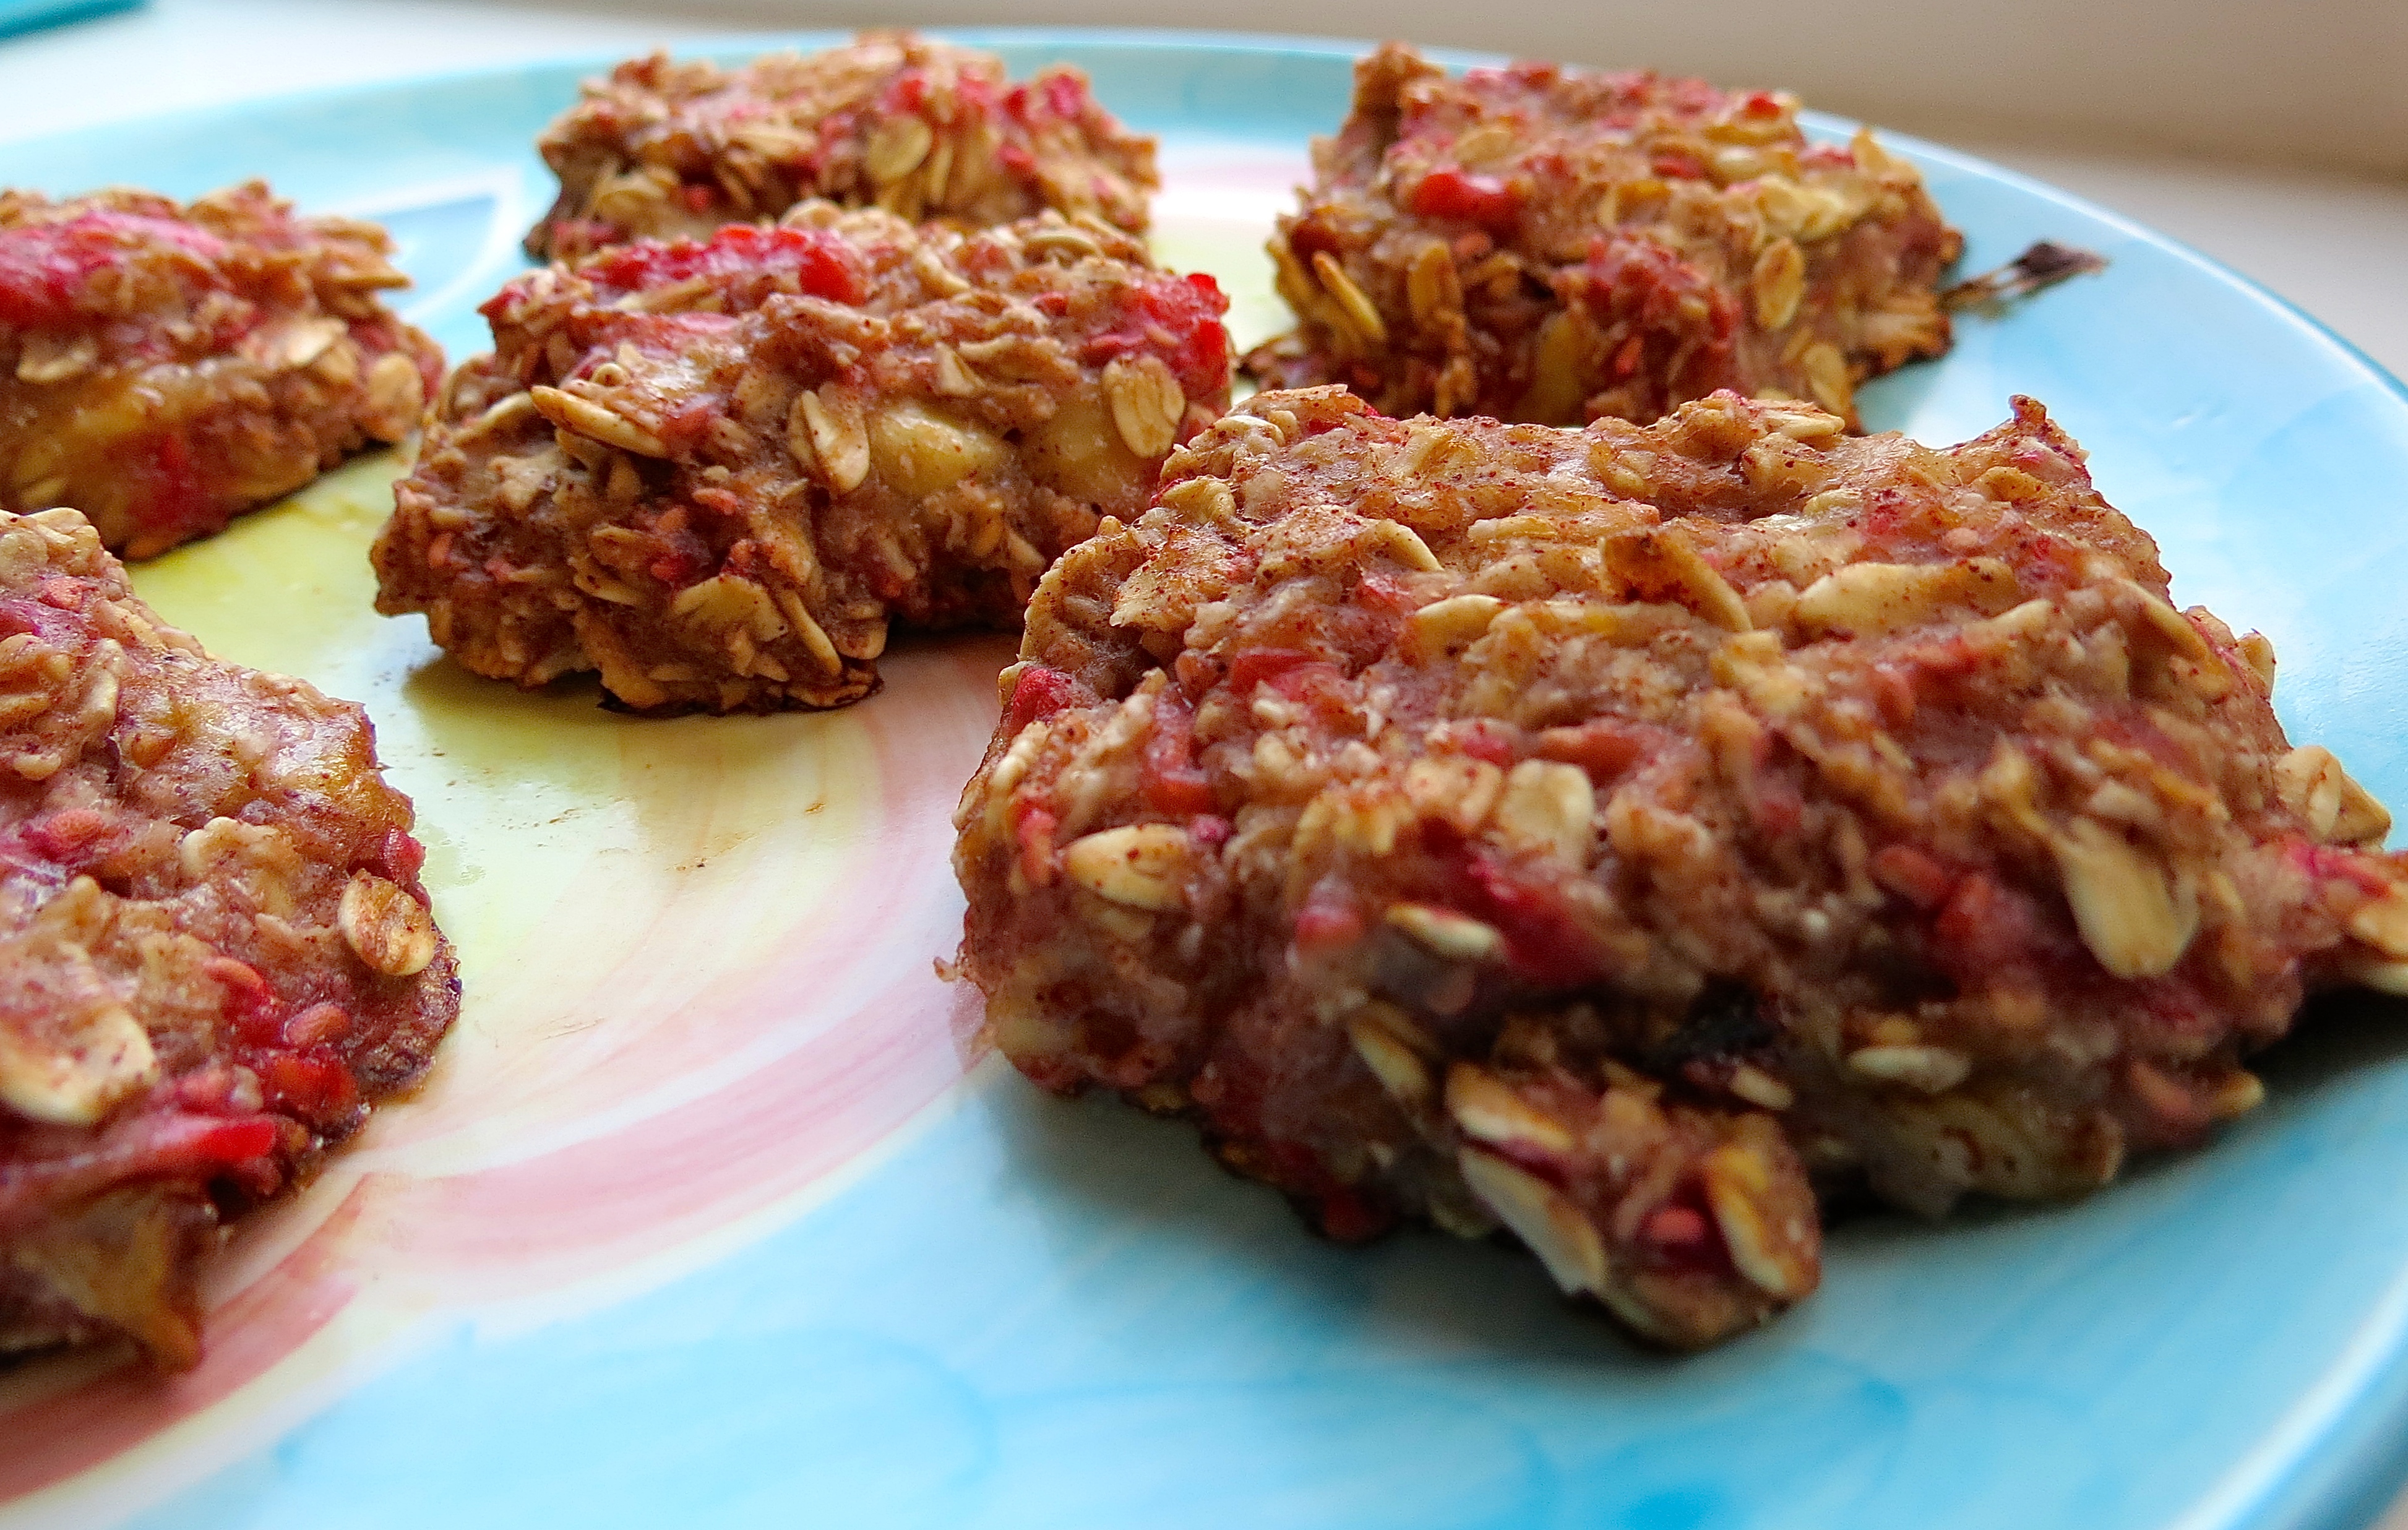
Sometimes in the morning, my standard bowl of oatmeal just doesn’t seem creative enough. When I first heard of the magical 2-ingredient cookies I knew that it would be a fabulous base to transform my morning bowl of oatmeal into something even more spectacular.
The idea is simply mixing oatmeal and a banana together and baking them into “cookies”.(Fair warning: these are not really cookies, so I try not to think of them like that – no cookie should lack it’s necessary butter and sugar, that’s my golden rule)I don’t stop with the oatmeal and banana in this fun recipe, to make my little oatmeal bites I add in what I would to my usual bowl of oats!For this example I added cinnamon and raspberry.You could also add cocoa powder, chocolate chips, raisins (yuck), coconut, nuts, seeds – the combinations are endless!The greatest part about this breakfast is that it feels like you’re eating a plate of cookies for breakfast, but you’re getting all of the amazing nutrients of a regular bowl of oatmeal!I like to eat them accompanied with a glass of almond milk for added nutritional value to round out this cute, simple, and fun breakfast!
OATMEAL BREAKFAST COOKIES
The Ingredients: 1 banana
1/2 cup oats Optional: Desired mix-ins! (cinnamon berries, nuts, chocolate chips, coconut, nut butters, etc.)
The Method: 1. Preheat oven to 350 degrees
2. Mush a banana into a bowl and mix in oats until thoroughly combined
3. Fold in any desired mix ins
4. Drop 6 circles of the “dough” onto a greased baking sheet
5. Bake for 14 minutes
6. Enjoy!
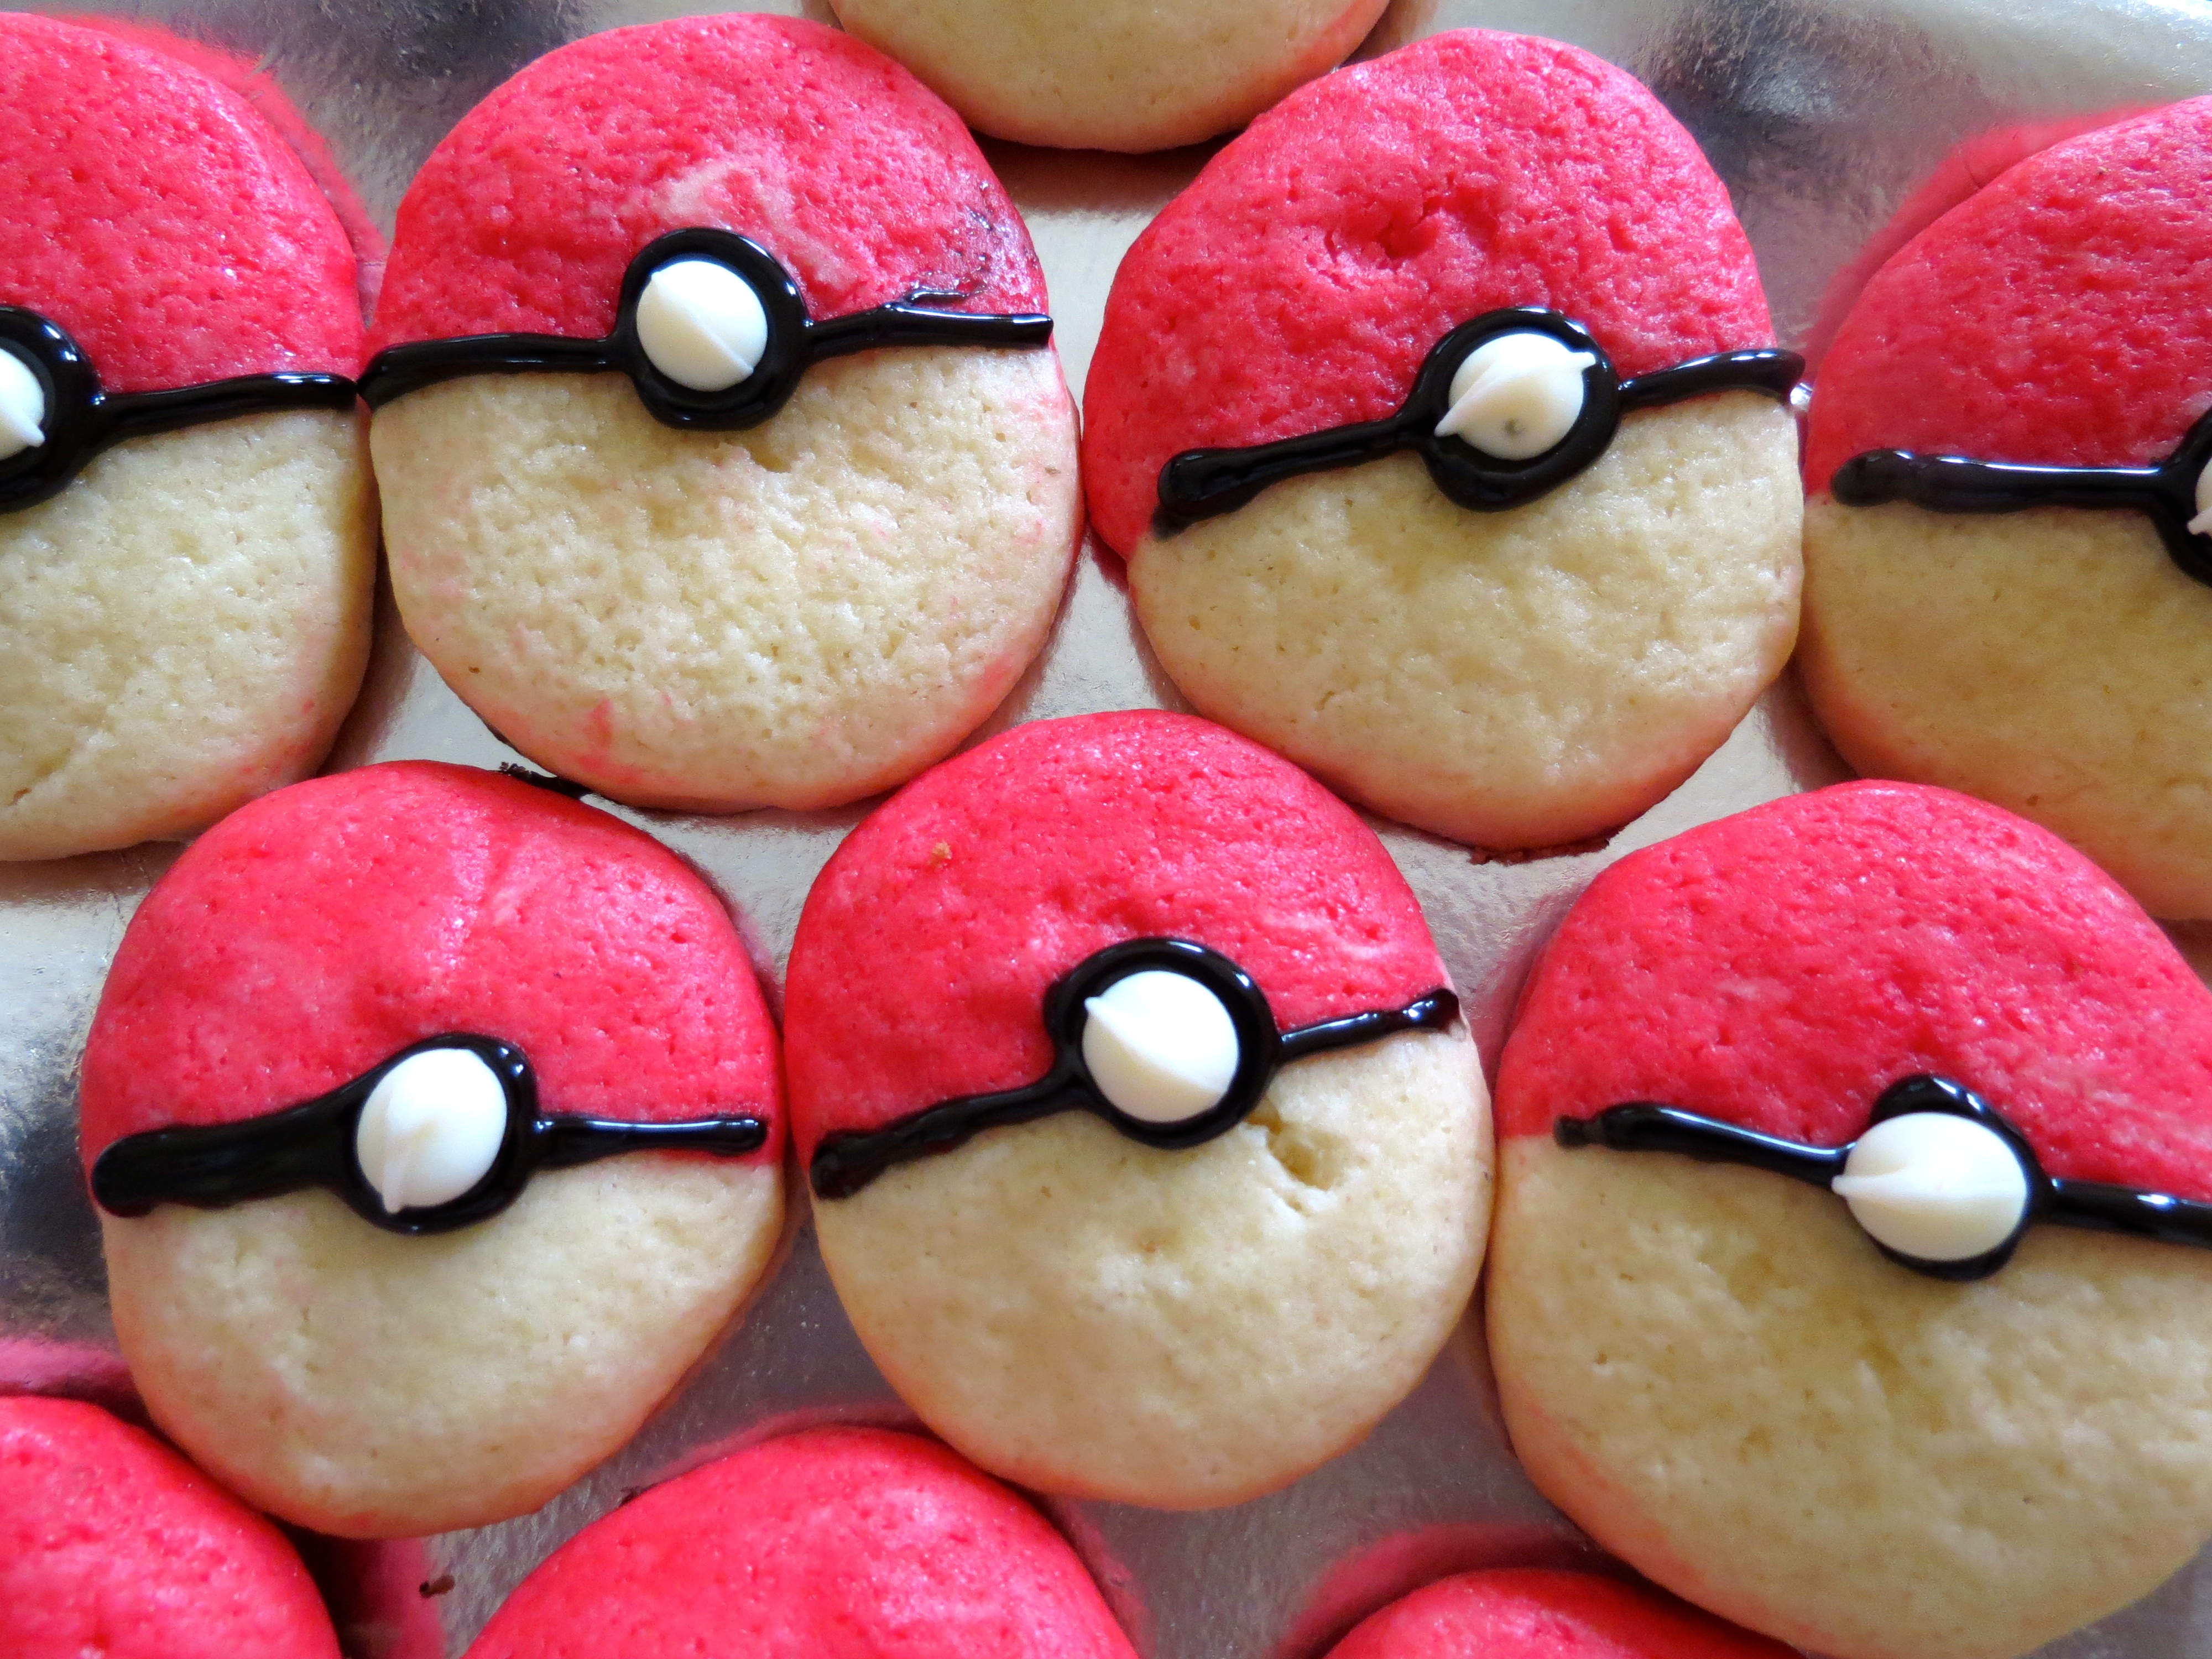
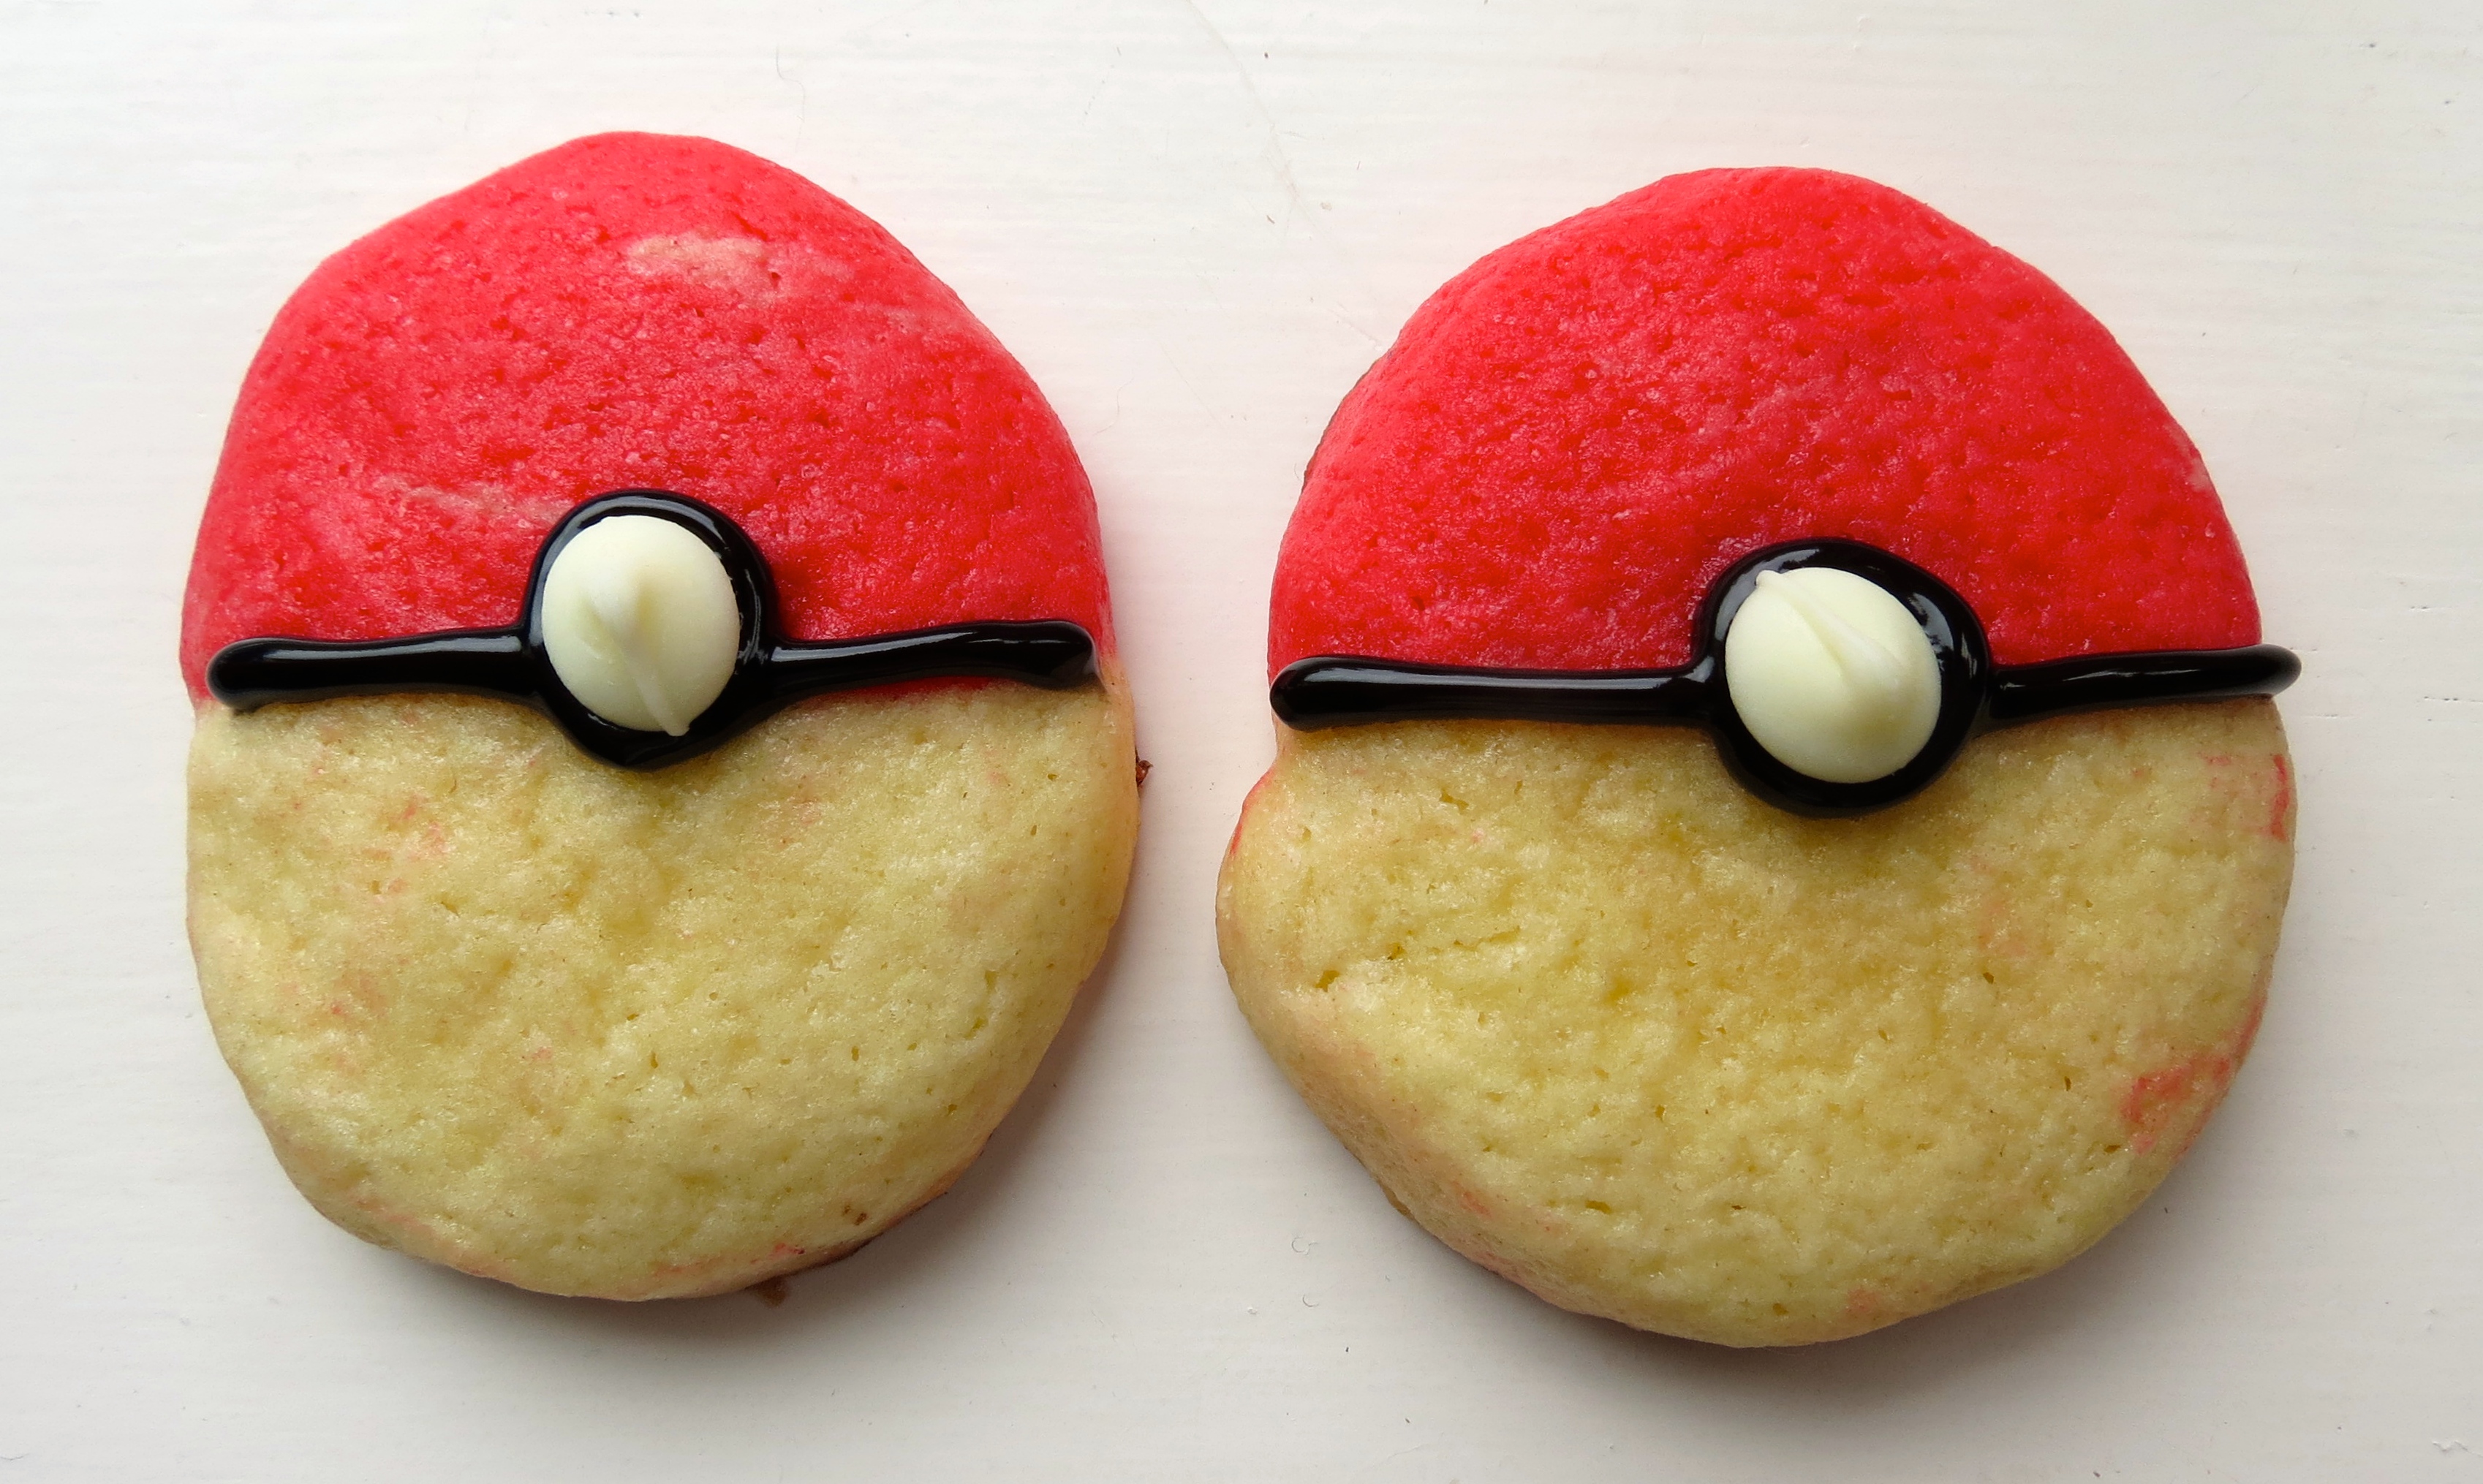
Nostalgia.That sentimental feeling of remembrance for a time long in the past.Recently I experienced a great wave of nostalgia when I decided to bake these Pokeball cookies.These adorable sugar cookies were not for me, they were for a friend of mine who absolutely LOVES Pokemon.He refuses to outgrow the little Japanese cartoon animals and so I decided to make these special treats for him.
While I was making these cookies, I couldn’t help but remember Pokemon’s place in my own childhood.Every Saturday morning I would jump out of bed at an hour that seems obscene to me now.I would run downstairs and search endlessly for the remote until I could turn on the television to my Saturday morning lineup.This always included Power Rangers, Recess, Doug, and of course, Pokemon!I watched all of my shows and waited for my mom to come downstairs and pour me my cereal (frosted mini wheats of course!)These memories all came rushing back to me during the course of this baking adventure.Oh how I wish my life was still that simple…
Anyways, these cookies were a gift for my friend, but I can imagine they would also be good for a Pokemon themed birthday party, or if you also simply want to relive the simpler times… The process to make these cookies is a bit more involved than usual, but each step is important to achieve that perfect taste and texture! They tasted lovely and my friend was overjoyed with his present!
POKEBALL SUGAR COOKIES
The Ingredients: 3/4 cup butter 1 cup sugar 3 eggs 1/2 tsp vanilla 2 1/2 cups flour 1 tsp baking powder 1/2 tsp salt 1 tbsp water
The Method: 1. In a large bowl, mix together sugar and butter until smooth. Beat in vanilla and 2 eggs until smooth 2. In a medium bowl, stir together flour, baking powder, and salt till well blended 3. Add the flour mixture to the wet mixture slowly one cup at a time to blend well. Once blended, take out half of the dough and set aside 4. To the remaining half, add red food coloring and mix until a deep red color is achieved 5. Cover both halves and chill dough for an hour 6. Once chilled, roll both into logs about the size you want your cookie 7. Place these logs into the freezer for about a half an hour 8. Make an egg wash by mixing one egg and water in a bowl 9. Cut each log down the middle, long side and match each red half with a white half 10. Paint the halves with the egg wash so they stick to each other and place back in freezer for 15 minutes 11. Preheat oven to 400 degrees F 12. Take dough from freezer and cut into 1/2 inch thick cookies 13. Place cookies 1 inch apart on a cookie sheet and bake for 6 to 8 minutes 14. Cool cookies completely then take out your black icing and draw a line down the center where the red and white dough tough. Then in the center of the line, make a dime size circle, fill it in and place a white chocolate chip in the center of the circle 15. Enjoy!
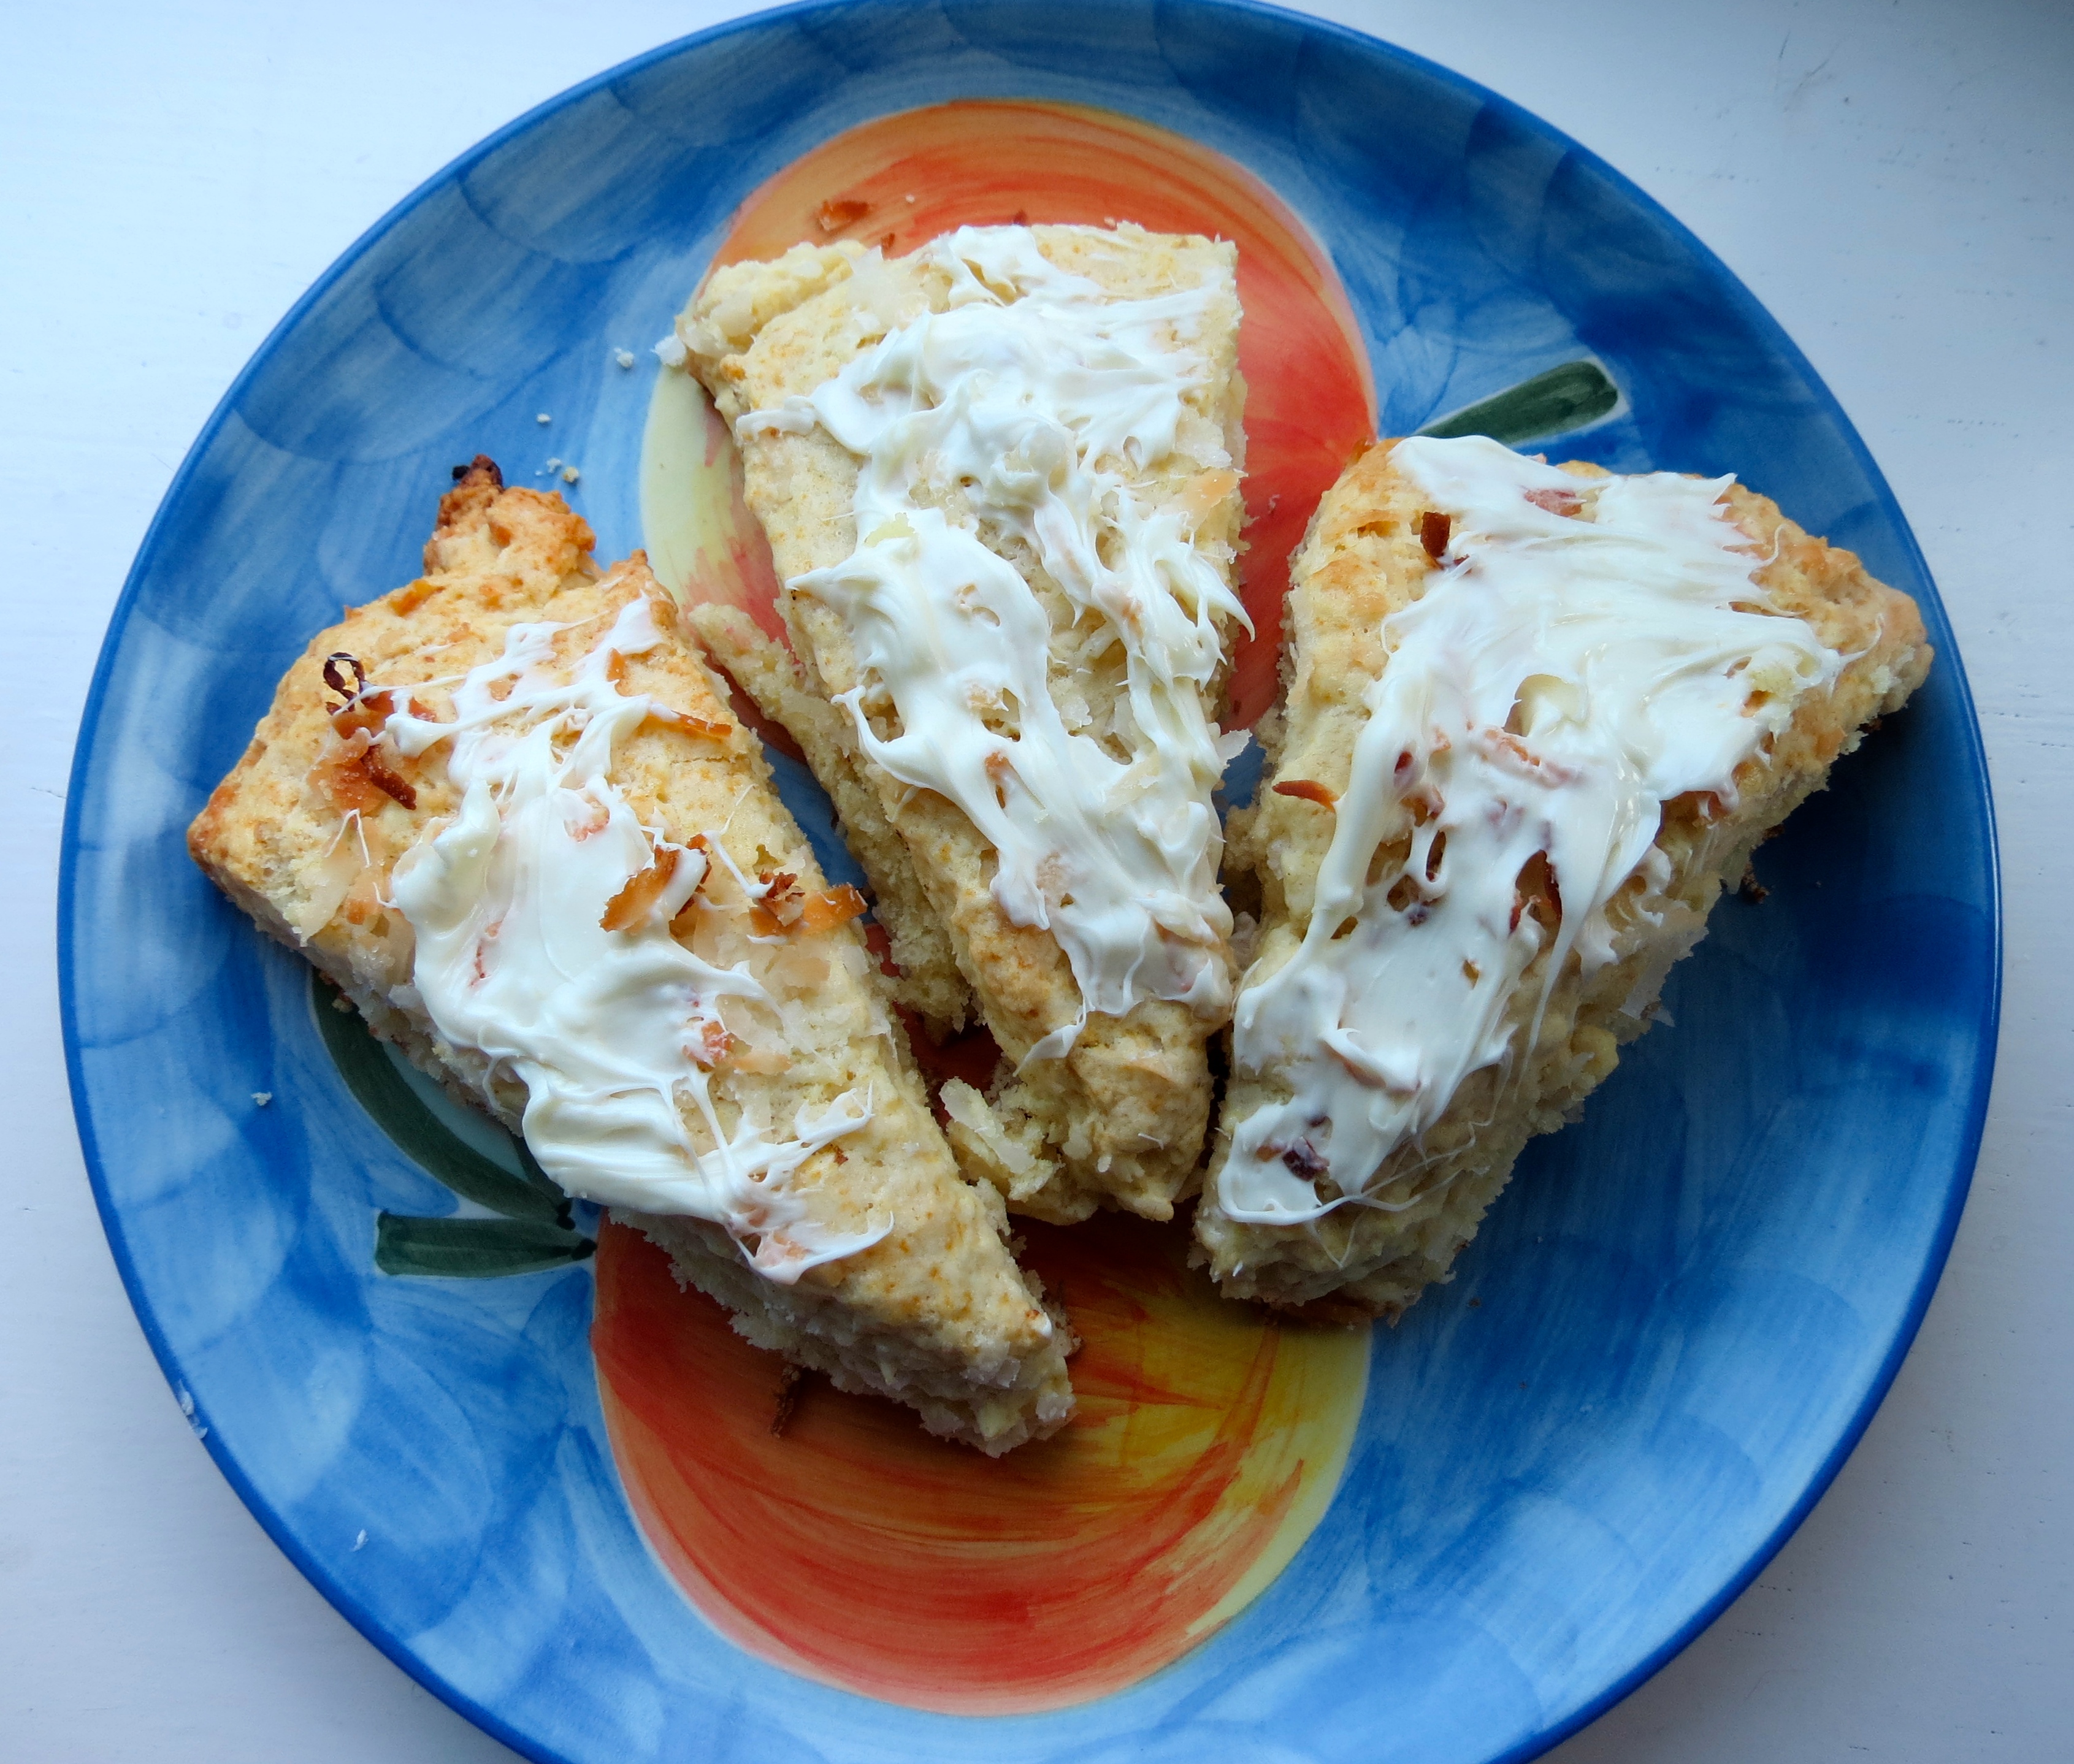
I think that the Gods and Goddesses of baking are watching over me. Why do I think this? Well, this morning I made coconut white chocolate scones and almost everything that could have gone wrong, did go wrong. However, in the end, they still turned out INCREDIBLY scrumptious! It’s kind of a miracle.
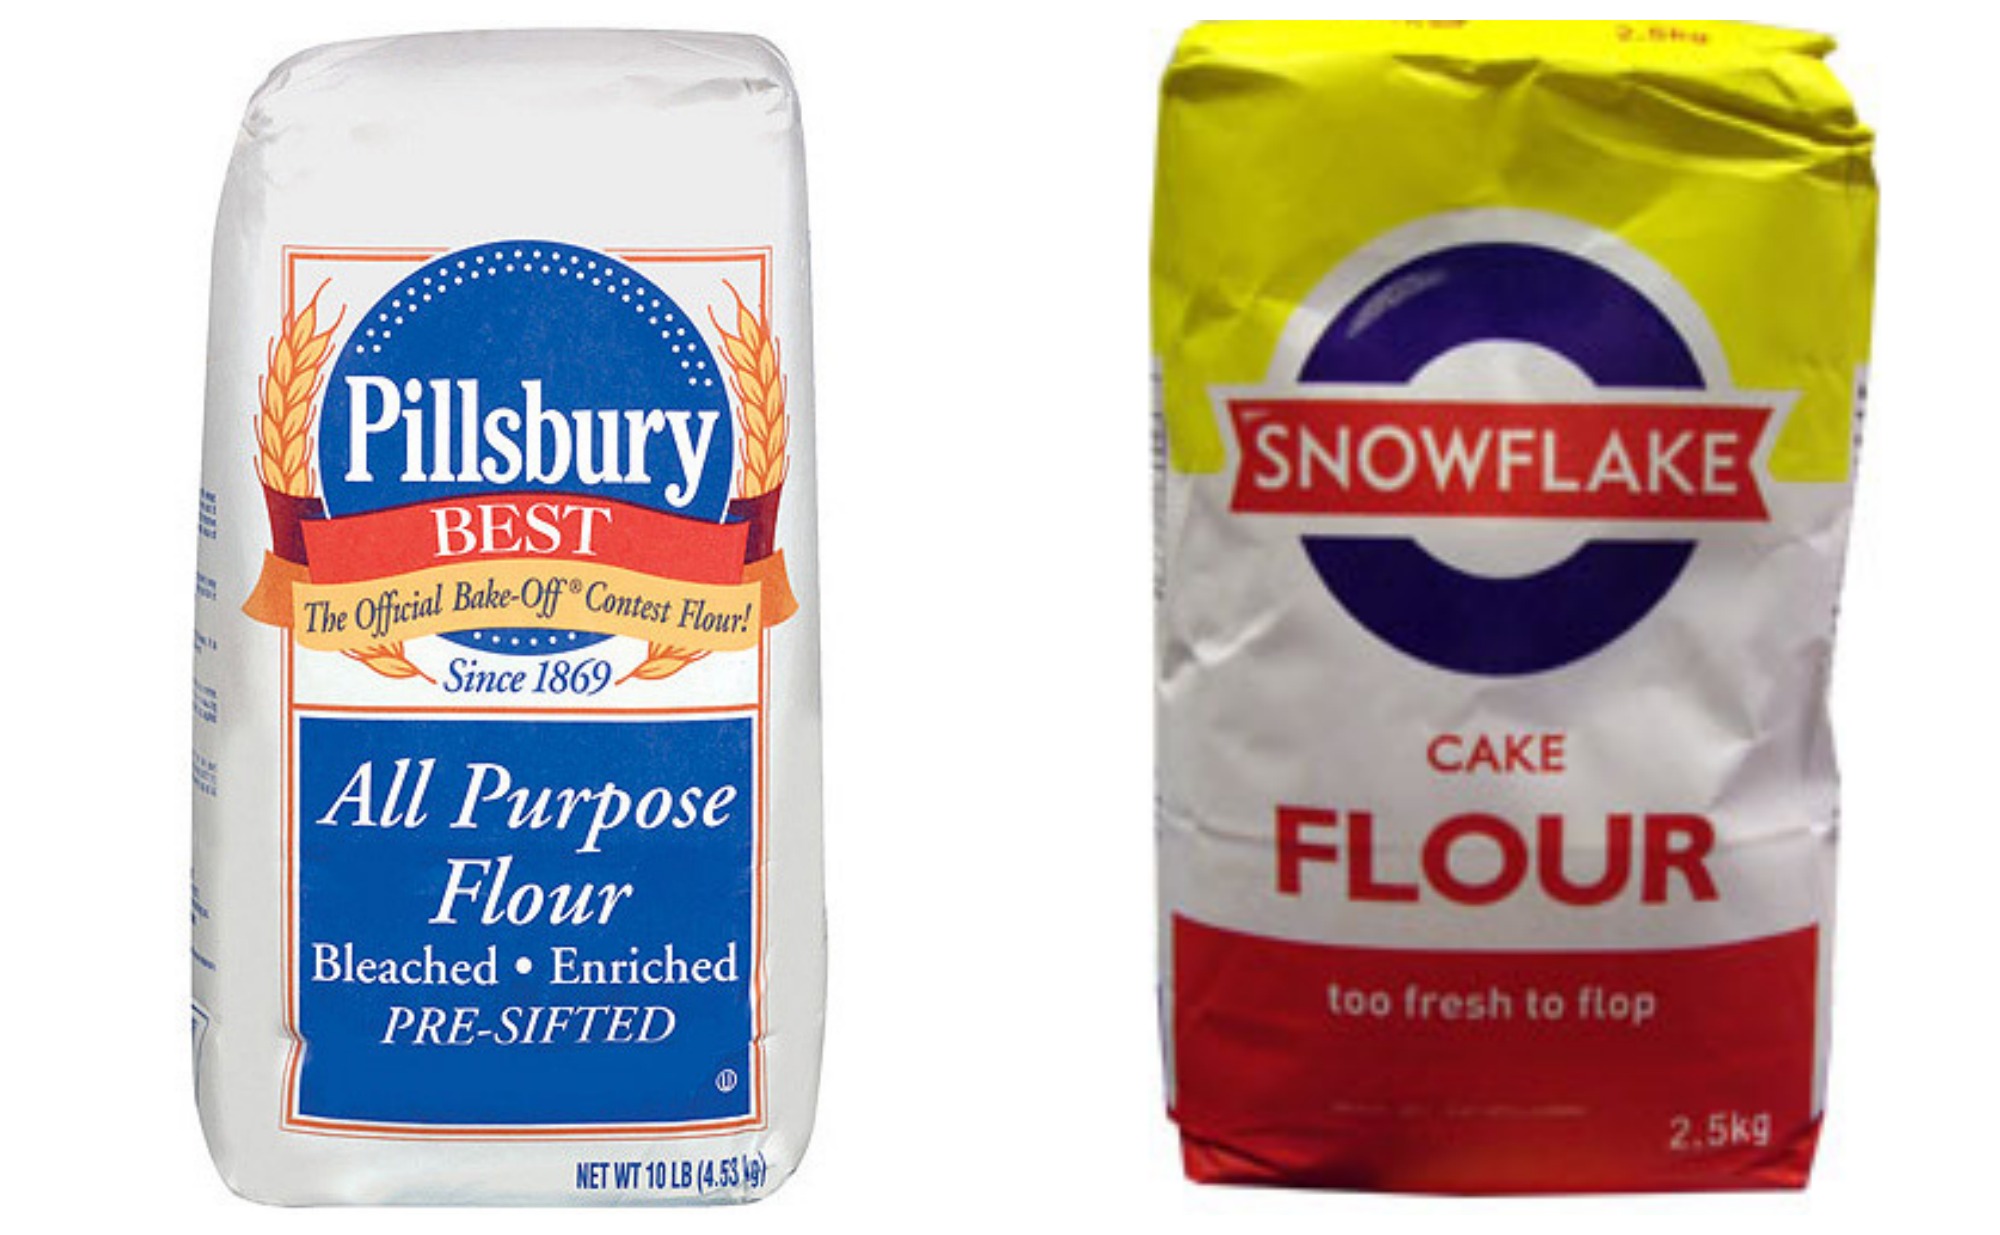
I woke up extra early to make this morning time treat for my friends.That was my first problem, I had barely wiped the sleep from my eyes when I began pulling ingredients.The second problem arose when I was jolted awake by the realization that I didn’t have enough flour!While that might deter the ordinary baker from continuing, I remained determined to see these scones through!I was only about 1/4 cup short of flour so I began scouring my pantry for something I could potentially use as a filler.I found cake flour.I won’t lie, I have no idea what the difference between regular flour and cake flour is, but I decided they were similar enough that the cake flour could be used to make up for the little bit I needed.I continued mixing all of the ingredients and hoped that the risk would pay off.
are these not the same thing?
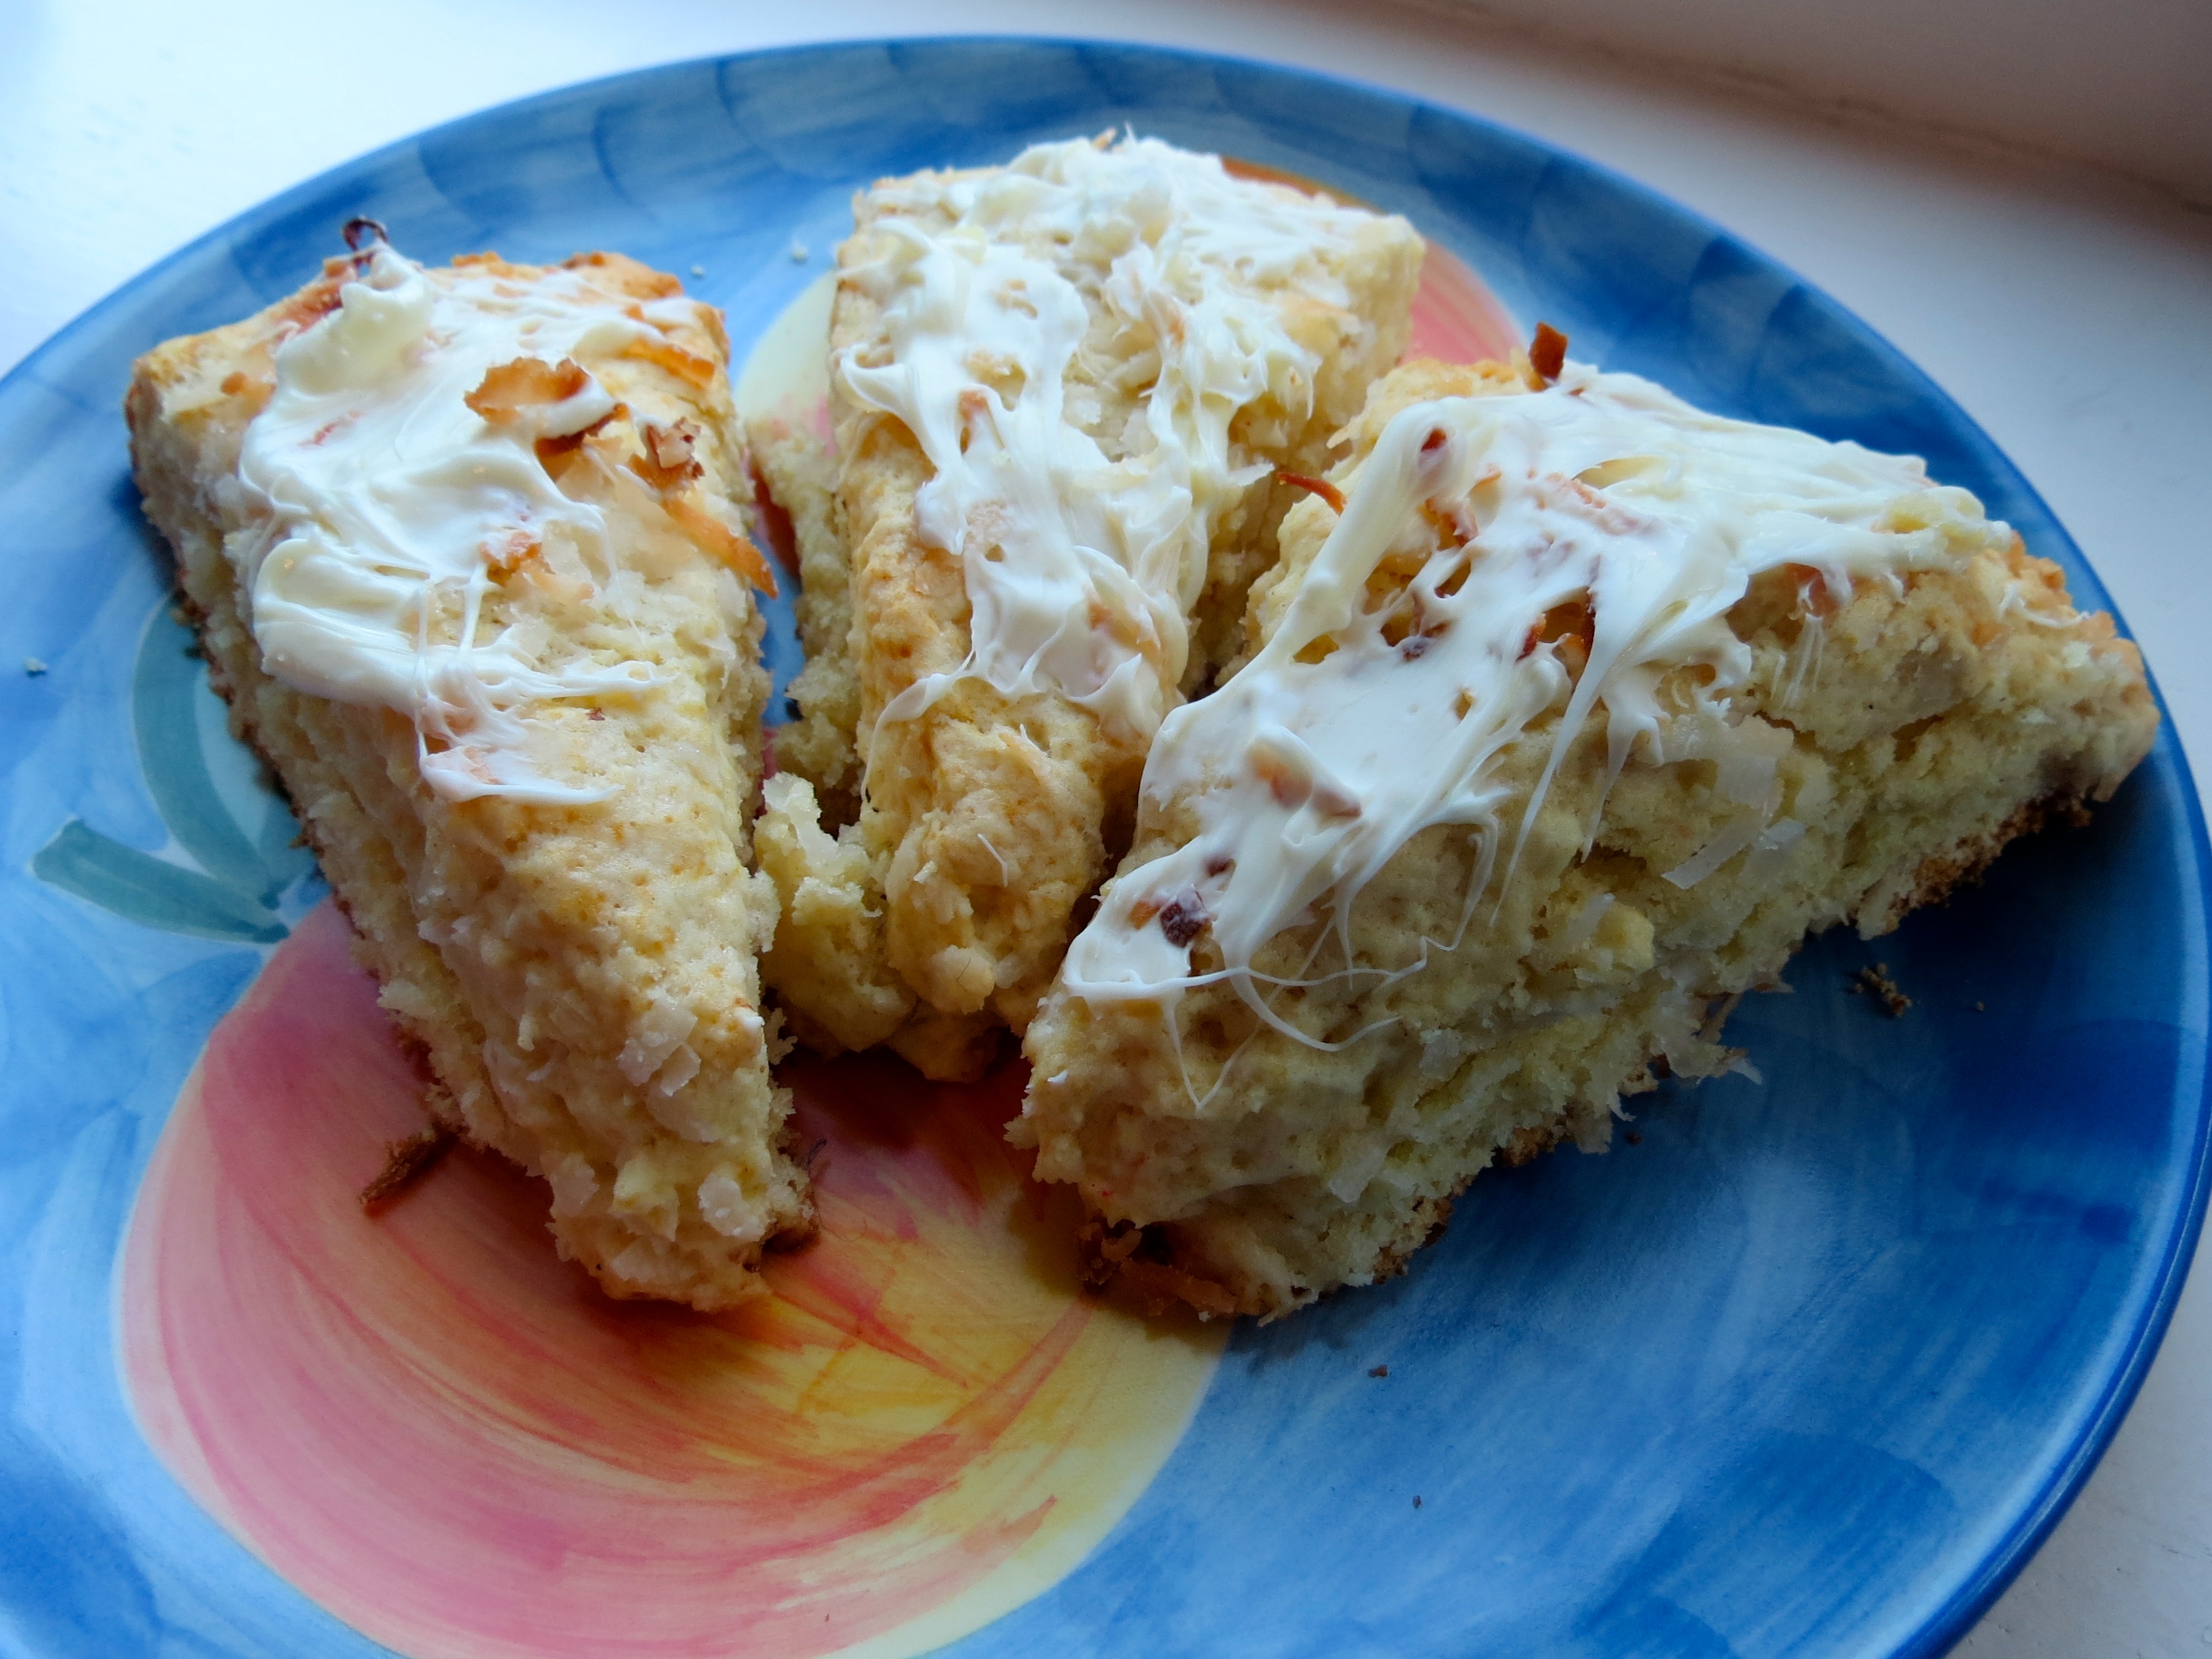
The next hitch in the plan came when the recipe called for the use of a pastry knife to mix in the butter. A what? I thought about looking up what that was and figuring out the proper way to use one.I thought about doing that, I really did, but then I just used my hands to mix it in instead.I really hoped that whatever a pastry knife was worked in a similar way to fingers!After that, the only problem was that I didn’t cut the scones into even triangles so some of them were HUGE!While some were teeny tiny!I don’t truly consider that a problem though because in the end, people just had size options!
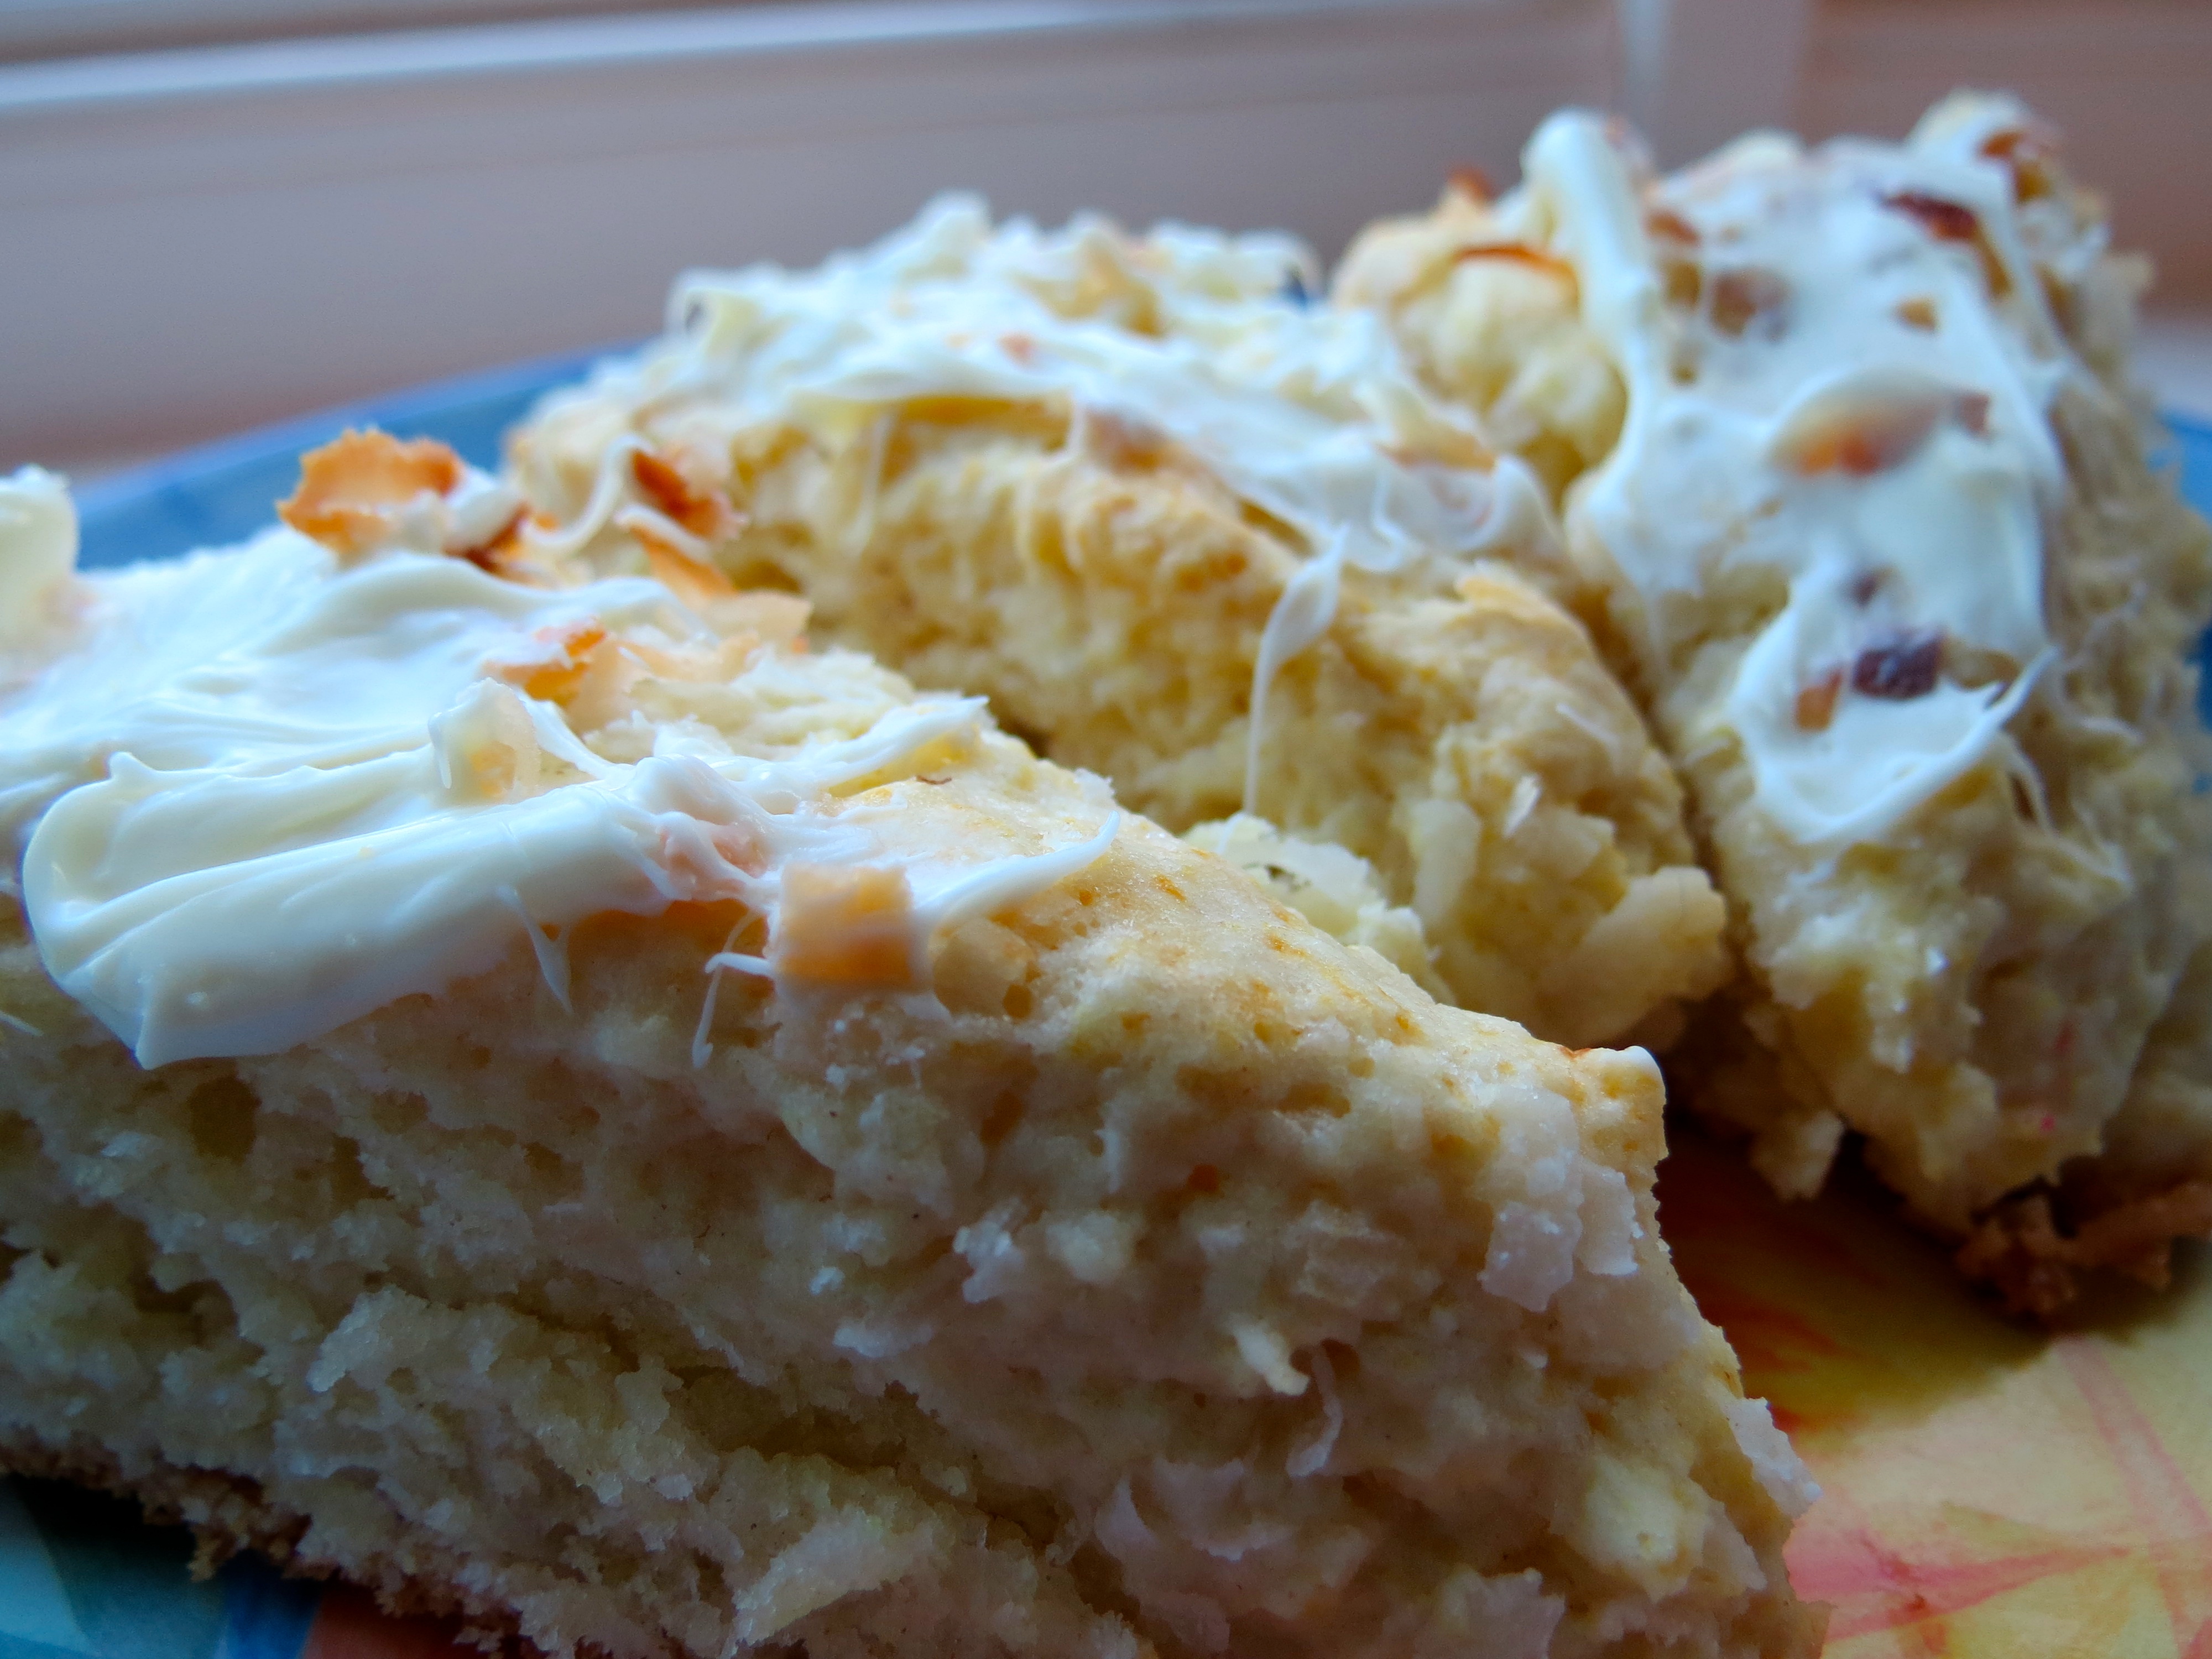
After the entire baking adventure was complete and the scones were done, I felt good about the outcome.The last step was to “drizzle” white chocolate over the top of them.We all know how good I am at doing that… NOT.So I didn’t even try,I just melted the chocolate and smeared it on top with a knife!Nobody complained.Everybody loved them.One of my co-workers told me that they were, “the best scones I’ve ever had!”Wow!I tried a bite and I won’t lie, they are amazing.
I’m telling ya, I’m being watched by the mysterious Gods and Goddesses of baking!
WHITE CHOCOLATE COCONUT SCONES
The Ingredients: 2 cups flour 3 tablespoons sugar 1 tablespoon baking powder 1/4 teaspoon salt 1/4 cup butter, cold and cut into cubes 3/4 cup heavy cream 1 egg 1 teaspoon vanilla 1/2 cup +2-3 tablespoons coconut 1/3 cup white chocolate
The Method: 1. Preheat oven to 375 2. Combine flour, sugar, baking powder and salt in a large bowl 3. Mix in cold butter with your hands (or the mysterious pastry knife) until butter is mixed in and the dough is crumbly 4. In a separate bowl, mix egg cream and vanilla 5. Add the wet into the dry ingredients and mix just until combined 6. Stir in 1/2 cup coconut 7. Form dough into a flat round disk, about 8-9 inches in diameter 8. Place on a baking sheet and cut into 12 triangles 9. Brush each triangle with a a little bit more cream (just enough so the coconut will stick) and then sprinkle with the coconut 10. Bake for 20 minutes 11. Melt white chocolate in the microwave 12. “Drizzle” melted chocolate over scones 13. ENJOY!