Recovering From a Binge

Binge eating, the uncontrollable impulse to eat mass quantities of food despite any feelings of hunger or fullness.  Most people entrenched in diet culture can empathize with the terrible feeling that comes in the aftermath of a binge.  Whether they are suffering from BED, bulimia, or are just experiencing the effects of fad/yo-yo dieting, a binge is one of the most common disordered relationships with food.  Binge eating typically stems from an emotional attachment to food as a source of comfort followed shortly by feelings of guilt.  Many people who have binge eating episodes engage in dangerous purging behaviors such as throwing up or laxative abuse to regain an “empty” feeling.  These binge/purge cycles often seen in bulimic individuals are physically dangerous.

Personally, when recovering from anorexia I had several binge eating episodes.  The only way I can describe my own experience is that it was like my brain turned off and all I could focus on was the food.  I was in a blind effort to eat as much food as I could find and fit inside of me.  After consuming thousands of calories in just 20 minutes I would then cry and feel terrible and guilty.  While I was supposed to be eating a lot for my recovery, the binges were still not the normal relationship with food I actually needed.

giphy

Here is my quick guide for recovering immediately after a binge eating episode.  This process is what eventually allowed me to begin overcoming binge eating:

  1. Do not be hard on yourself about the binge – One of the worst parts of any binge is the abrupt feelings of overwhelming guilt that bubble up. These feelings are what lead to the continuation of dangerous behaviors such as purging.  The purging then eventually leads to more binging and the cycle is continuously perpetuated.  After you have a binge, recognize your feelings of shame or disappointment as temporary.  Remind yourself that what happened has happened and the best thing you can do for yourself is be kind and forgive yourself for the binge.  Regularly practicing this internal dialog will help stop binges from happening again.  Remind yourself over and over again that you have worth, that this misstep does not define you, that you are going to be completely fine. They key is to identify and replace the feelings of guilt with feelings of forgiveness.
  2. Distract yourself – After quickly having a loving reconciliation with yourself, quickly distract yourself before you can backtrack on the positive internal dialog. Put on a movie, go for a walk, paint your nails, take a shower, call a friend, do anything that takes your mind off of the binge that just happened.  The more time you take to separate yourself from the episode, the better you will begin to feel.  My go to way to distract myself was to brush my teeth and call a relative (almost always my dad) to catch up.  If you decide to exercise to distract yourself remember to take it easy.  Do not use exercise as a way to punish yourself.  Keep it simple with a light walk or calming yoga.
  3. Do not restrict your food – This might be the most important tip here. After your binge, when you have hopefully successfully identified and replaced the negative emotions, forgiven yourself, and then distracted yourself for a while to keep your mind off of it, CONTINUE TO EAT NORMALLY FOR THE REST OF THE DAY.  You may be less hungry naturally, but if you binge mid day you still need to eat dinner and if you binge at midnight you still need breakfast!  Restricting your intake to compensate for the binge will only put you back in a cycle where another binge becomes possible.
    tumblr_mv06gngkXJ1rca9l9o1_500

Binge eating is complicated, the reasons behind a binge are multifaceted and unique to everyone.  Often therapy can help with BED, bulimia, or just mending a very bad relationship with food.  However, there are a few things to remember to do to help yourself outside of seeking professional treatment.  Binges can be physiological and/or emotional.  The best ways to prevent them is by protecting yourself from both.

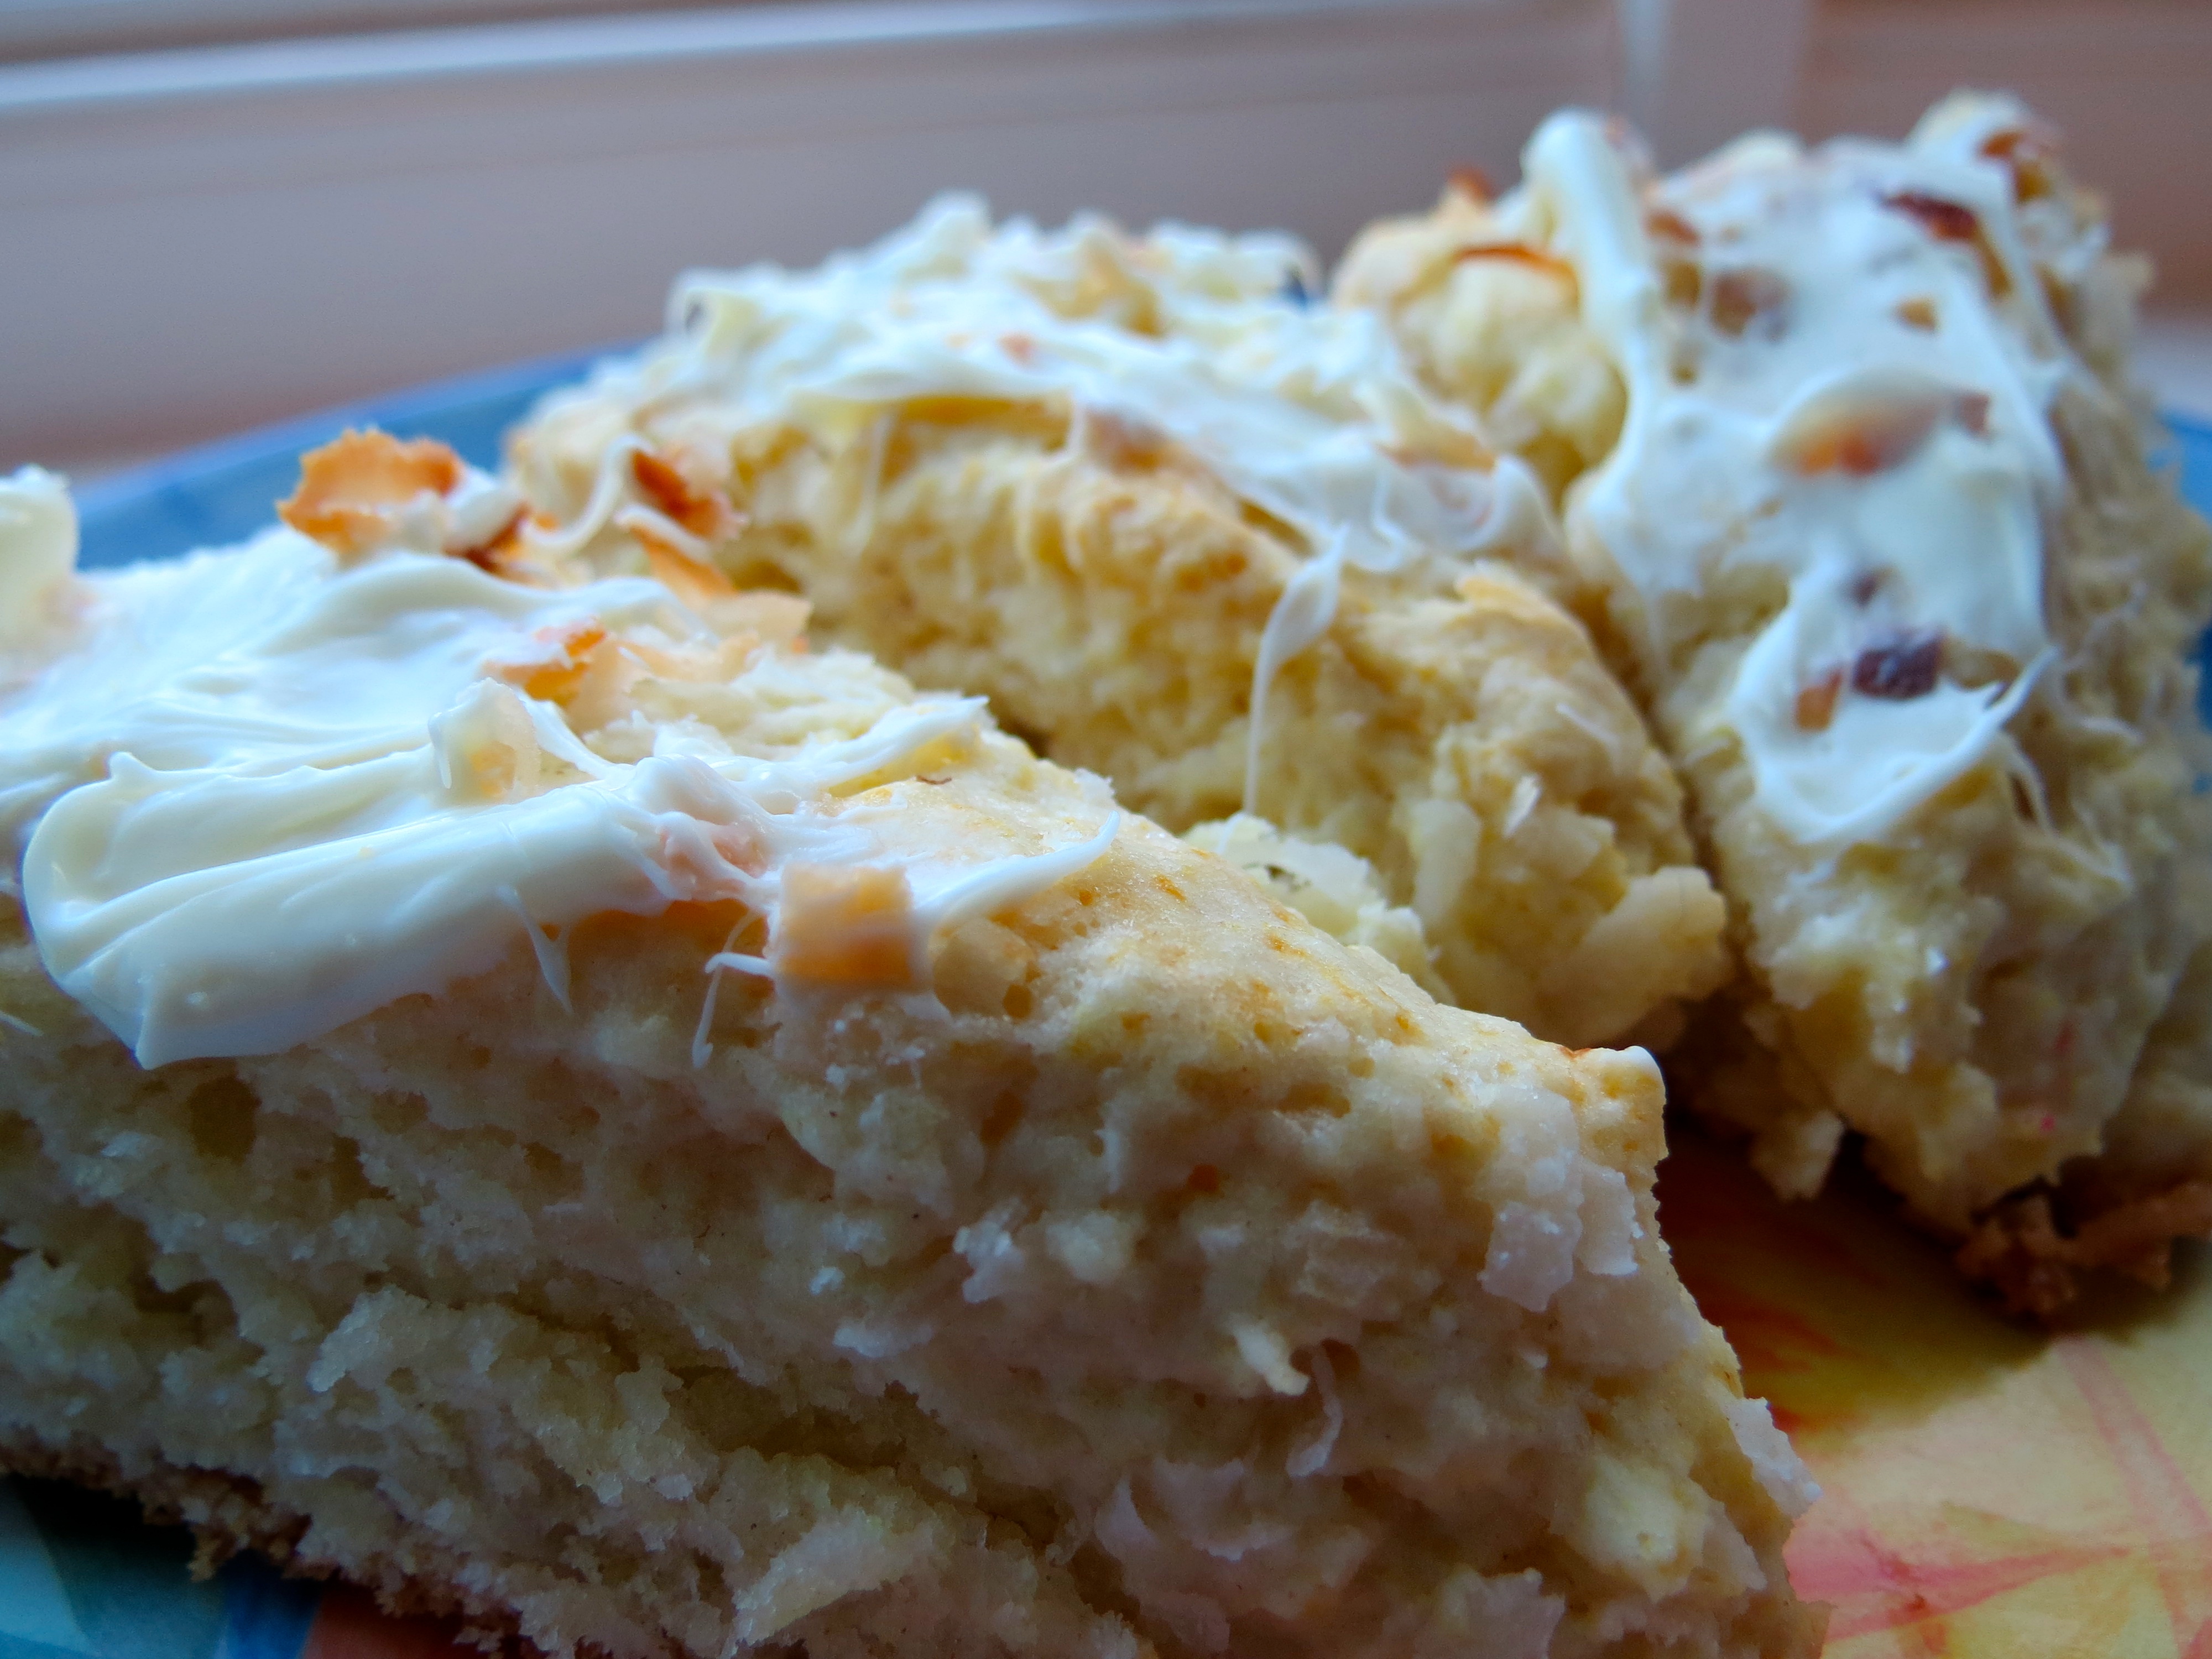
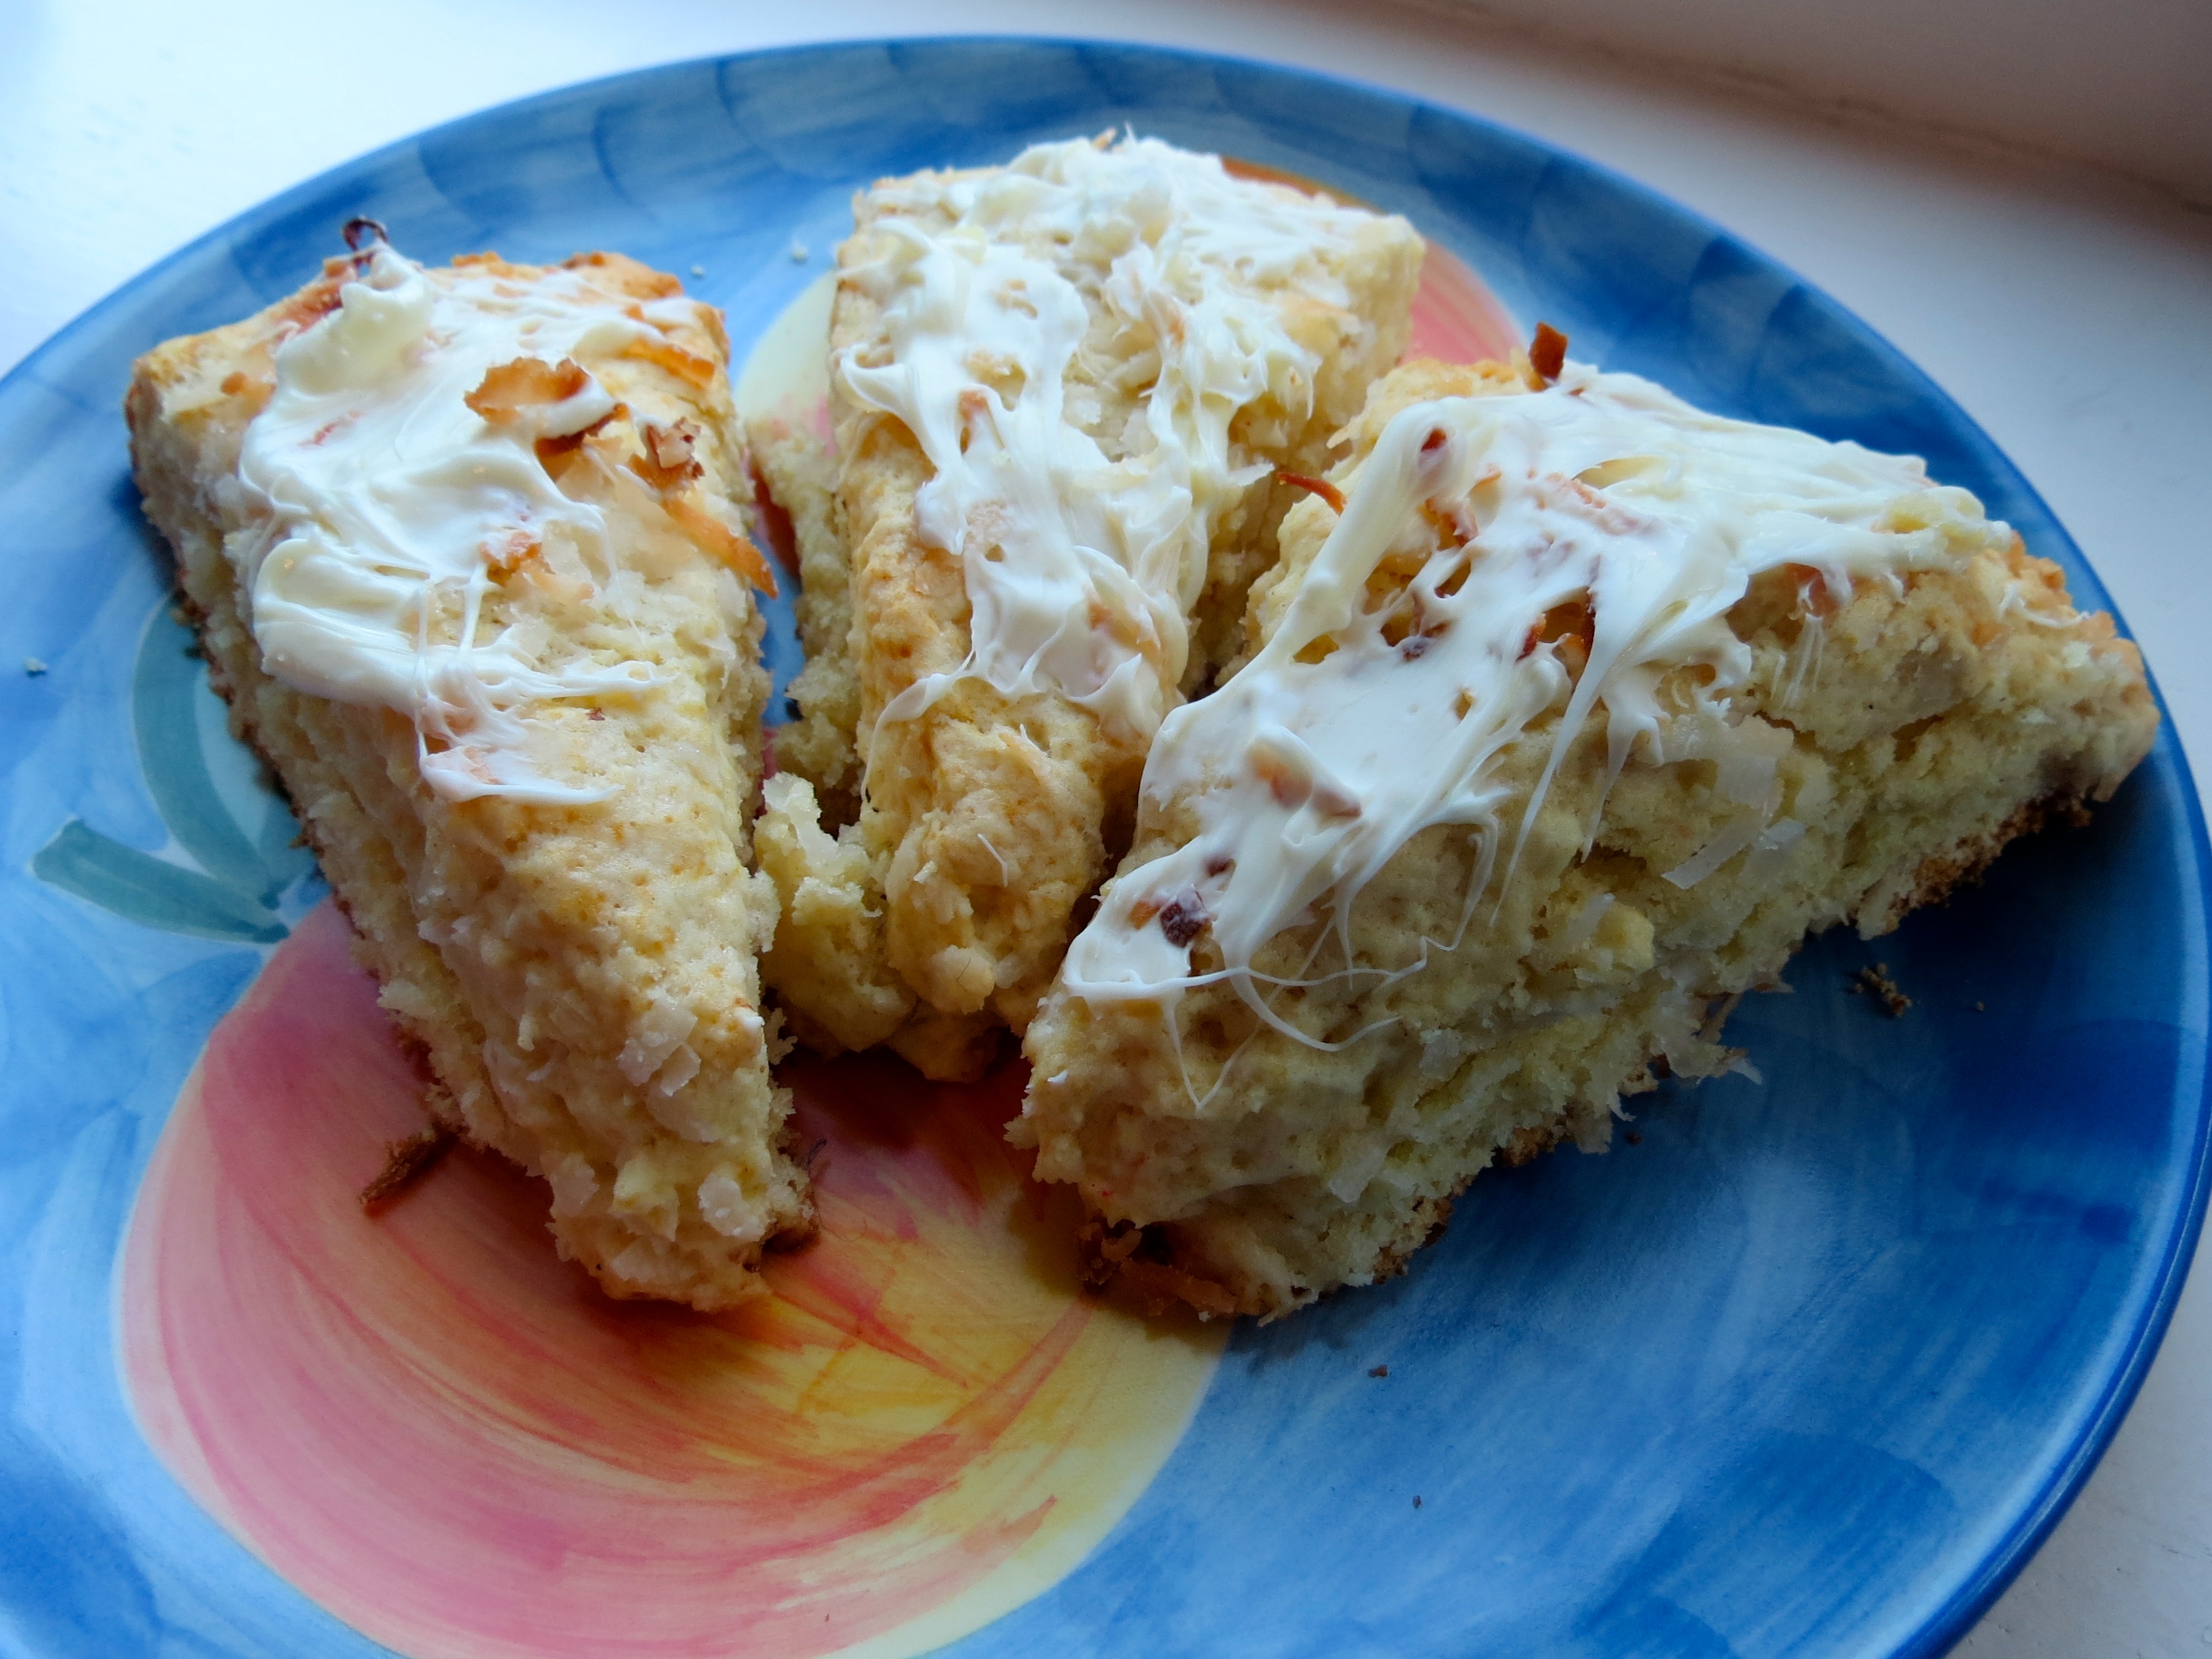
The first step is practicing consistent self care.  Treating yourself with love and respect will nurture a positive connection between yourself and your body which is an important step in repairing a damaged relationship with food.  Keeping a daily journal to write down feelings of gratitude and affirmations is a good first step.  It can often feel silly and awkward at first but eventually you will begin to notice the permanent changes it brings to your overall mindset.  While recovering, I wrote all over every mirror of my room positive quotes and self esteem boosting mottos.  Make sure you look upon yourself with love, and treat yourself to nice things whether it’s manicures, bike rides, or long colorful bubble baths.  Remind yourself that your body is merely a vessel for the beautiful soul underneath.

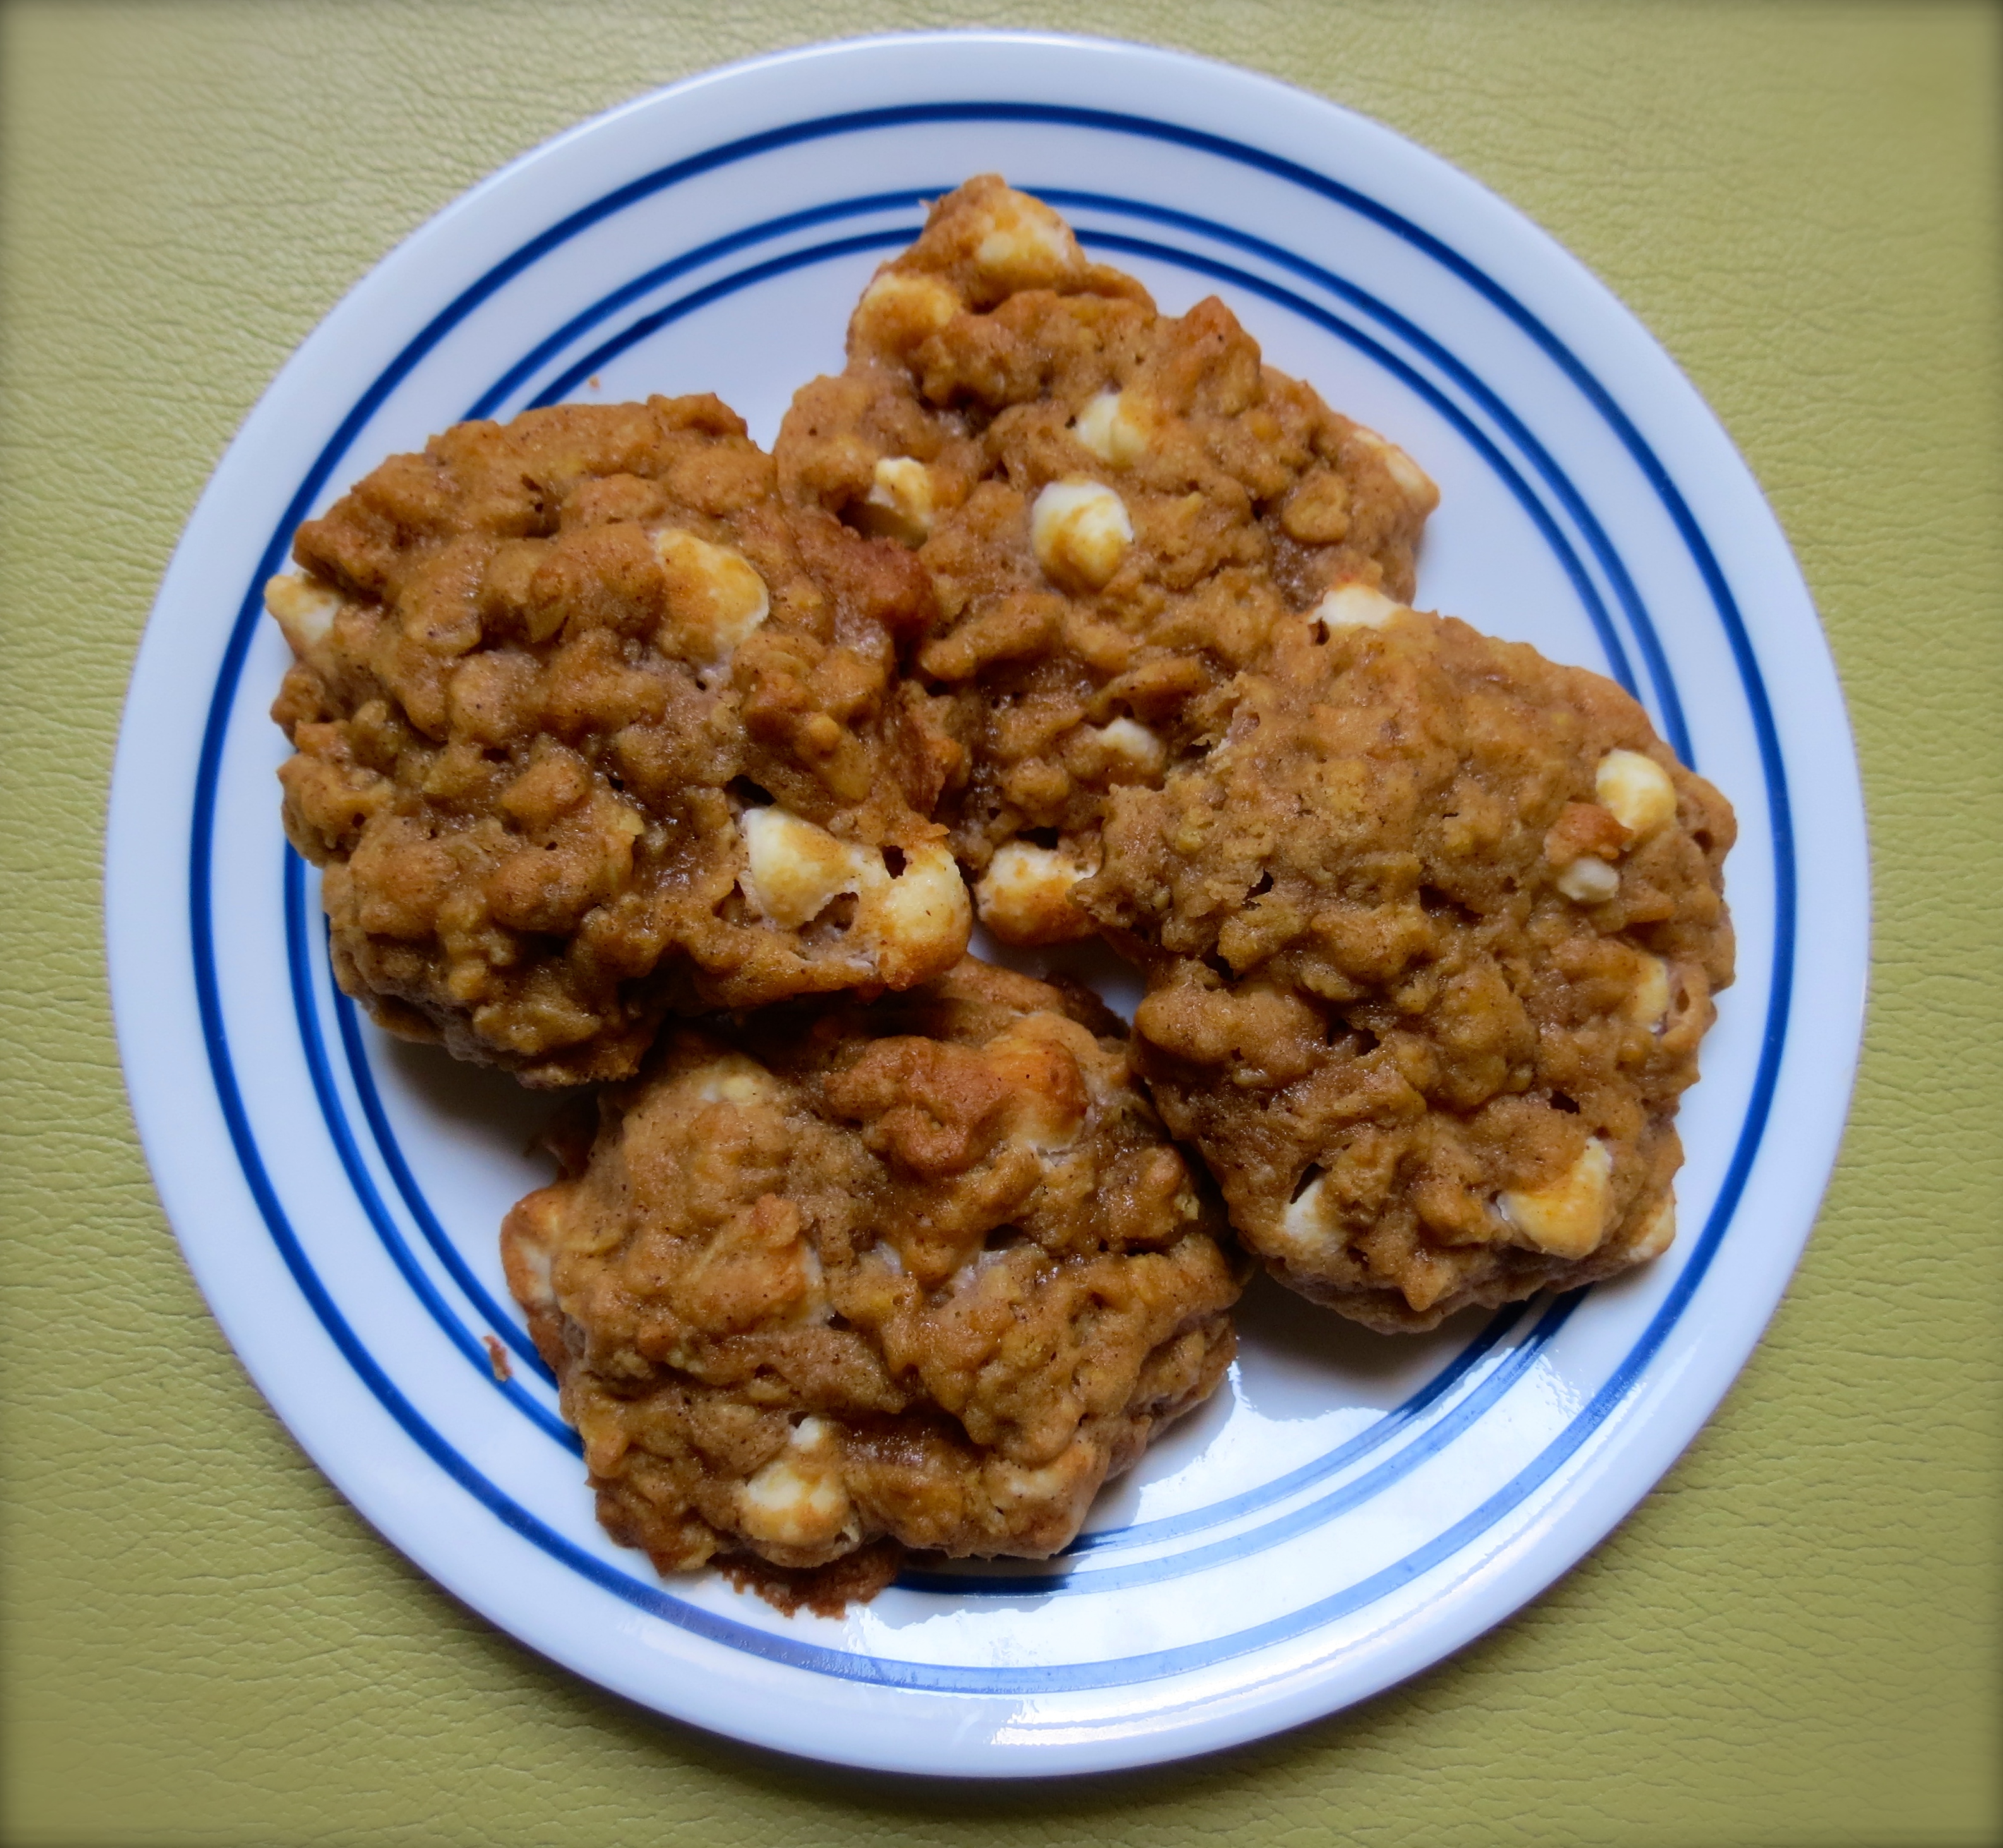
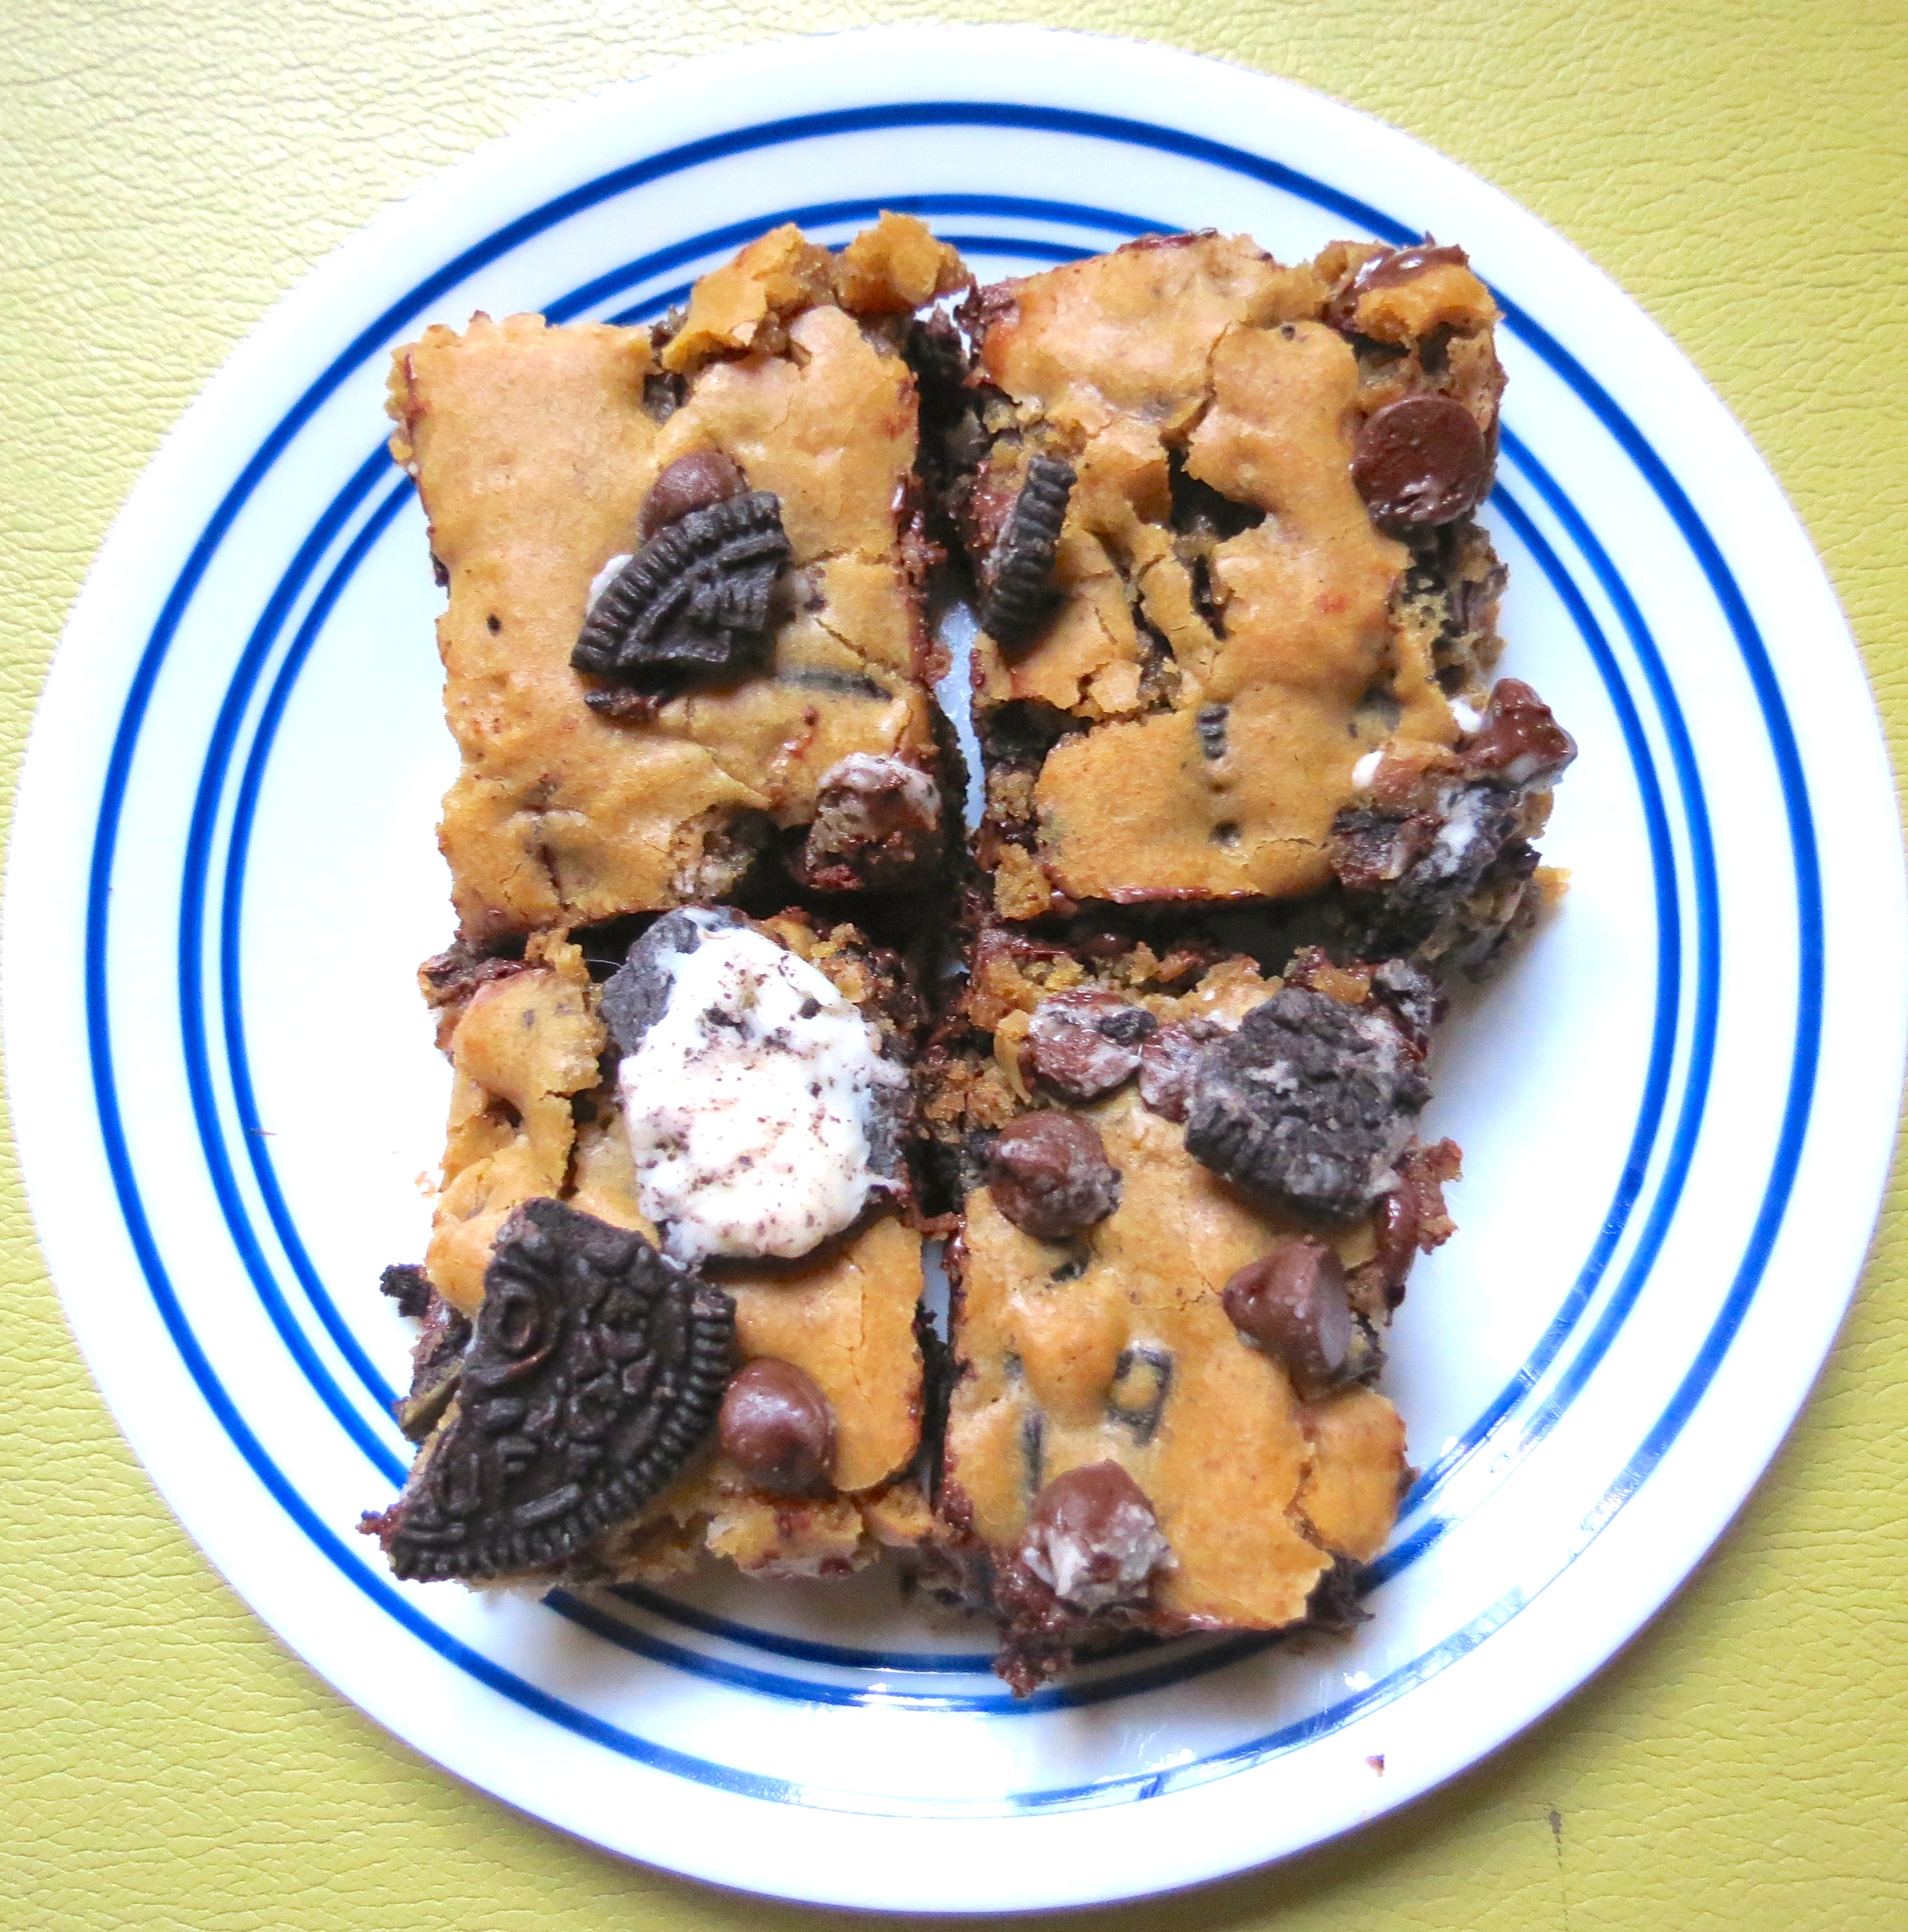
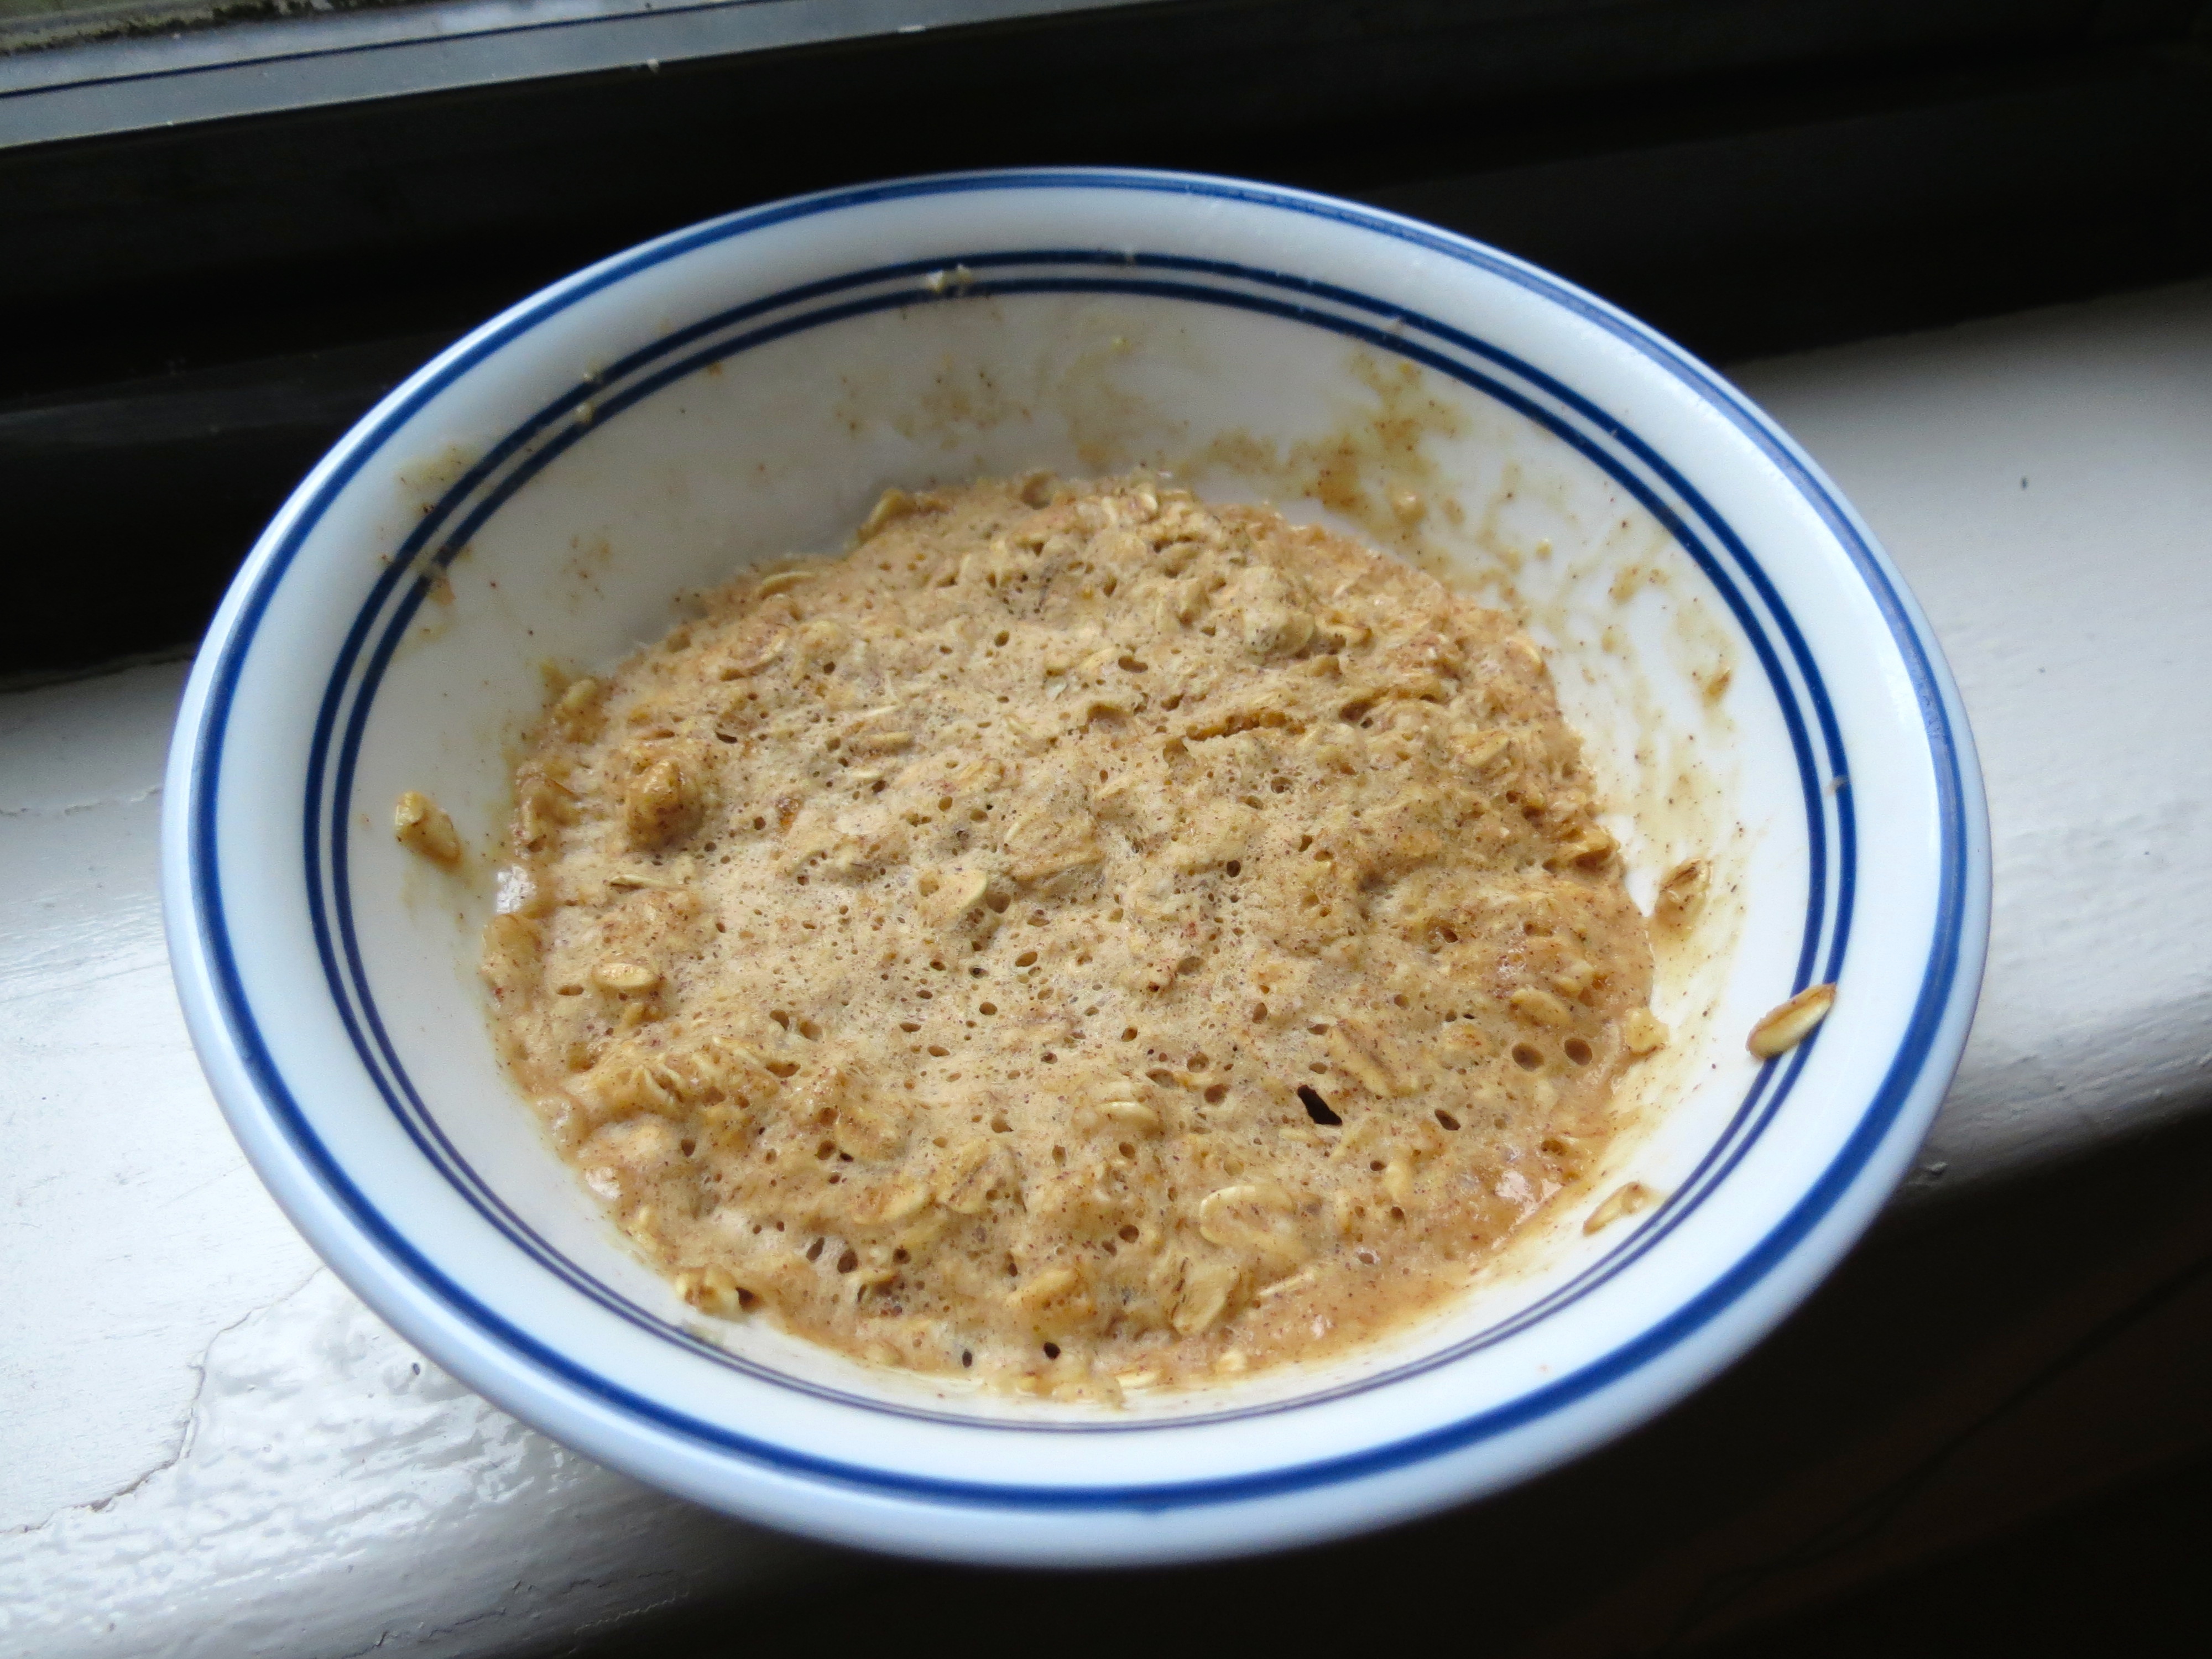
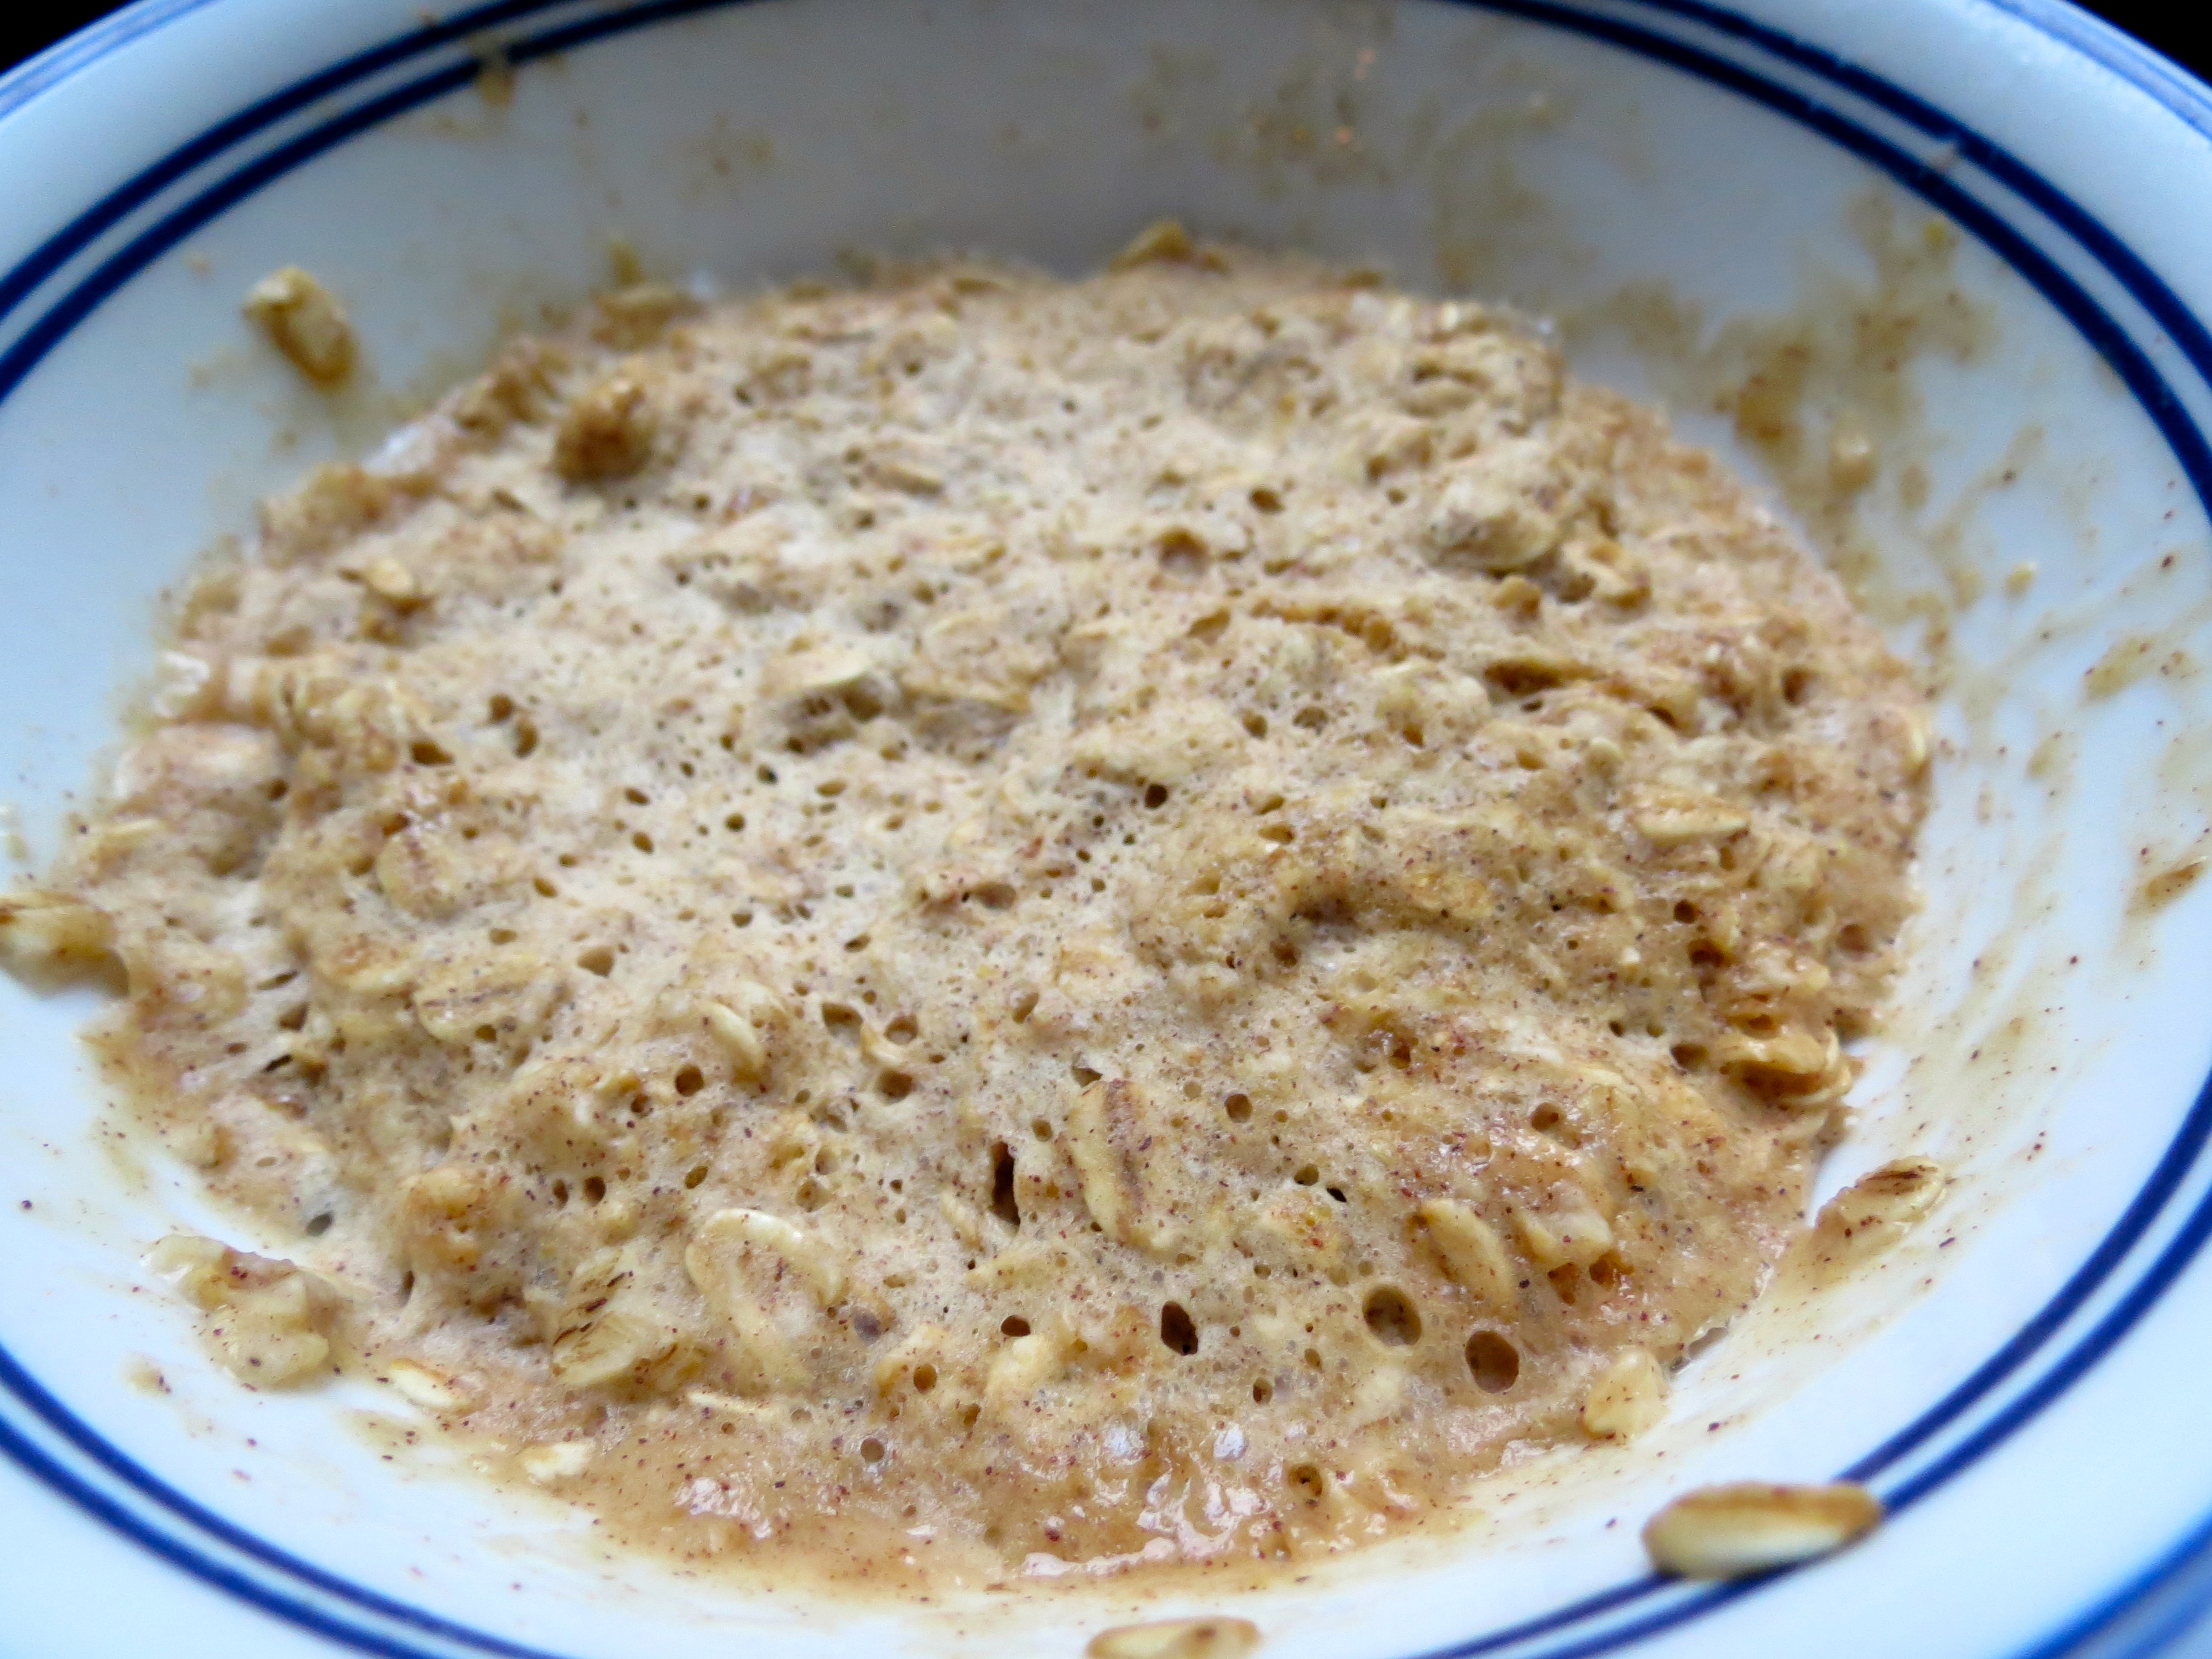
The next step is stop dieting.  Stop restricting.  Diets don’t work, they encourage an abundance/scarcity mentality which upsets your brain and your metabolism.  Practice eating intuitively.  There are many resources available that teach this way of thinking.  The way I achieved it was by eating my minimum 3500 calories to gain weight, reset my metabolism, and shift my perspective on restriction.  Eventually, when the mentality of restriction began fading away the urge to binge left too.

Binge eating is not a solitary experience, many people go through it every day.   You are not alone.  With a determination to make a change and by practicing self love and no restrictions, binge eating is something you can recover from.

Resources used:
https://www.recoverywarriors.com/ten-tips-recover-binge-emotional-eating/

http://www.webmd.com/mental-health/eating-disorders/binge-eating-disorder/binge-eating-disorder-medref#1

https://www.nationaleatingdisorders.org/binge-eating-disorder


How I Recovered

I want to start off by saying that I am not a dietician, psychologist, or doctor of any sort.  If you are experiencing serious medical concerns, please go see a doctor as soon as possible and if you are having any abnormal, anxious, depressed, or suicidal thoughts or feel like you need a trained ear to help support you please seek counseling from a professional.

medisneyFor me, recovery from my eating disorder took a long time and happened in several phases.  Boiling the whole process down to a series of easy-to-follow steps just isn’t realistic because this disease is complicated and different for everyone who is affected by it.  This is my recovery story and though it may not be exactly the “right” method, it is the one that set me free.

TRIGGER WARNING – There are descriptions of restrictive eating in here.

The day I googled “symptoms of anorexia” I felt my stomach sink as my eyes scanned the pages identifying with all the evidence I saw.  After a lot of crying and googling for more answers, I was finally ready to accept that I might have a problem.  However, I sat on that knowledge without doing anything about it for a long time.  I told my boyfriend and my parents and they were supportive and not surprised but I didn’t really know where to go from there.  I made an appointment with a therapist, I did some more online research, but mostly I just ignored the truth for as long as I could.

tumblr_nah2rs86fm1qf1498o1_r1_500I saw therapists and went to doctors but the most impactful discovery for my recovery was online communities.  It all started with my Tumblr recovery page.  I discovered other girls who were recovering from anorexia and what that process looked like for them.  I spent hours and hours reading posts from recovering girls and the articles they found interesting.  The first step of course, was to increase my intake.  It happened slowly over the course of a few months.  I increased to 1200 a day then 1300 than 1500 and so on until I settled on 1700 a day for many months.  I stopped all workouts that weren’t yoga.  I made a list of all the food that scared me and I vowed to try and eat everything on the list at least once.  I started photographing my meals and posting about my days on my tumblr.  I was in this state, which I refer to as “quasi-recovery” for over a year.  I went through several periods of relapse where I would return to my old ED behaviors before returning to quasi.  I was still an unhealthy low weight, but I wasn’t losing anymore I was maintaining.  At least I was eating I thought…  sure, I was still cold all the time, afraid of certain foods, isolating myself, losing my hair, not menstruating, feeling depressed and suicidal, I sprained my ankle in my sleep because my bones were so weak, and sitting down still hurt because all my bones stuck out of my body… but for some reason I still felt like I was “recovered”.  Just because I wasn’t eating only 500 calories a day and the fog in my head was dissipating I thought the battle was won.  The problem was that numbers still ruled my life and I was not happy.  I was not recovered.

your-eatopiaThe beginning of my salvation came upon the discovery of youreatopia.com and the Minnie Maud method of recovery.   In summary, it is a system of recovering in which the person eats at least 3,000 calories (some cases it is 2,500, and some it is 3,500, but for me, it was 3,000) and stays as sedentary as possible. This is all in an effort to restore one’s metabolism, while simultaneously expanding from the mental restriction of anorexia.  The 3,000 calories required is the minimum, however, if one’s hunger is not satisfied at 3,000, then they are encouraged to eat until satisfied. In fact, many people who recover this way experience what is called extreme hunger and can eat upwards of 10,000 calories a day.  Minnie Maud is named after the Minnesota Starvation Experiment, which is an fascinating study of starvation on the human body. I was spellbound by the study, and I encourage you to read through it too to discover the negative impact of calorie restriction.  Minnie Maud is controversial because the woman behind it all doesn’t have any known credentials but many girls follow her advice with success regardless.  I had known about Minnie Maud for months but never truly considered it as the right option for myself.  In truth, it scared me.  I think my eating disorder knew that doing this would work, so it constantly told me it was the wrong thing to do.  I haunted the online forums but never truly committed.  Then one day after almost 2 years of quasi-recovery, I just did it.  I ate the minimums and didn’t move all day.  It felt horrible, I hated myself, but also a little tiny part of me felt a little freer.  I started following the guidelines every day.

The extreme hunger was very real.  At the worst of it I was eating over 5,000 calories a day and I had the feeling of food being stuck in the back of my throat constantly.  I worried incessantly that I was becoming a binge eater but I just kept going because I didn’t know what else to do and I wanted this to work.  With the freedoms the minimums gave me I was finally able to eat foods I had avoided for years, pasta, cheese, ice cream, candy, avocados, bread, and so much more.  I finally was able to stop counting calories like a maniac.  One exciting day that I will never forget is the day that I was able to delete MyFitnessPal from my phone.  The app had been controlling me like a mindless zombie for years and all of a sudden poof!  I didn’t need it!  I still had a lot of negative thoughts, the first few months on Minnie Maud were not all roses and sunshine.  I had to cover all my mirrors and hide my scale.  I was truly gaining weight for the first time in years and that made me more nervous than anything else.  However, a big component of the Minnie Maud system is the theory of a “set point.”  That you can keep eating the minimums for the rest of your life and eventually the weight gain will taper and each body will hover around the weight that is right for it.  I was skeptical, but I had read success stories and knew girls who had recovered and I used the anecdotal evidence to keep myself going.

fearfood
Pictures from my tumblr of me challenging myself to “fear foods”

Two months in to Minnie Maud my ex-boyfriend of almost three years broke up with me.  It was so devastating for me at the time.  He had been there from the beginning and had always been supportive.  The problem was he bore the brunt of most of the negative thoughts.  I depended on him for emotional support and it just got to be too much for him (tangent: let’s not blame that breakup on me though, he was a cheating asshole who left me for someone else and couldn’t own up to it like a man.)  I thought that it would be the worst thing for my recovery, but in truth after grieving for a month I started making more progress than I ever had before.  I didn’t have him as an emotional crutch and I finally had to just depend on myself to push through. The bulk of my recovery happened in the five months after he left me.  Mid way through that same year I looked at myself in the mirror and knew the battle was truly over.  The last hump of recovery was the hardest. In my final month of recovery I was still counting calories and weighing myself.  I was eating tons of food – to the point of stomach pain every day.  My body and brain were begging me to eat. and eat. and eat. I was uncomfortable, but I didn’t stop.  I never stopped.  I felt large, and insecure, it was not easy.  Then one day without me even noticing, it was easy.  One day – I didn’t count my calories.  I didn’t step on the scale.  I didn’t think about food unless I was eating it.  My body felt fantastic.  I felt fantastic, and I knew I was healed.  I don’t think about numbers, I don’t care about food, and every day I love my ever expanding beautiful soul.

tumblr_n40u2dqi5d1qmibiao1_500
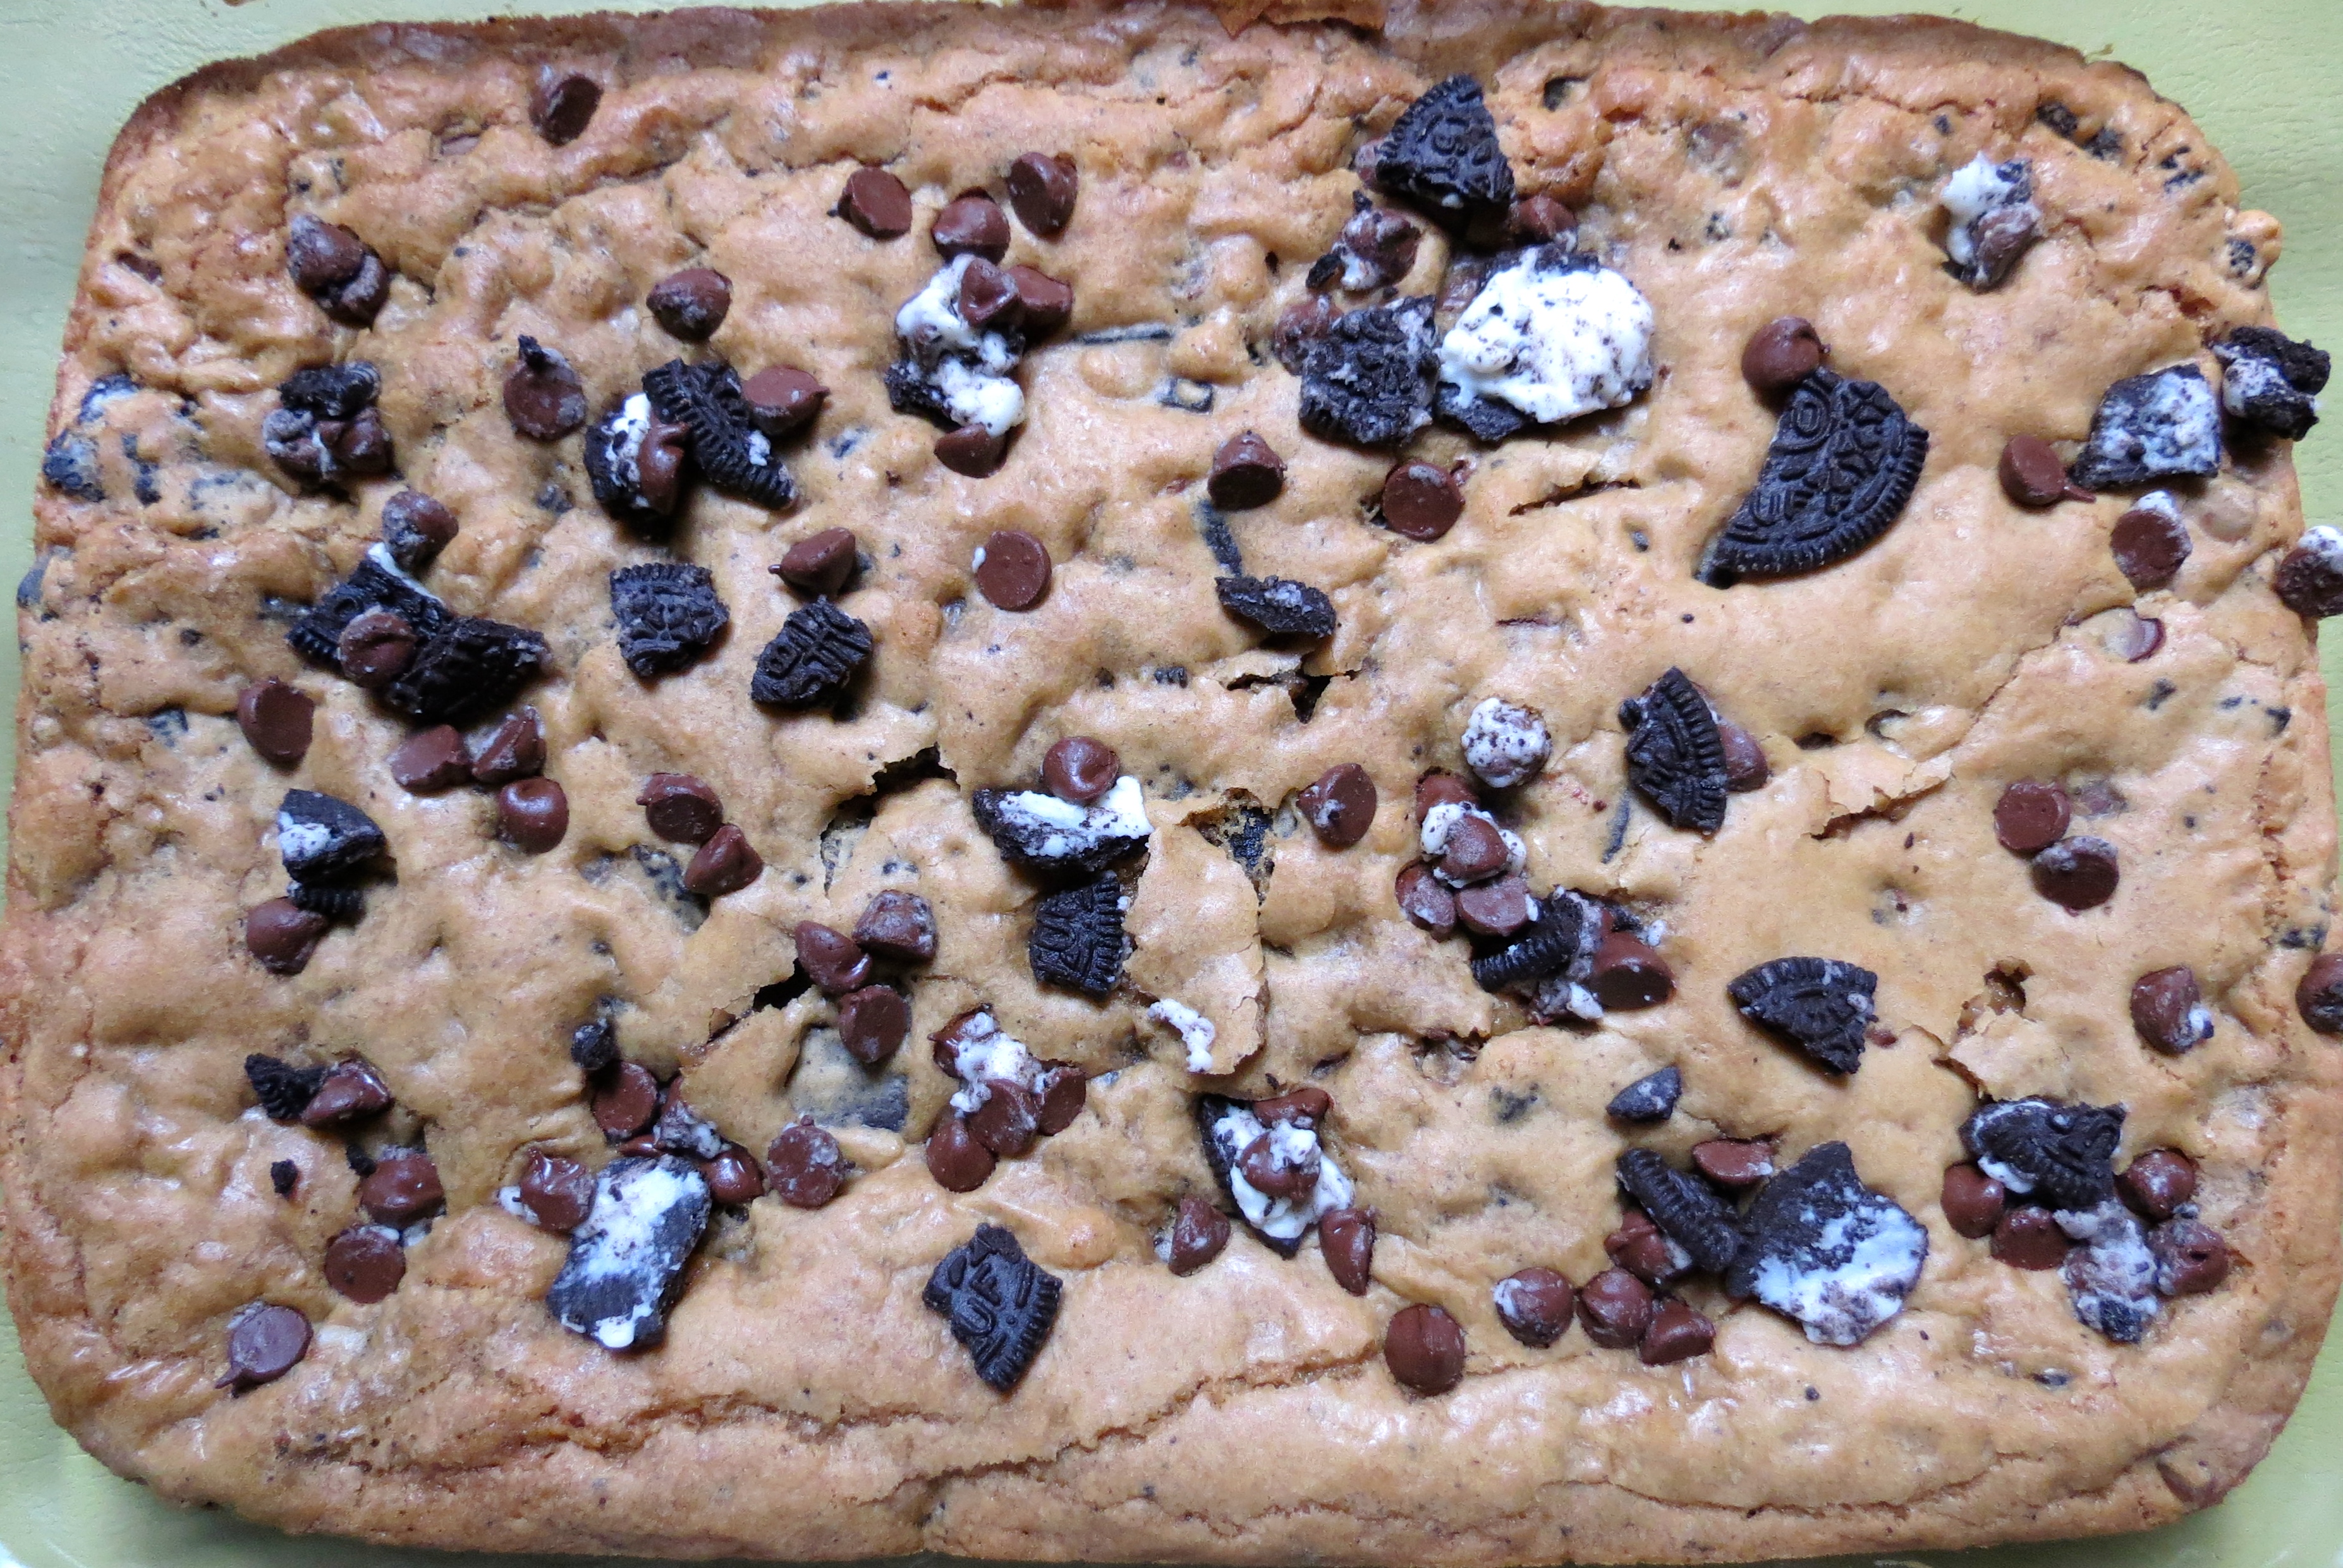
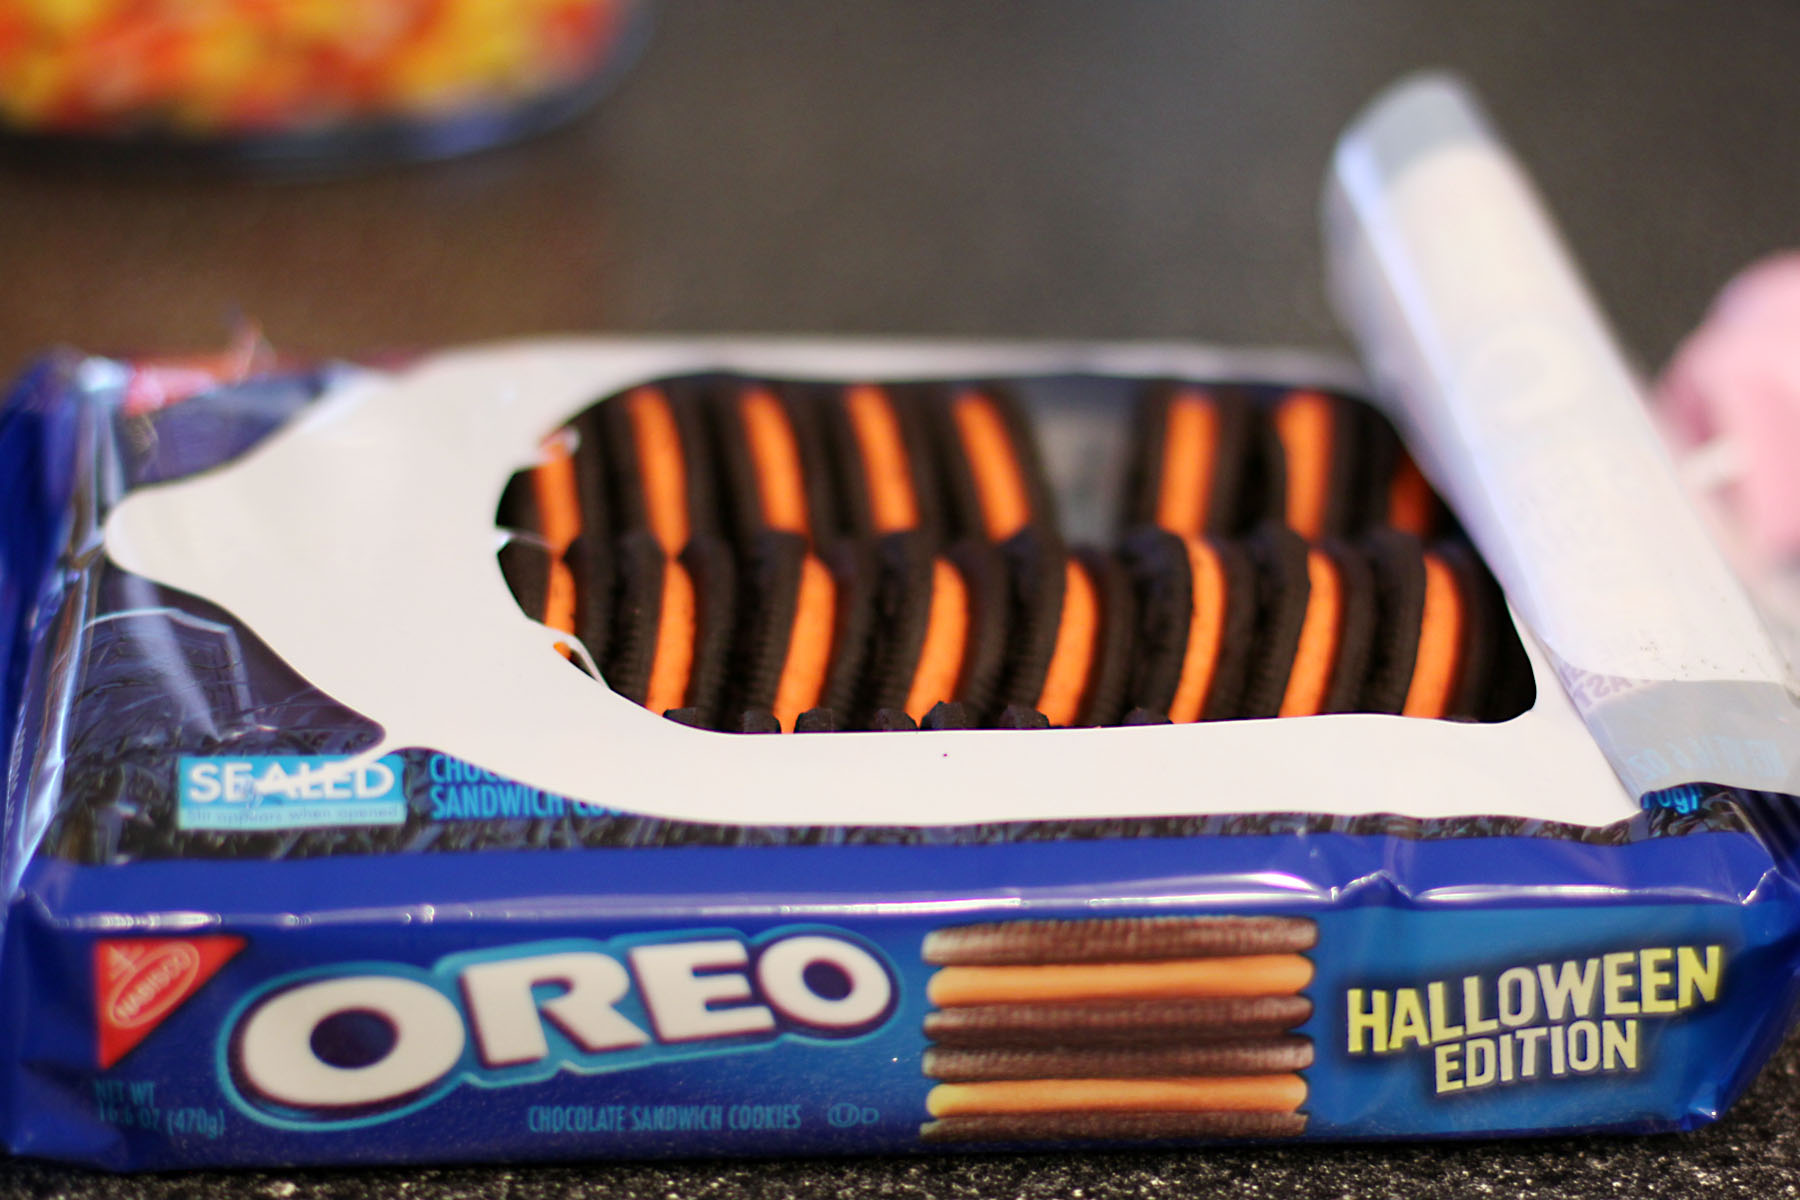
In the end, I gained 40 pounds back.  I experienced painful swelling, bloating, and stretch marks but I pushed forward anyway.  I ended up at a weight that I could truly love myself at without hurting myself.  The best part of recovery was feeling my personality return and grow into something more exciting than it had ever been before.  I did stop gaining weight eventually despite not changing my eating habits.  I was the same weight I had been before I became anorexic because set point is real.  I haven’t obsessively counted calories in almost a year but I have to imagine I’m still eating near the minimums every day and my weight has stayed stable give or take a pound or two since the initial weight gain.  I don’t usually weigh myself, I can just tell by my clothes. I felt truly recovered from the thoughts and the actions about 7 months into Minnie Maud.  Today, I eat and eat and eat – not because I think I have to but because I live in an amazing city with delicious food. I eat because I work in an industry that feeds me decadent delicious free meals. I eat because it is an important way that I connect with the people I love. I eat because food is delicious. I eat because we need food to live. I eat because I remember what it’s like not to and I will never go back to that life again.  I am recovered.


Letting Go Of A Thin Identity

Let’s talk about personal identity.  Something that I noticed is that when the inches of your waist and number on the scale become the central components of your life, it is hard to stop from identifying solely through the frame of the disorder.  You can find your identity being defined by traits that only surround your obsession with calories, weight loss, and trying to stay thin.  I had a personality thrust upon me that my disorder created and I couldn’t escape her.  I had become this quiet, introverted, thin, workout crazed, healthy eating “guru”.  None of those were really representative of me, but they were who I had unwittingly become.

tumblr_mfic7hnkz31r0lzjao1_500Have your dreams, hopes, fears, and attributes outside of the disorder been lost and forgotten?  It can be all too easy to fool yourself into thinking that this new identity you’ve created is the “new you” and that you are no one else without it, but letting go of that falsehood is an important step out of the darkness.

When I was recovering I would refer to “sick Rachel” and “healthy Rachel” as if they were two different people completely.  “Sick Rachel” was not the real me and in my heart I always knew it even though the voices in my mind tried to hide it from me.  It took me a long time to rebuild myself back to “healthy Rachel”.  As I recovered and my hair thickened up, my nails stopped breaking, my period came back, and my health returned to normal, my personality started slowly returning too.  A lot of my pre-ED qualities came back (nerdy fantasy obsessions, inclination to party, social skills, a passion to work in TV, a more relaxed vibe, open heart, and positive outlook).  However I also had new components to my personality that I was able to incorporate into myself.  I had to re-learn what it meant to be Rachel all over again.  I started realizing that “sick Rachel” was never me, it was who I became when I let the anorexia speak for me.  During recovery I visualized “healthy Rachel” being locked in a dungeon in the deep recesses of my mind.  All she needed to do was break free and defeat “sick Rachel” for my personality to be restored.

SONY DSCSo, how do you separate yourself from a mental illness that distorts you view of reality?  How does “healthy Rachel” vanquish “sick Rachel?”  The first step is to stop moving and eat.  Eat so much that it doesn’t seem right.  Continue eating and living until one day you wake up and the fog in your brain has lifted and you start seeing yourself for more than your body.  That’s when you’ll start being able to really piece yourself together once again.

Your own self is the ultimate reason to recover.

Your identity is such a tricky thing to pin down.  What makes you, you?  When recovering it is always helpful to write down a list of things you’re recovering for.  I always put Myself at the top of the list.  I wanted my life back, I wanted to be me again.  If you have sacrificed any fragment of yourself to try and be thin over anything else then you have already wasted far too much of your own time.  It’s time to let go of all that poisonous, culturally ingrained bullshit.  It’s a new year and a perfect time to remember what a badass warrior princess you really are!  Instead of worrying about a workout, go watch one of your favorite movies.  Instead of counting the calories in a piece of bread, bake a 3 layer cake and cover it with glitter.  Stop hiding behind an identity of thinness that a disorder has convinced you is who you are.  Stop worrying, start eating, start living.  It may not sound easy, and it isn’t, but boy it is worth it.


Stay tuned.  In my next blog post I will be outlining the exact method I used to recover.


Fall Into The Season – White Chocolate Pumpkin Oatmeal Cookies

IMG_5395

Ahhh Fall.  The crisp air, the changing foliage, the emerging of sweaters and boots from the back of the closet, the warm apple cider, and the integration of pumpkin spice into every consumable good possible.  At least that’s how my autumns were growing up in New England.  In New Orleans, fall comes on a little differently.  The weather stays hot and humid, the trees stay lush and green, people continue to wear shorts and crop tops, all drinks are chilled to cool you down, but at least pumpkin spice is still everywhere you look!  That’s what I love about food trends, they are the great equalizer of all the very different regions of the country!

Yes, fall is here, and no matter what that may look like for you, I’m betting money that you have seen at least one pumpkin flavored item marketed at your face.  So, who am I to buck a trend?  That’s why today I have for you all my DELICIOUS White chocolate pumpkin oatmeal cookies!

IMG_5396

I am particularly proud of these cookies because this is my first recipe that I have developed completely on my own.  I did not follow someone else’s recipe nor did I tweak a previously written recipe.  I took the knowledge that I’ve accumulated thus far in baking and I designed my very own cookie!  The best part?  They were a total success!  Everyone really seemed to enjoy them and I must humbly say, they were very delicious.  Well how could they not be?  They were a beautiful combination of white chocolate and pumpkin in an oatmeal cookie base.

The only notes I have on the recipe is that the dough is a little bit oily because of the pumpkin, so make sure that when you’re forming them to put on the pan you construct them extra carefully into balls.  Otherwise they melt out a little bit before they hit the oven and bake oddly.  This happened to about 5 of my cookies before I figured out that I needed to take more care in shaping them.  Also, take the time to let them cool and firm up a little bit.  I was too anxious to wait and ate 3 straight out of the oven, but the ones I had the next day were much better.  So try your best to be patient!!

White Chocolate Pumpkin Oatmeal Cookies

The Ingredients:

2 cups flour
1 tsp baking soda
1/2 tsp cinnamon
2 tsp pumpkin pie spice
pinch of salt
1 cup butter, softened
1 cup sugar
1 cup brown sugar
1 egg
1 tbsp vanilla
1 cup pumpkin puree
2 cups rolled oats
1 cup white chocolate chips

The Method:

1. Preheat oven to 350 degrees
2. In a mixing bowl combine flour, baking soda, cinnamon, pumpkin pie spice, and salt and set aside
3. In a separate bowl cream together the butter and the 2 sugars
4. Add the egg, vanilla, and pumpkin to the egg mixture and mix thoroughly
5. Add the dry ingredients to the wet until they are all incorporated
5. Mix in the oatmeal and white chocolate chips
6. On a greased cookie sheet form balls of dough and bake for 14 minutes
7. This recipe should yield 3 dozen cookies
8. ENJOY!

Sweet Potato Sunday!

IMG_5395

Growing up I was always that kid that absolutely REFUSED to eat my vegetables.  I remember sitting at the kitchen table for hours while my mom forced me to have at least one bite of spinach.  My parents tried everything!  They covered the veggies with sauce or cheese, they tried to spruce them up to make them more interesting to me, but I was a very stubborn child.  I was set in my ways and refused to learn to like vegetables.  It’s ironic that now as an adult (or a larger child, as I often consider myself) I absolutely LOVE veggies!  I try and have a vegetable component in almost every meal, and one of my favorites is the sweet potato!

118-cartoon-sweet-potato-joke

Sweet potatoes are actually one of my absolute favorite foods of all time.  They are second in line behind my ever beloved oatmeal.  They include many essential vitamins, including B6, C, D, and A!  You basically cover all the important alphabetical vitamins in one serving of this fun vegetable!  That’s another thing – they’re a vegetable that tastes like a dessert!  What a serious win win.

I buy tons of sweet potatoes every time I go to the store because they can store for a long time.  Whenever I don’t feel like cooking a big meal I simply wash a sweet potato, poke a few holes in if with a fork and microwave it for 8 minutes – rotating once at the 4 minute mark.  Then I can just cut it open straight from the microwave and load it up with whatever delicious fillings I want!  (Chickpeas, cheese, yogurt, honey, cinnamon sugar, nutella, or simply salt/pepper and butter!)  However, when I have more time I like to get a little fancier with my sweet potatoes and make myself some sweet oven baked fries!  The recipe is easy and the outcome is SO DELICIOUS OH MY GOSH!  You’ll just have to try it yourself to believe me!  (And this is also a great way to get some vital nutrients into picky kids!)

SWEET SWEET POTATO FRIES

The Ingredients:

1 large sweet potato (or 2 small ones)
1 tbsp olive oil
1 tbsp honey
2 tsp vanilla
1 tsp cinnamon

The Method:

1. Preheat oven to 375 degrees
2. Place sweet potato in microwave for 1-2 minutes so that it’s softer and easier to cut
3. Cut sweet potato into long fry-like strips and place into a bowl (I keep the skins on because I love them, but you can peel your potato if desired)
4. Add the rest of the ingredients of top of the cut potatoes and mix with your hands until each slice is fully covered and the ingredients have all mixed together
5. Spread out the strips onto a sprayed baking sheet
6. Place in oven for 30 minutes
7. Let cool for 5 minutes and then enjoy!

More fun with Oreos – Chocolate Chip Oreo Cookie Bars

IMG_5387

Do you have a favorite type of Oreo?  Personally I like the ones that come out around Halloween time with the orange frosting.  They don’t taste any different from the regular ones I don’t think, but for some reason the orange makes it easier to consume an entire package of them…  I also like the double stuffed ones because there is nothing wrong with putting more of that mysterious frosting stuff in my mouth.  I’m not really into the golden ones, or the uh oh oreos.  I know there’s a myriad of other flavors such as mint, peanut butter, birthday cake, and cookie dough!? but I’ve never actually tried those ones.  Let me know if any of them are worthwhile in the comments!

these are undeniably the best

For these cookie bars I used double stuffed oreos.  Like I’ve said countless times, you can never go wrong with double stuffed!  From this endeavor I learned a few things about my new kitchen Including the fact that I have a pretty weak oven.  These had to cook for nearly 40 minutes when the recipe I based them on only had them in for 25! 

Also, because I don’t have an electric mixer I creamed the butter and sugar myself (cue your impressed faces at my powerful muscles) Either way they came out AMAZING and my sorority sisters devoured them at our chapter meeting!

IMG_5389

CHOCOLATE CHIP OREO COOKIE BARS

The Ingredients:

BARS-
2 cups brown sugar
2/3 cup salted butter
3 eggs
1 tsp vanilla
2 1/2 cup flour
2 1/4 tsp baking powder
1/2 tsp salt
12 crushed oreos
1 cup chocolate chips

TOPPING-
2 crushed oreos
1/4 cup chocolate chips

The Recipe:

1. Preheat oven to 325 degrees
2. Soften the butter in the microwave then add to the brown sugar in a large bowl.  Cream them together
3. Mix in eggs and vanilla
4. In a separate bowl mix together 1 cup of flour with the baking powder and salt
5. Pour the dry into the wet and mix together
6. Add in the rest of the flour
7. Fold in the oreos and chocolate chips
8. After baking for 15 minutes add the toppings and continue baking for another 10 to 20 minutes (depending on how useful your oven is)
9. ENJOY!

All for myself – Single Serve Microwave Oatmeal Cookie

IMG_5378

Hello again everybody!  Let me tell you something, I have been busy busy busy since I returned to school.  I forgot how easily my life can become so hectic!  Between the hours of classes, homework, extracurriculars, work, and attempts at socializing I have found that baking has really been placed on the back burner. 

pictured: me prioritizing my social life #SINS

A secondary challenge is that I am surrounded by a bunch of sorority girls who have too much self control and won’t eat my baked goods quickly enough!  I ended up eating about 1/2 of the Oreo bars I made and struggled to find other people willing to eat them.  People are way too body conscious here and it’s kind of bumming me out.  I’m far less motivated to bake when I know that nobody will eat my creations!  However, after I got home from work and dinner last night I decided enough was enough!  If nobody wanted to eat batches and batches of amazing cookies than I would simply focus on myself.  Thus, my single serving oatmeal cookie was produced!

IMG_5381

This cookie takes about five minutes total to assemble and bake.  You can’t really tell from the pictures but after cooling for about three minutes, the cookie just popped right out of the bowl and I could hold it like a real cookie!!  It was so cute and awesome.  Actually, just baking it was really cute.  I’m used to using cups and cups of flour and sugar for my large scale baking endeavors but this simply required small teaspoons of ingredients!  It was adorable and really fun.  The end result was surprisingly good.  The cookie was a little but chewy, but it still reminded me very much of an Oatmeal cookie.  Given that it was cooked in the microwave I was fairly impressed with the outcome.  I ended up making two of them for myself (darn my oatmeal cookie addiction!) but they were the perfect night snack and a good way to practice portion control (if you’re into that kind of thing).  Another thing I thought of after the fact is that these would be SO much better if some chocolate chips were thrown in them!  Next time! (AKA every night ever)

ONE SERVING MICROWAVE OATMEAL COOKIE

The Ingredients:

1/4 cup oats
1 egg white
2 tsp brown sugar
2 tsp all-purpose flour
1/4 tsp vanilla extract
1/4 tsp baking powder
Cinnamon (as desired)
Chocolate Chips (technically optional but let’s be realistic… they’re never optional)

The Method:

1. Combine all of the ingredients in one (microwave safe) bowl and mix together well until a consistent dough forms
2. Scrape the dough from the sides of the bowl and form into a flat cookie shape on the bottom
3. Microwave on high for 45 seconds
4. Allow to cool for a few minutes
5. Pop the cookie out of the bowl and enjoy!

First week back in the Big Easy – Oreo Marshmallow Bars

IMG_5376

Hello friends!  Sorry that it has been almost a whole week since I have posted on here but I had to take a several day hiatus from any baking activity in order to move in to my apartment down here in New Orleans.  Things have been a little hectic and I lacked the means to bake anything for the first few days down here.

I have since settled in though and I finally found the time to focus on mind on having some fun in the kitchen!  I really enjoyed this first baking adventure in my new apartment for several reasons:
1. I didn’t’ have to use the oven, which is nice when the temperature outside never drops below 90 degrees
2. I had to be a little creative when deciding what to make because the ingredients I have available to me were limited to the small convenience store we have on campus

I was walking around the aforementioned convenience store trying to think of what I could make when my eyes landed on the marshmallows, “RICE KRISPY TREATS!” was my first thought and I grabbed the bag of mallows and some butter.  Then I went to go get some Rice Krispy cereal and realized that they didn’t have any.  I woefully stared at my other cereal options deciding which ones would be a good replacement for RK when my eyes landed on the Oreos next to the cereal on the shelf.  I’m a big fan of Oreos.  They’re crunchy, sweet, chocolatey, and vegan (who knew?).  I picked up a box for myself and as I was standing there with the marshmallows and Oreos in my hand I knew at once that I was going to try a little experiment and combine the two for the ultimate treat.  Thus, this magical indulgence was born!

I call them Oreo marshmallow bars because that’s what they are!  I can’t think of a name more perfect for them.  They’re incredibly easy to make and they take almost no time at all.  You get to crush Oreos in a bag too, so they’re a great stress reliever for if you really feel like punching something.  I mean, if you’re gonna punch something it might as well be a big bag of Oreos that you get to shove your mouth with later!

A few things to note from my experiment: After they set (and after I ate 3 straight from the pan… woops) I found that they were extremely difficult to remove smoothly from the pan, so maybe I would spray the pan before I put the mixture in.  Also, depending on your crunch preference level you could mash the Oreos up a little bit more than I did.  Or not, I liked em my way to be perfectly honest.

OREO MARSHMALLOW BARS

IMG_5367

The Ingredients:
1 package of Double Stuffed Oreos (it’s like 30 Oreos I think)
1 bag of mini marshmallows (somewhere around 6 cups to be more accurate)
1/2 stick of butter

The Method:
1. Place all of the Oreos in a bag and smash with a rolling pin or other heavy object until they are smushed to tiny bits
2. In a large pot heat the butter and marshmallows and stir until the two have melted together and have reached a smooth consistency
3. Remove the marshmallows from heat and add the crushed oreos
4. Mix and mix and mix!
5. Pour into an 8×8 baking dish and let sit in the fridge for ~15 minutes
6. Cut into 12 sections and enjoy!

One final hurrah – Chocolate Sugar Cookies

IMG_5363

I’m pretty much an expert on saying goodbye.  At least three times a year I bid adieu to my home, my family, my boyfriend, and of course, my cat.  Now it is once again time for me to pack up and head down to school in New Orleans.  Once again, I must say goodbye.  Missing my loved ones is not something I have an easy time with, and now I have added one more beloved item to my long list of things I will miss irrevocably.  My mother’s beautiful Kitchenaid electric mixer!  They all but had to drag me kicking and screaming away from that magical machine.  Baking will never be simple again without it in my kitchen.

However, before I left it all behind in New Hampshire I made sure to get in one last chance to use it.  I decided that whatever my last baked good in my mom’s kitchen was going to be needed to be my best yet.  This way, no matter what disasters await me in my ill-equipped and dangerously tiny kitchen at school, I would have one final delicious memory.

IMG_5365

For this special treat I decided to put a fun spin on an old classic.  Plain sugar cookies are some of the most wonderful tasting morsels that we can experience on this earth, add chocolate to them?  Well, forget about it!  People were swooning for these cookies (myself included) and it will not be the final time that I make them.  I made mine pretty big, because I was not settling for any bite sized cookies.  You could probably get more cookies out of this recipe by rolling smaller balls of dough and shortening the baking time by a minute or so.  I recommend making them jumbo though, you’re gonna want to eat a lot at once anyways!  Besides the fact that these cookies simply tasted amazing, they also had that chewy and soft texture that just makes cookies perfect.  Seriously, I can’t brag about myself enough with these cookies.  You’ll just have to try them for yourself and see what I’m talking about!

CHOCOLATE SUGAR COOKIES:

IMG_5361

The Ingredients:
2 cups + 2 tbsp flour
¾ cup cocoa powder
1 tsp bak­ing soda
¾ tsp salt
2 ½ sticks unsalted but­ter
2 cups sugar, plus 1/2 cup
2 eggs
2 tsp vanilla

The Method:
1. Preheat oven to 350 degrees
2. Mix flour, cocoa pow­der, bak­ing soda, and salt together
3. Using a stand­ing mixer (#BAE), cream the but­ter and 2 cups sugar together
4. Add the eggs and vanilla to butter and sugar
5. Add the flour mixture in slowly until it is all combined
6. Roll dough into balls and roll balls in sugar
7. Bake for ~12 minutes
8. Enjoy!

My morning miracle – White Chocolate Coconut Scones

IMG_5350

I think that the Gods and Goddesses of baking are watching over me.  Why do I think this?  Well, this morning I made coconut white chocolate scones and almost everything that could have gone wrong, did go wrong.  However, in the end, they still turned out INCREDIBLY scrumptious!  It’s kind of a miracle.

IMG_5352

I woke up extra early to make this morning time treat for my friends.  That was my first problem, I had barely wiped the sleep from my eyes when I began pulling ingredients.  The second problem arose when I was jolted awake by the realization that I didn’t have enough flour!  While that might deter the ordinary baker from continuing, I remained determined to see these scones through!  I was only about 1/4 cup short of flour so I began scouring my pantry for something I could potentially use as a filler.  I found cake flour.  I won’t lie, I have no idea what the difference between regular flour and cake flour is, but I decided they were similar enough that the cake flour could be used to make up for the little bit I needed.  I continued mixing all of the ingredients and hoped that the risk would pay off. 

are they not the same thing?
are these not the same thing?

The next hitch in the plan came when the recipe called for the use of a pastry knife to mix in the butter. A what? I thought about looking up what that was and figuring out the proper way to use one.  I thought about doing that, I really did, but then I just used my hands to mix it in instead.  I really hoped that whatever a pastry knife was worked in a similar way to fingers!  After that, the only problem was that I didn’t cut the scones into even triangles so some of them were HUGE!  While some were teeny tiny!  I don’t truly consider that a problem though because in the end, people just had size options!

After the entire baking adventure was complete and the scones were done, I felt good about the outcome.  The last step was to “drizzle” white chocolate over the top of them.  We all know how good I am at doing that… NOT.  So I didn’t even try,  I just melted the chocolate and smeared it on top with a knife!  Nobody complained.  Everybody loved them.  One of my co-workers told me that they were, “the best scones I’ve ever had!”  Wow!  I tried a bite and I won’t lie, they are amazing.

I’m telling ya, I’m being watched by the mysterious Gods and Goddesses of baking!

IMG_5349

WHITE CHOCOLATE COCONUT SCONES


The Ingredients:
2 cups flour
3 tablespoons sugar
1 tablespoon baking powder
1/4 teaspoon salt
1/4 cup butter, cold and cut into cubes
3/4 cup heavy cream
1 egg
1 teaspoon vanilla
1/2 cup +2-3 tablespoons coconut
1/3 cup white chocolate

The Method:
1. Preheat oven to 375
2. Combine flour, sugar, baking powder and salt in a large bowl
3. Mix in cold butter with your hands (or the mysterious pastry knife) until butter is mixed in and the dough is crumbly
4. In a separate bowl, mix egg cream and vanilla
5. Add the wet into the dry ingredients and mix just until combined
6. Stir in 1/2 cup coconut
7. Form dough into a flat round disk, about 8-9 inches in diameter
8. Place on a baking sheet and cut into 12 triangles
9. Brush each triangle with a a little bit more cream (just enough so the coconut will stick) and then sprinkle with the coconut
10. Bake for 20 minutes
11. Melt white chocolate in the microwave
12. “Drizzle” melted chocolate over scones
13. ENJOY!