More fun with Oreos – Chocolate Chip Oreo Cookie Bars

IMG_5387

Do you have a favorite type of Oreo?  Personally I like the ones that come out around Halloween time with the orange frosting.  They don’t taste any different from the regular ones I don’t think, but for some reason the orange makes it easier to consume an entire package of them…  I also like the double stuffed ones because there is nothing wrong with putting more of that mysterious frosting stuff in my mouth.  I’m not really into the golden ones, or the uh oh oreos.  I know there’s a myriad of other flavors such as mint, peanut butter, birthday cake, and cookie dough!? but I’ve never actually tried those ones.  Let me know if any of them are worthwhile in the comments!

these are undeniably the best

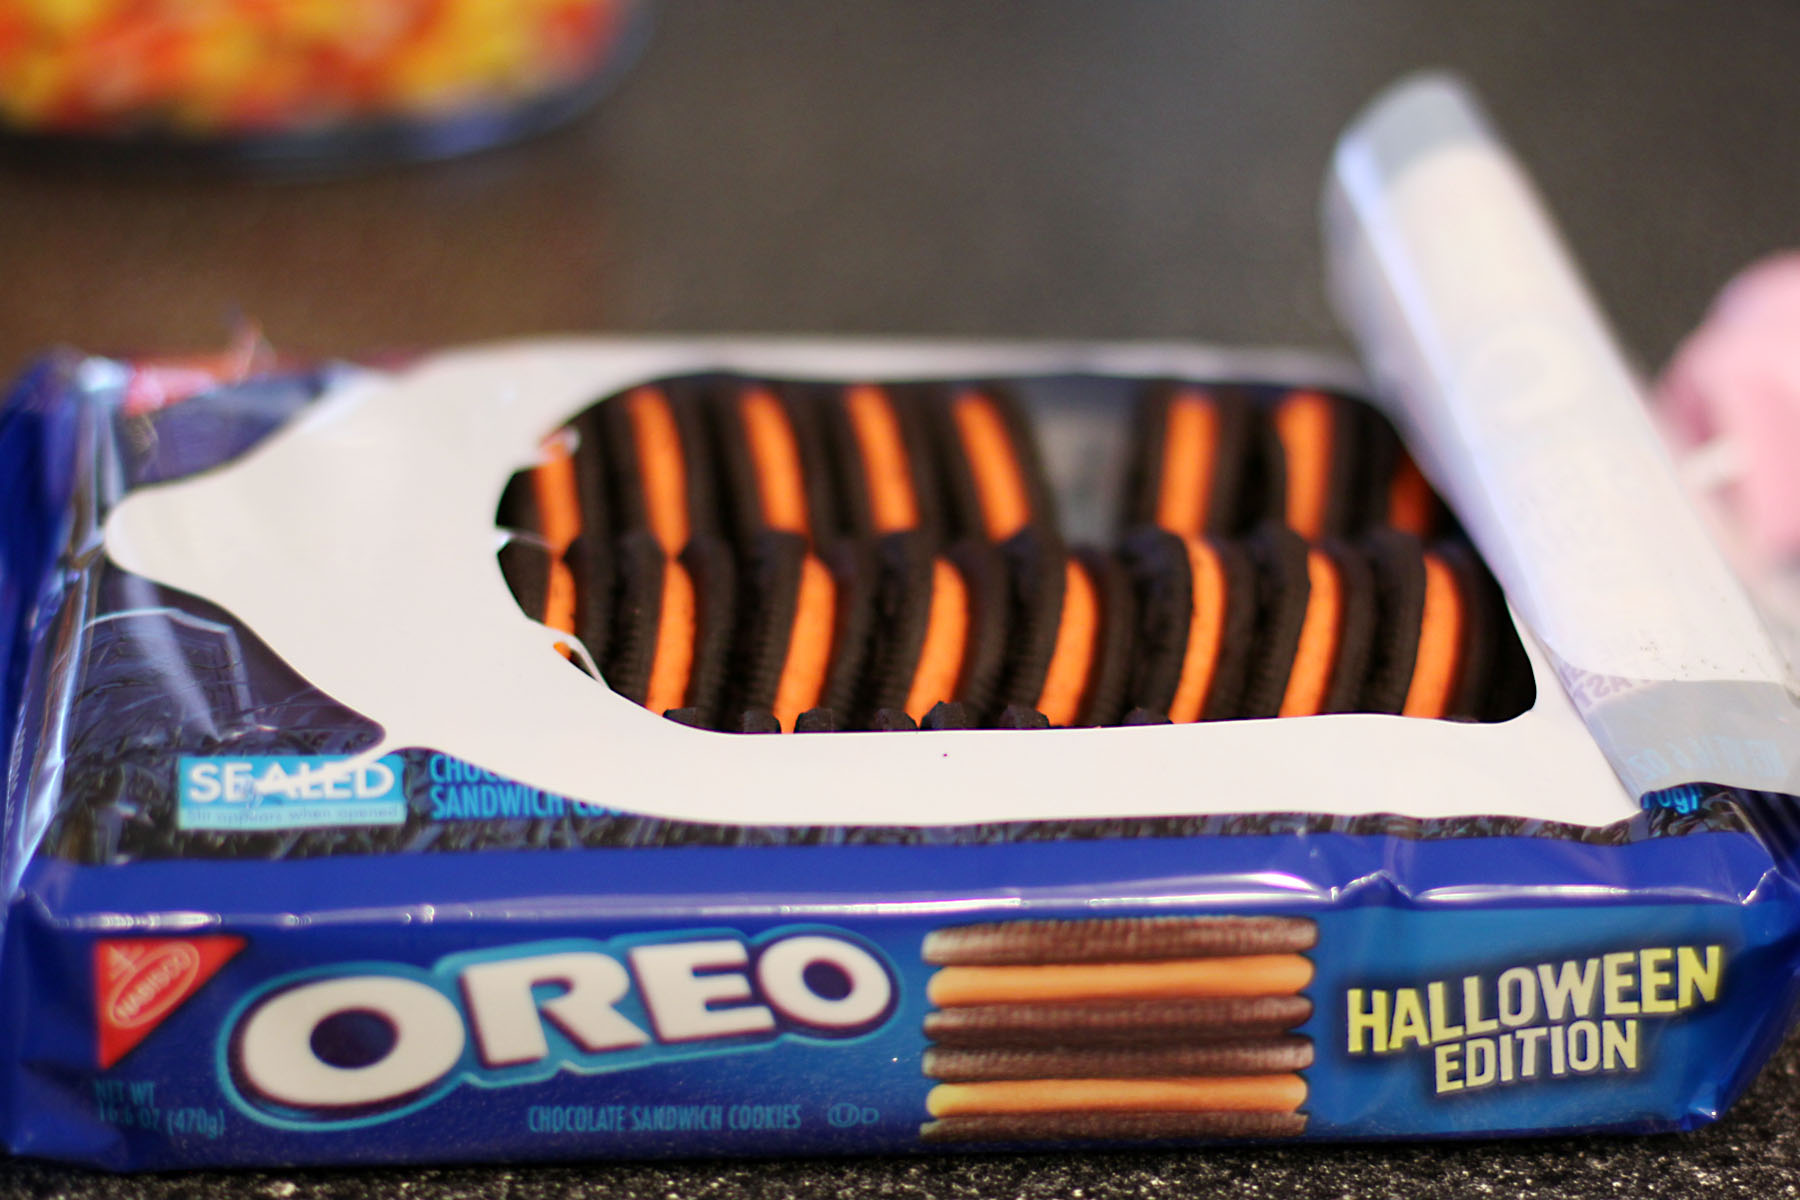
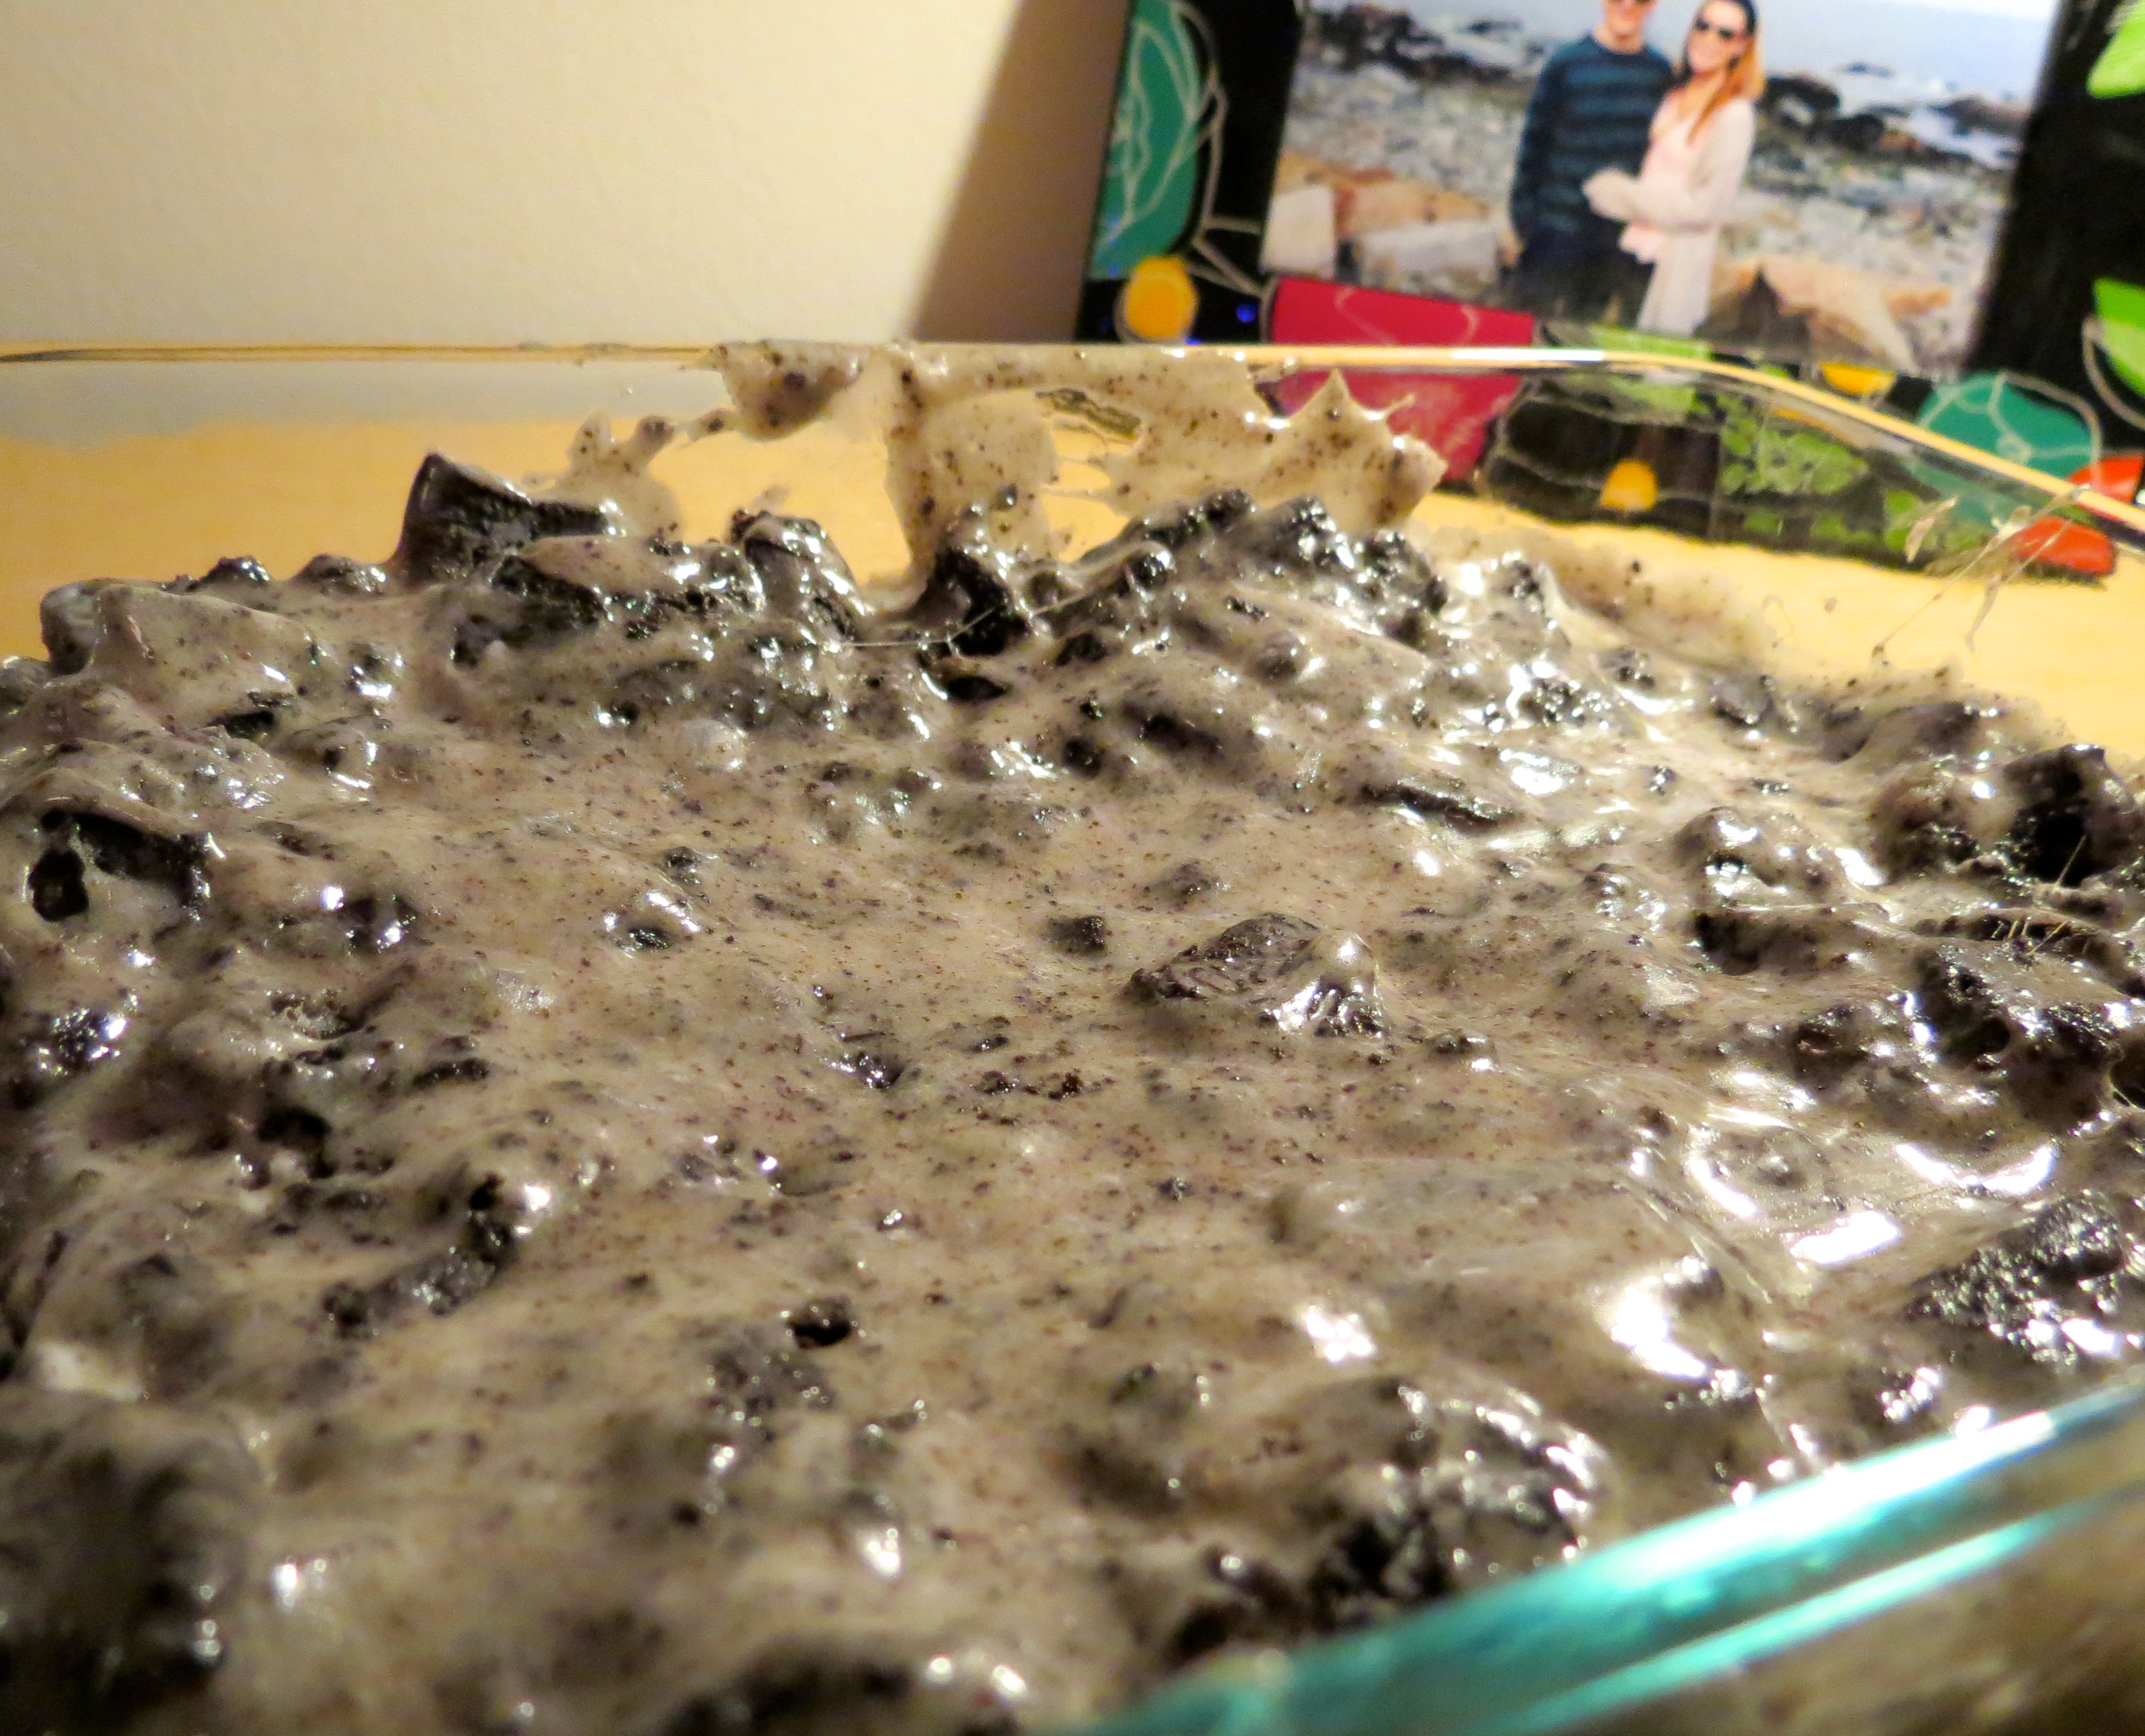
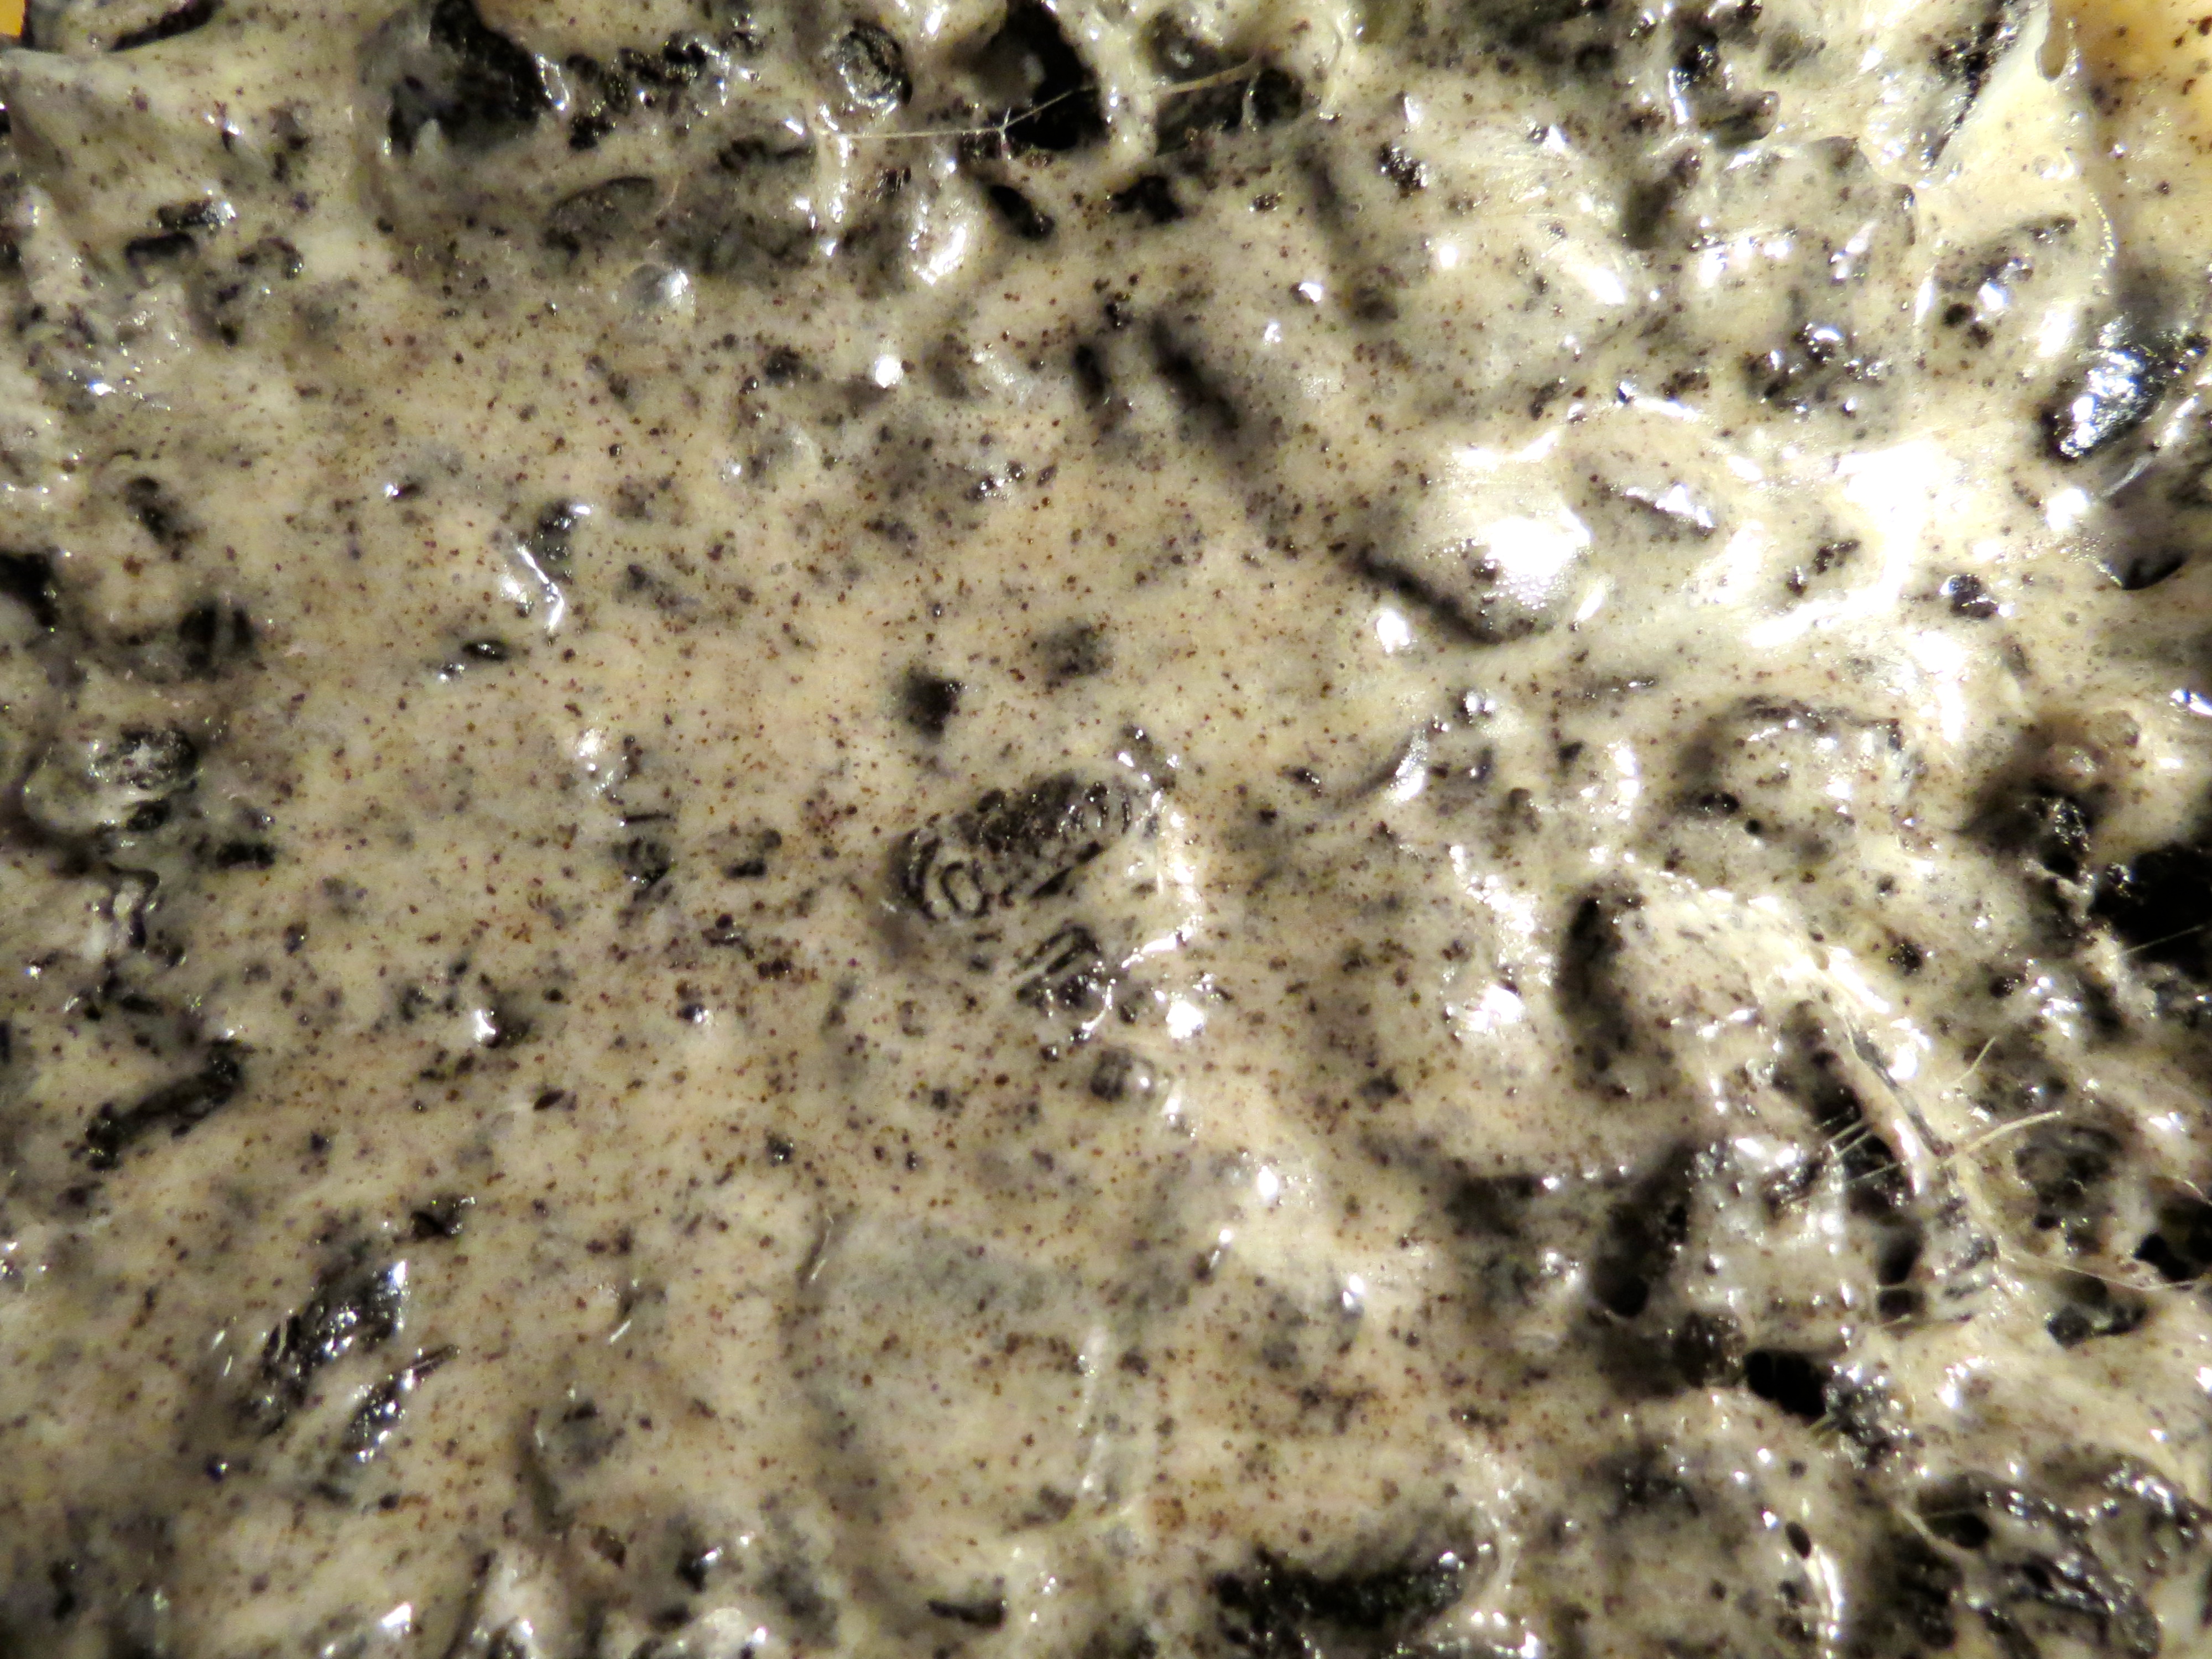
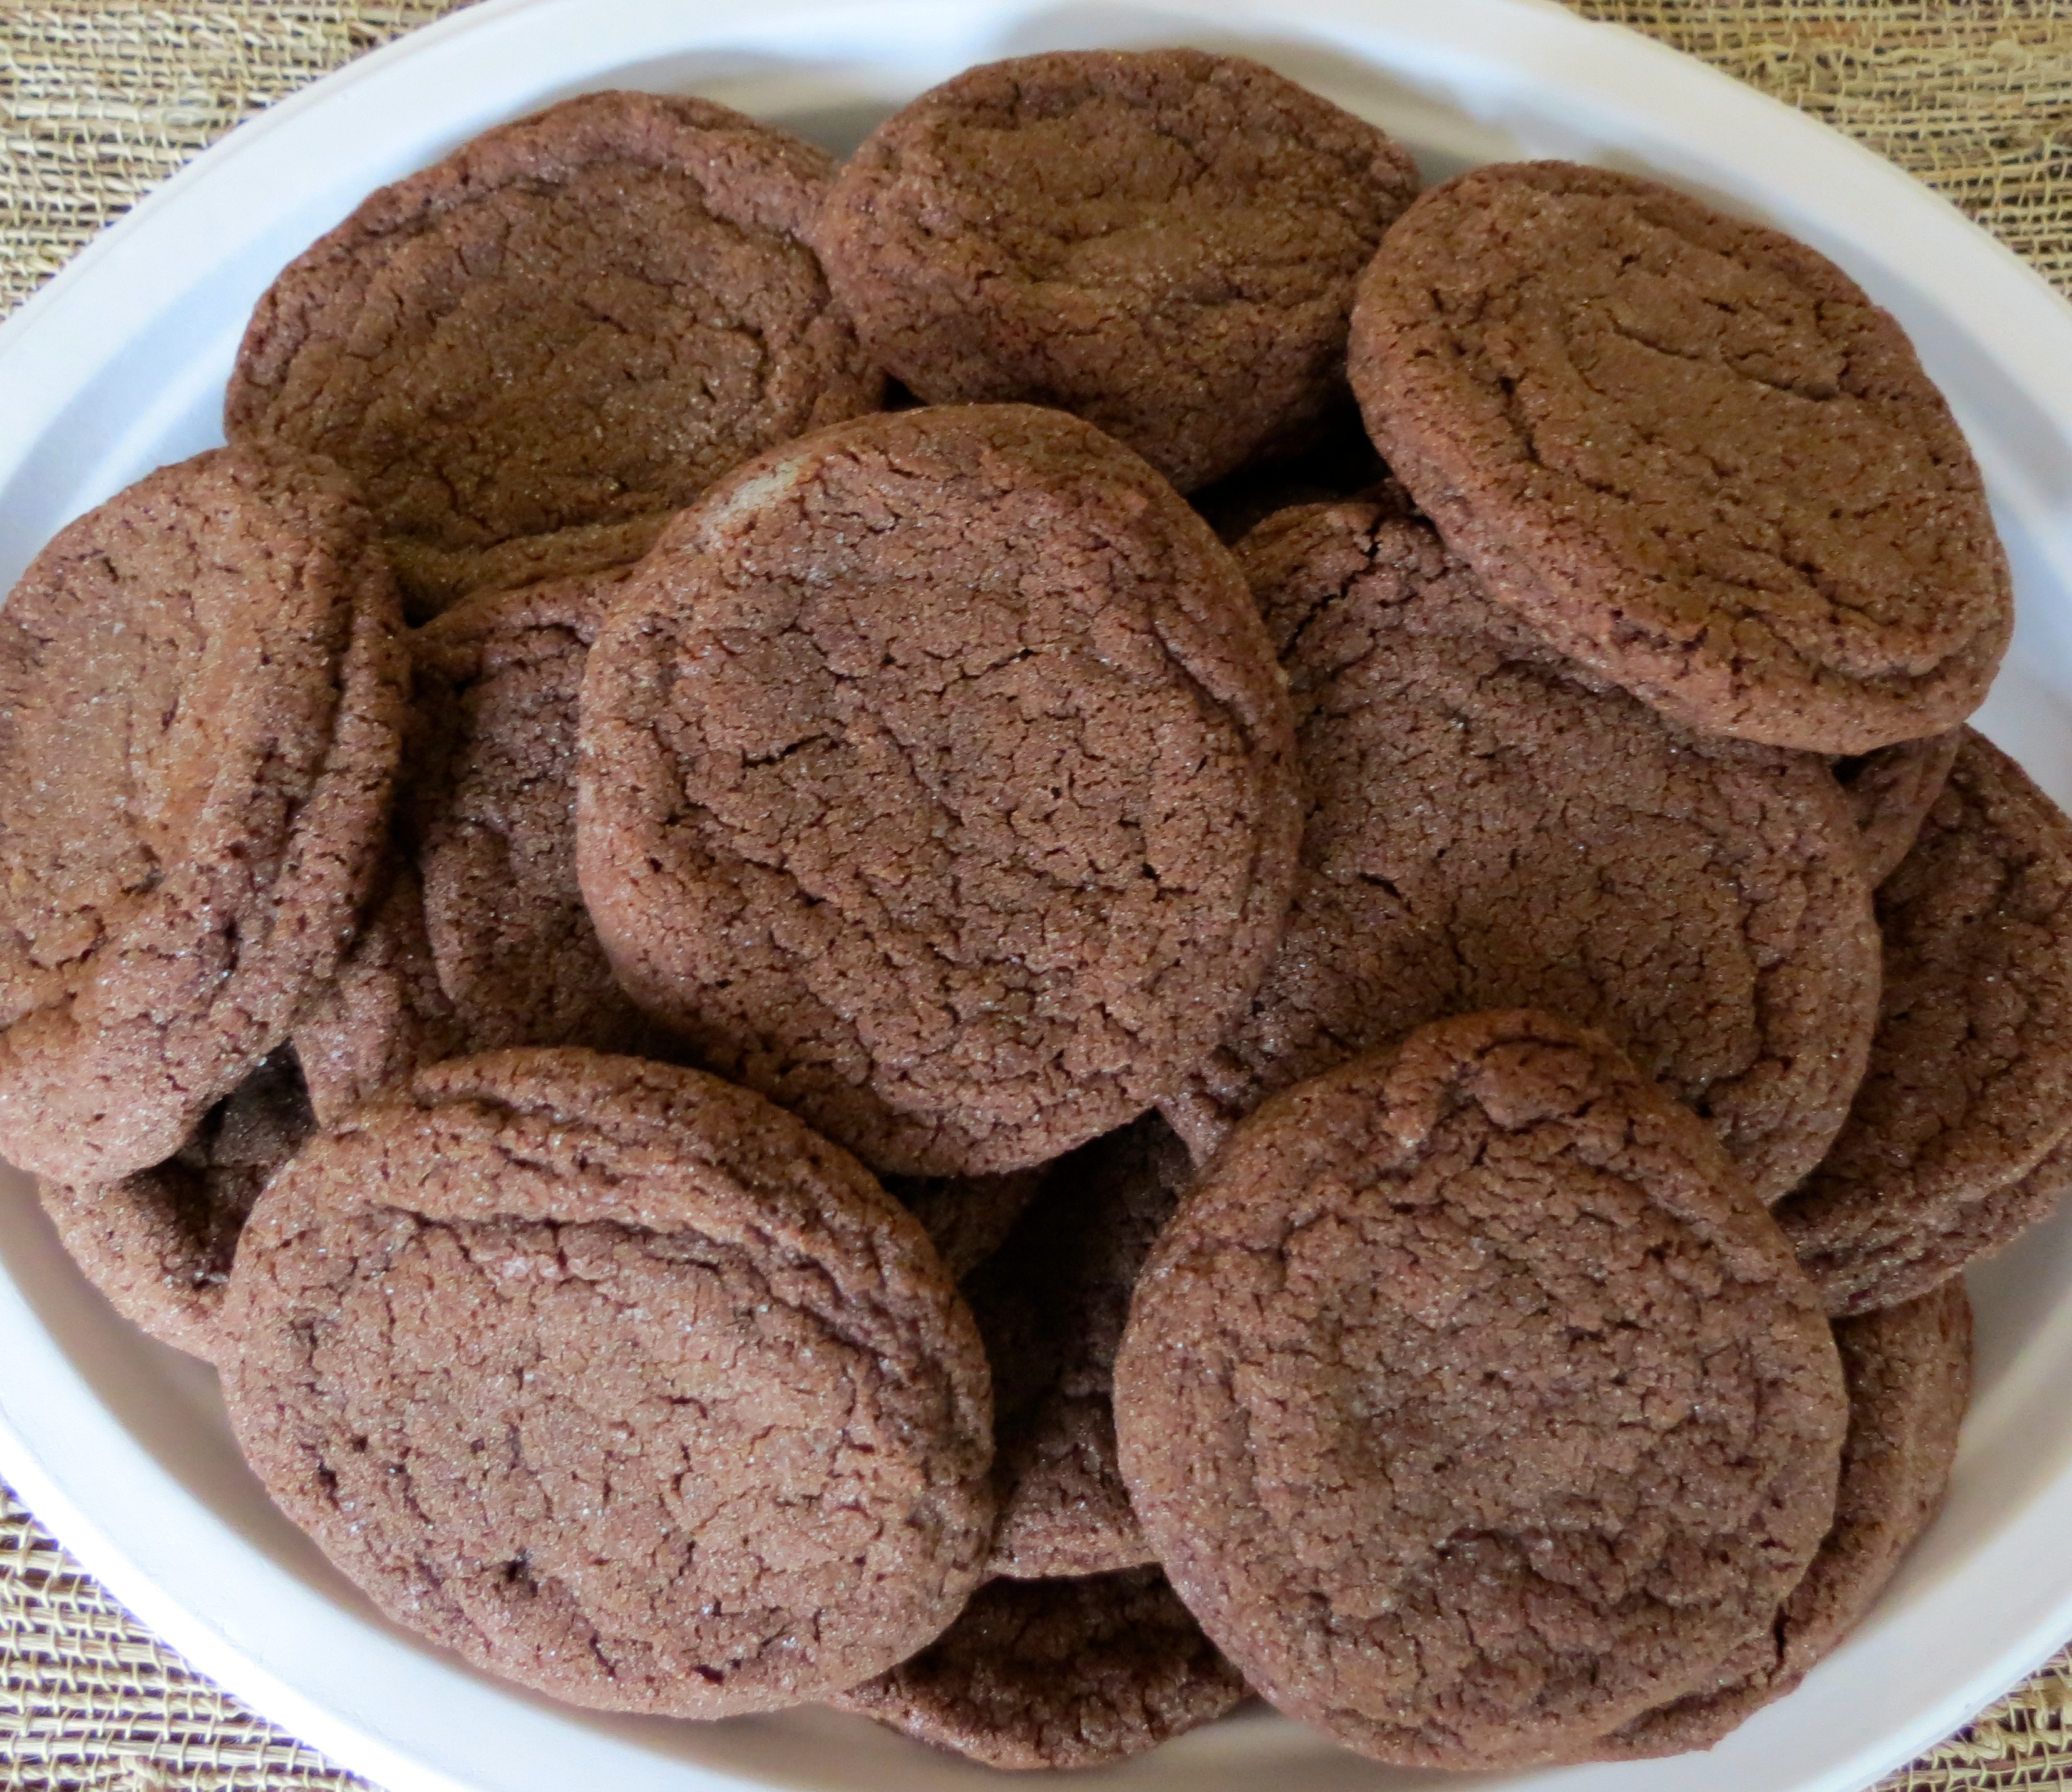
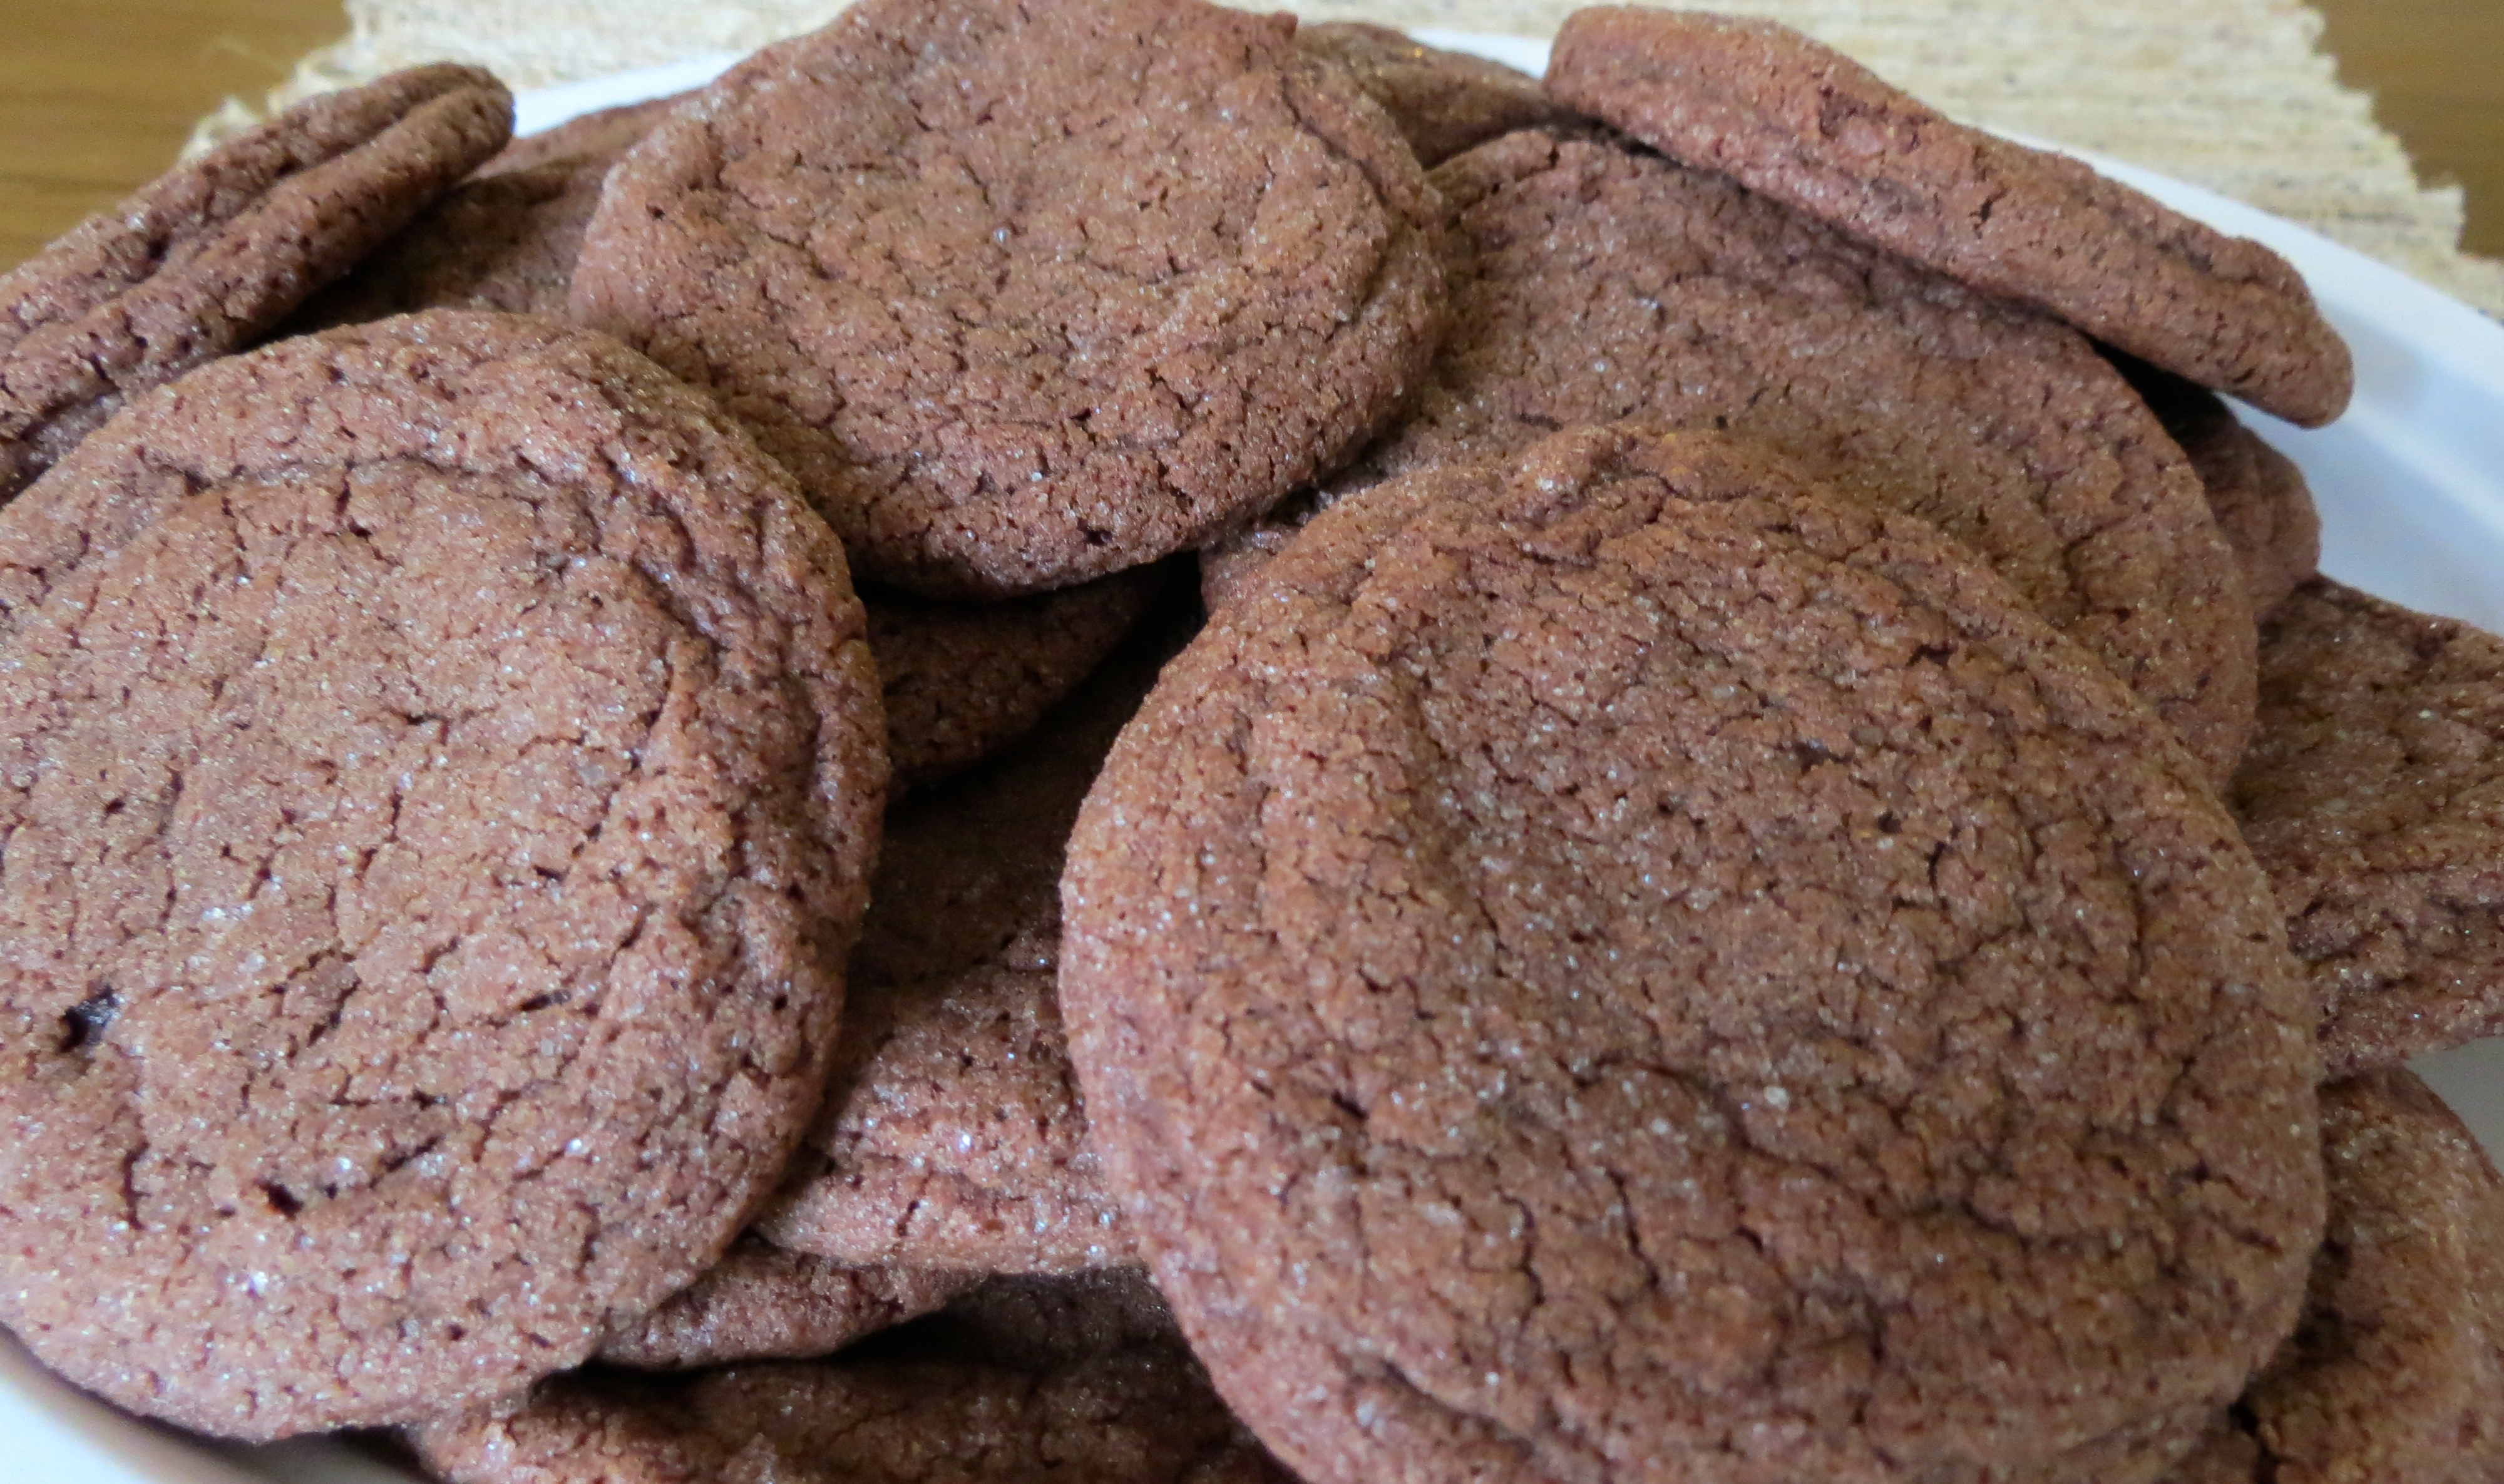
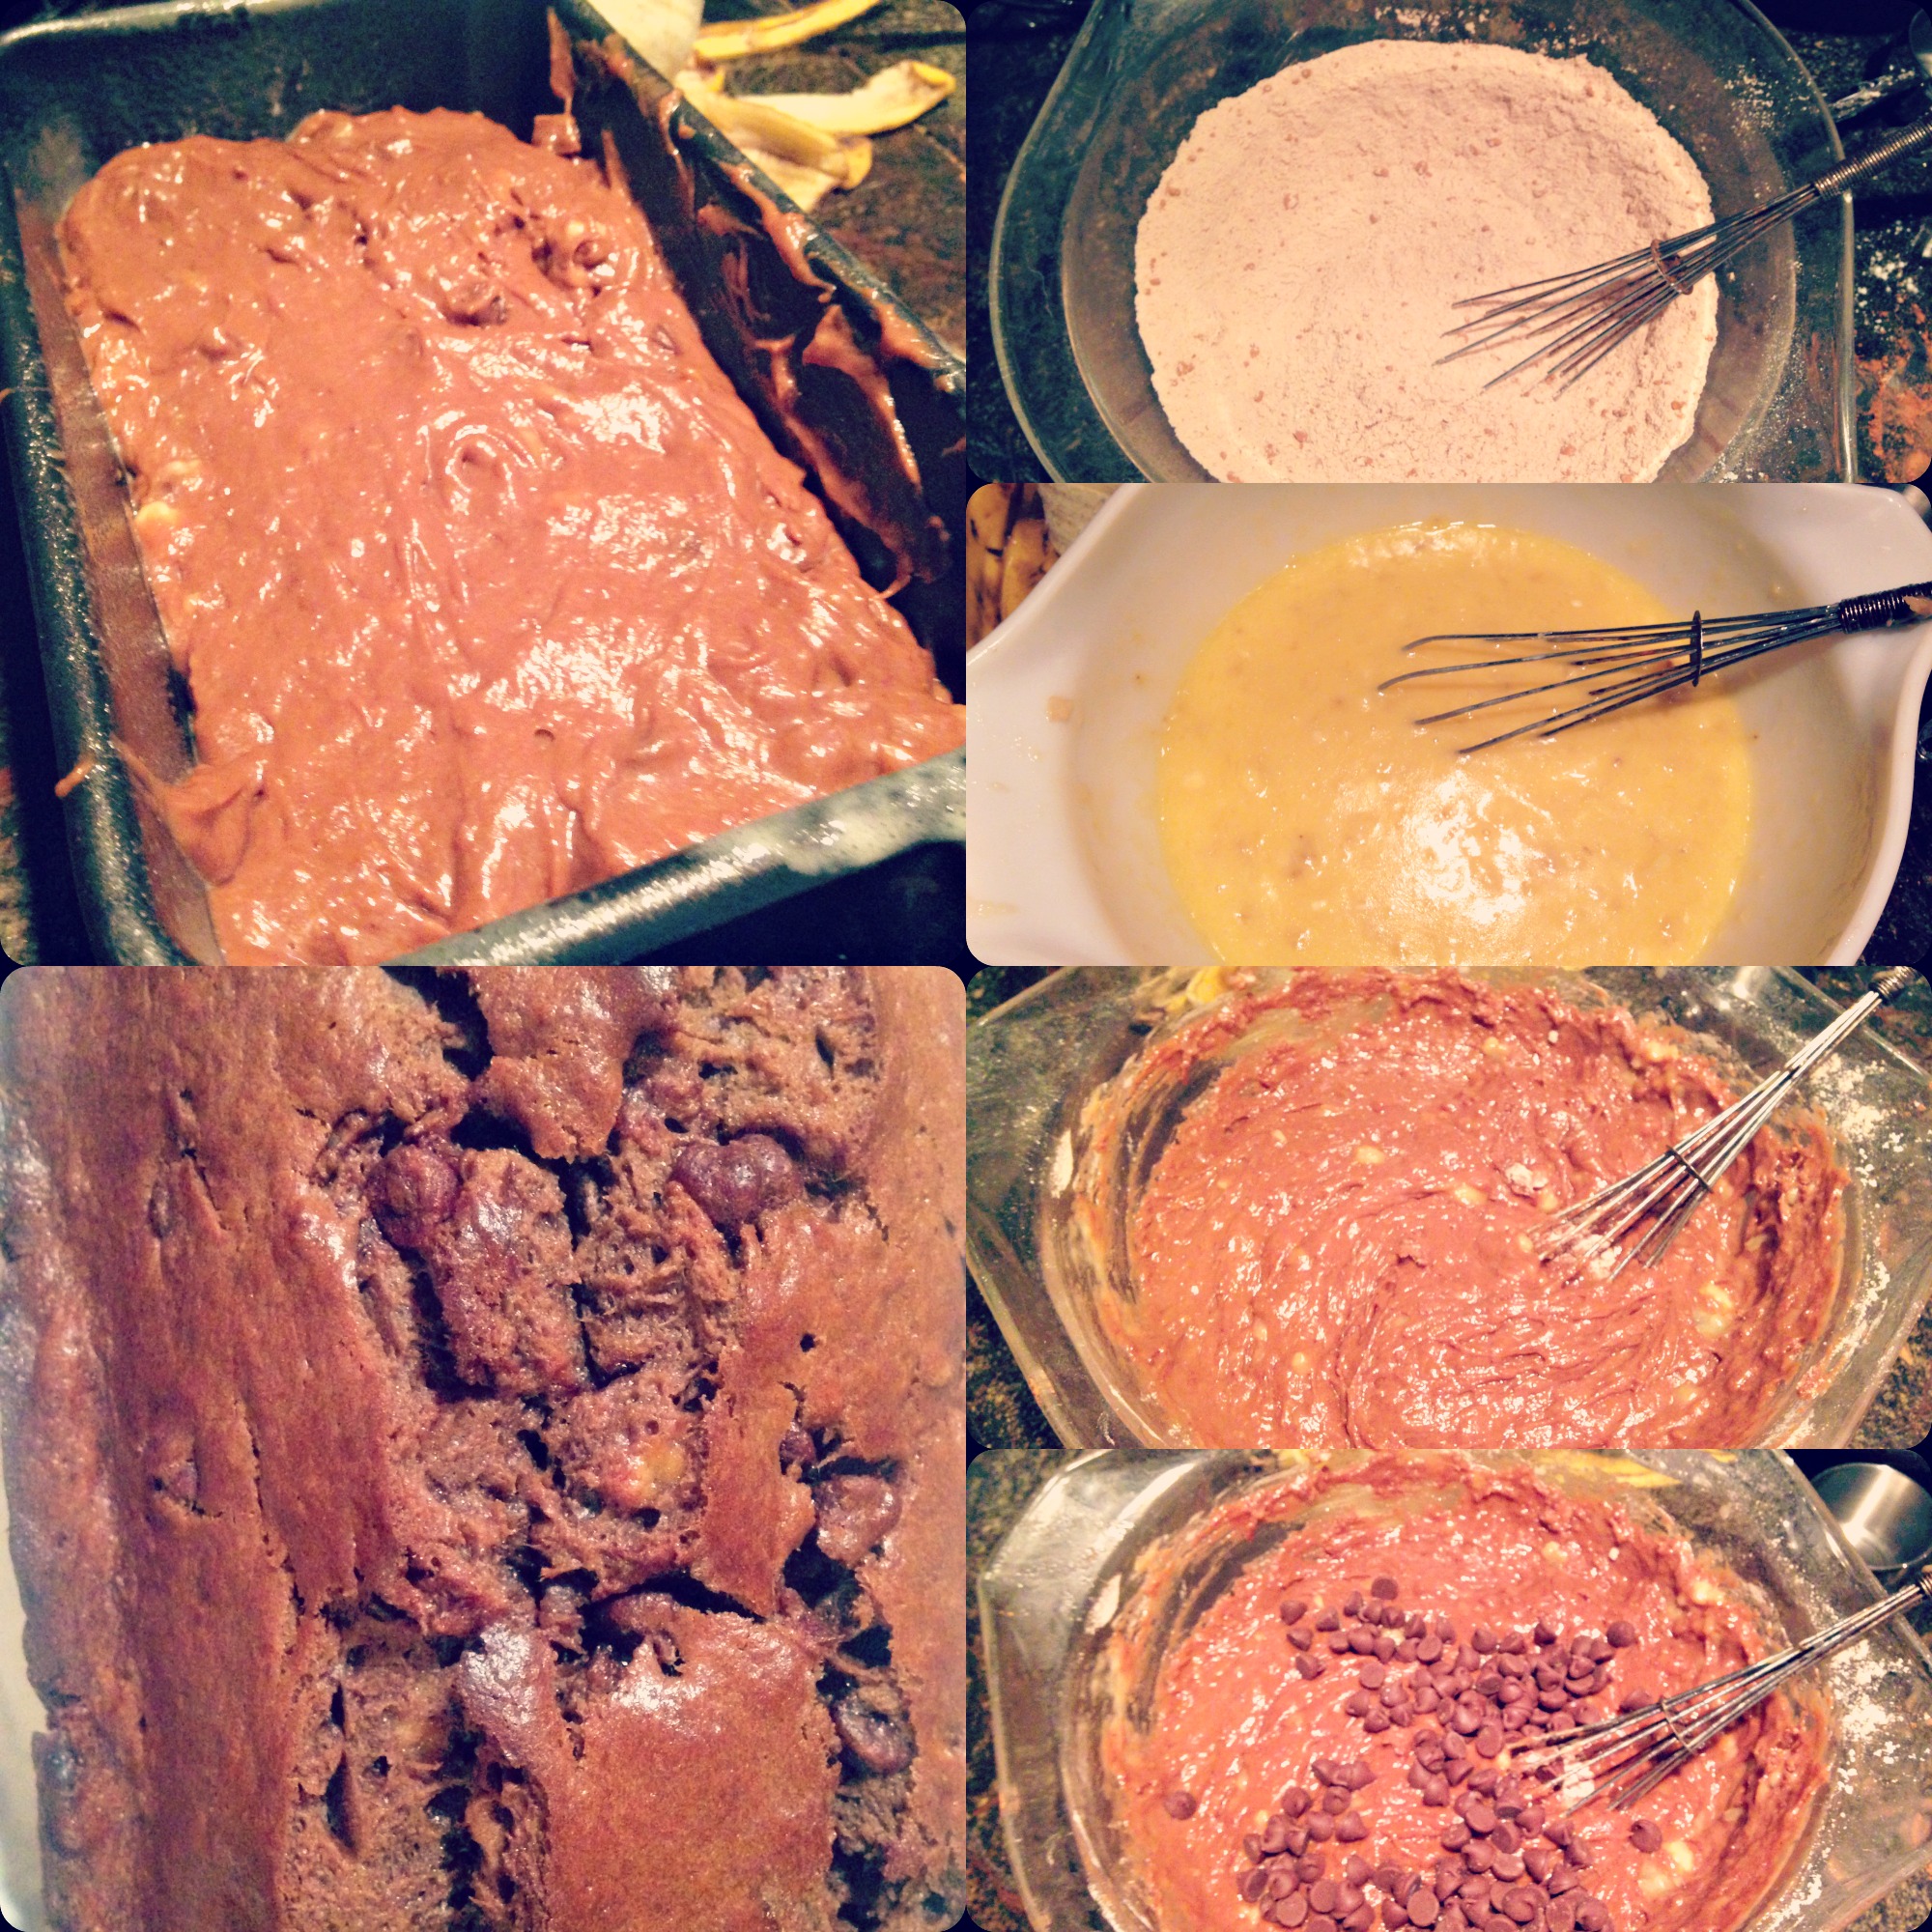
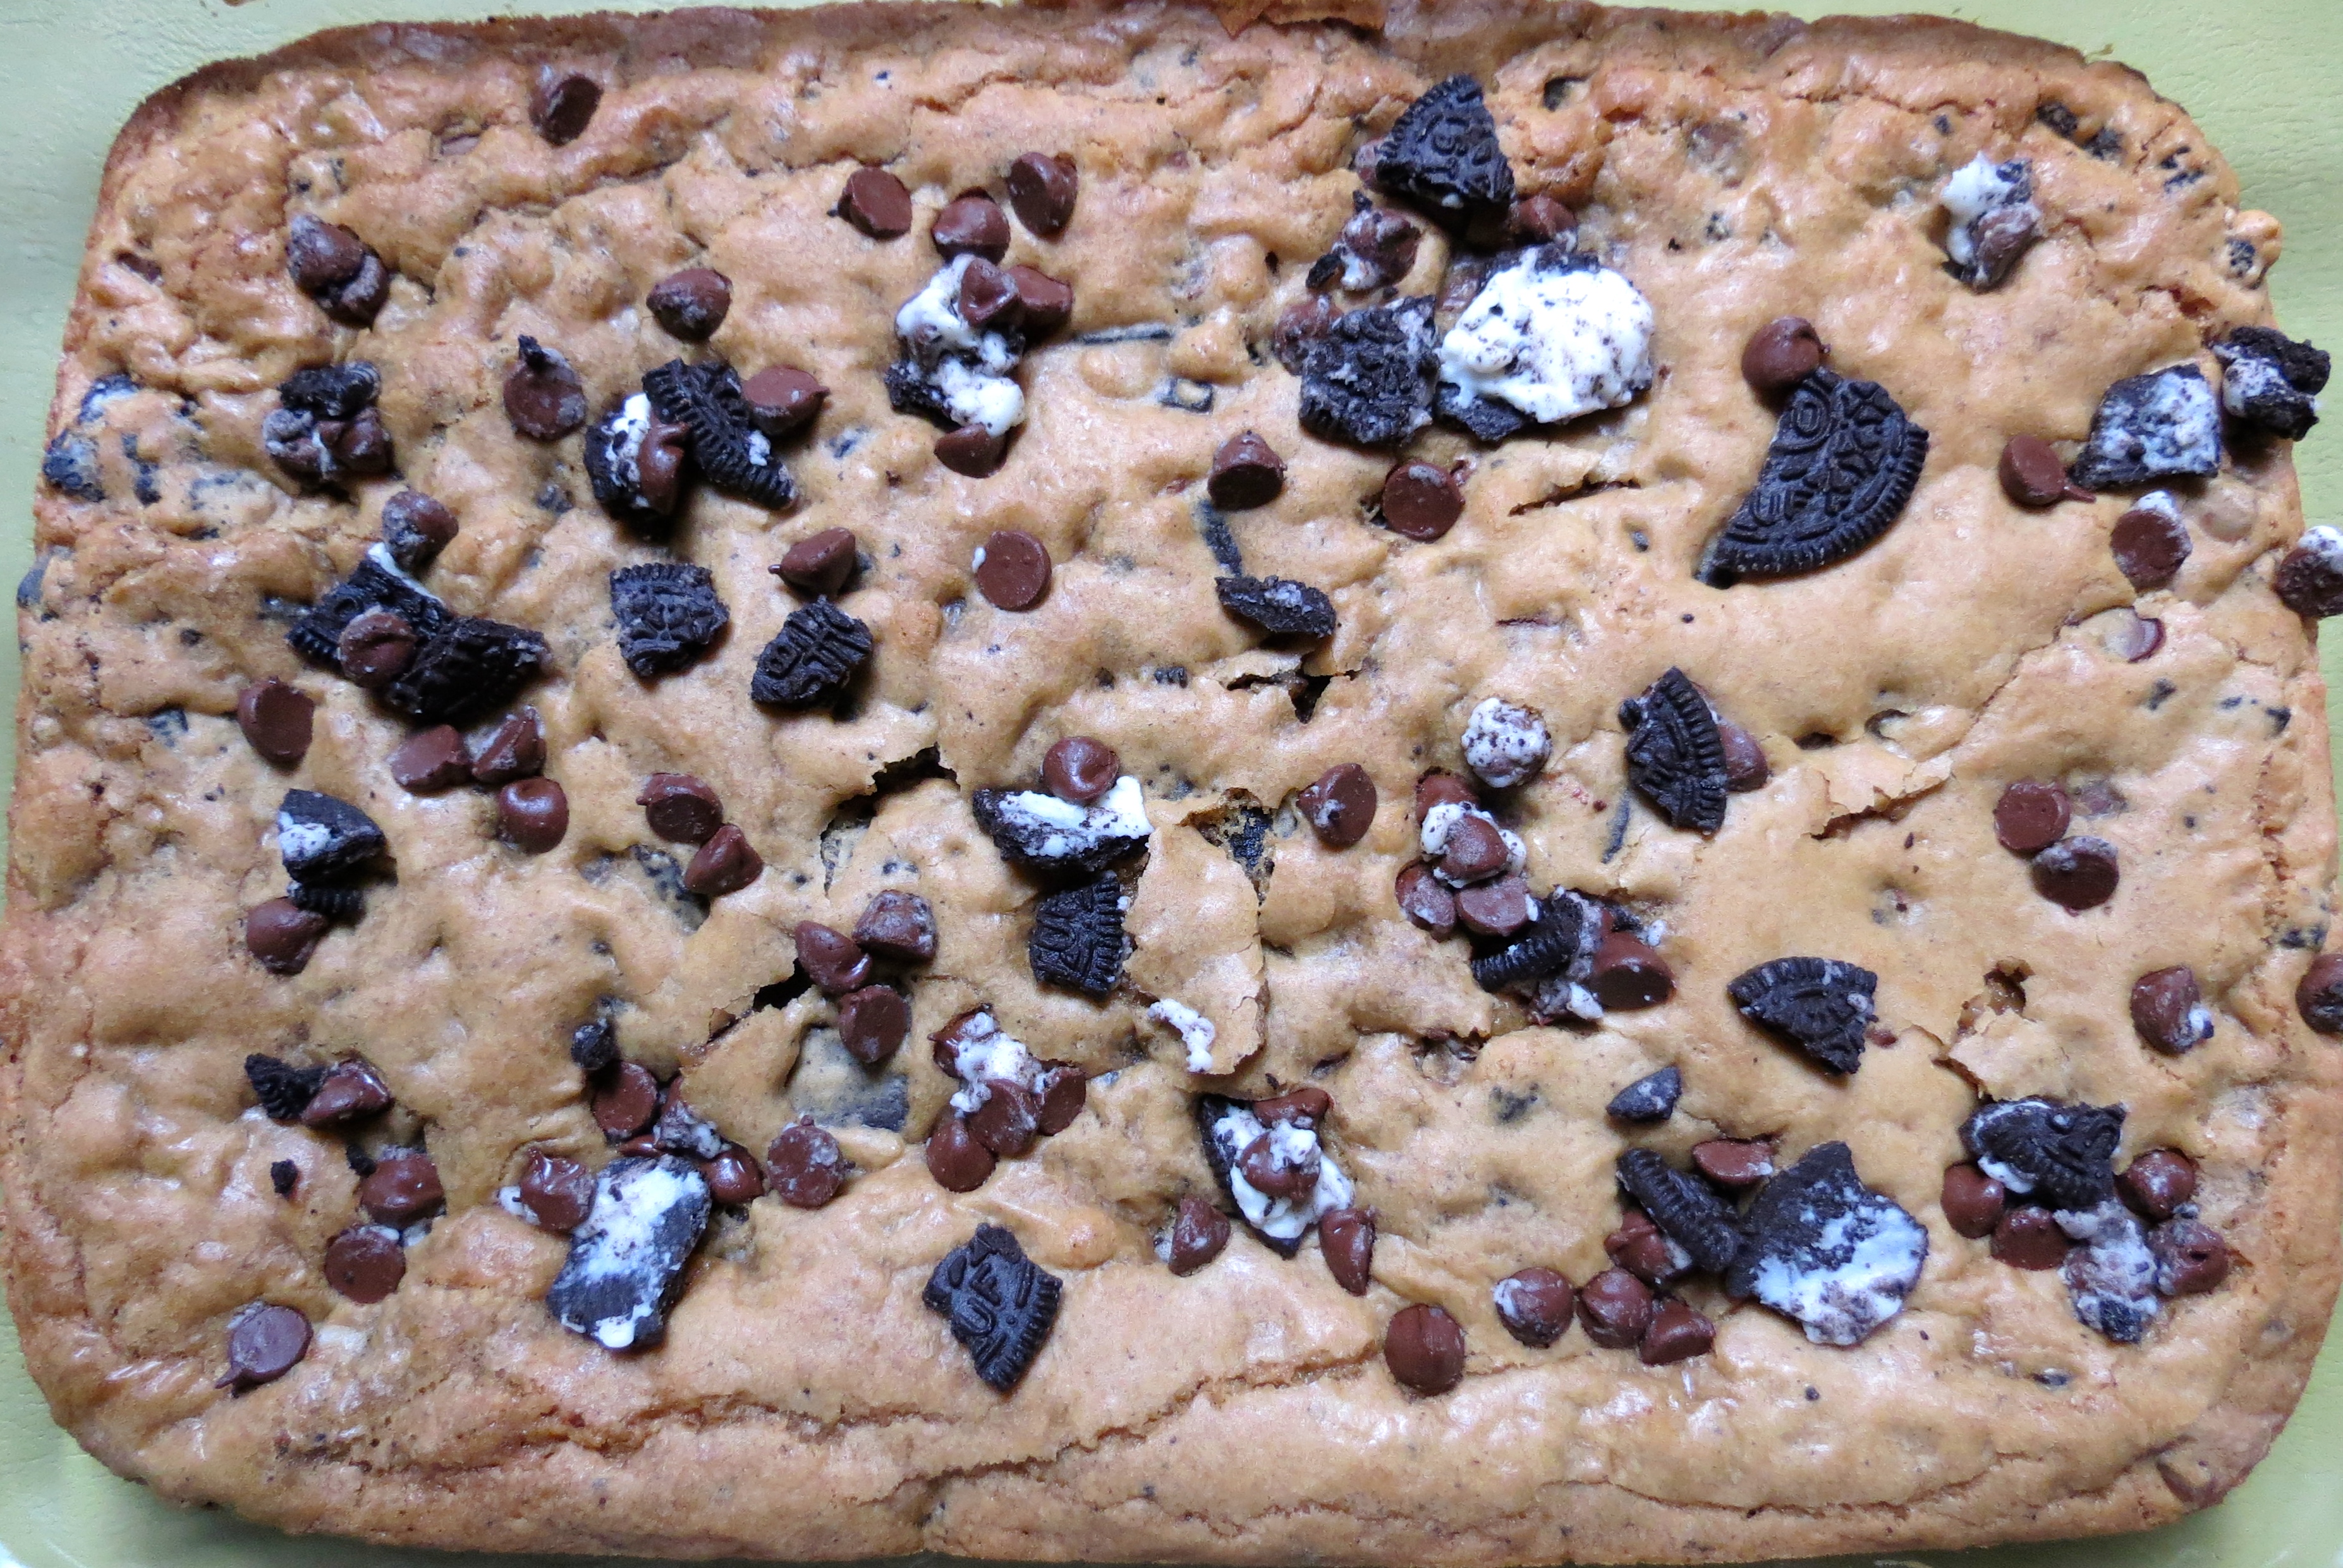
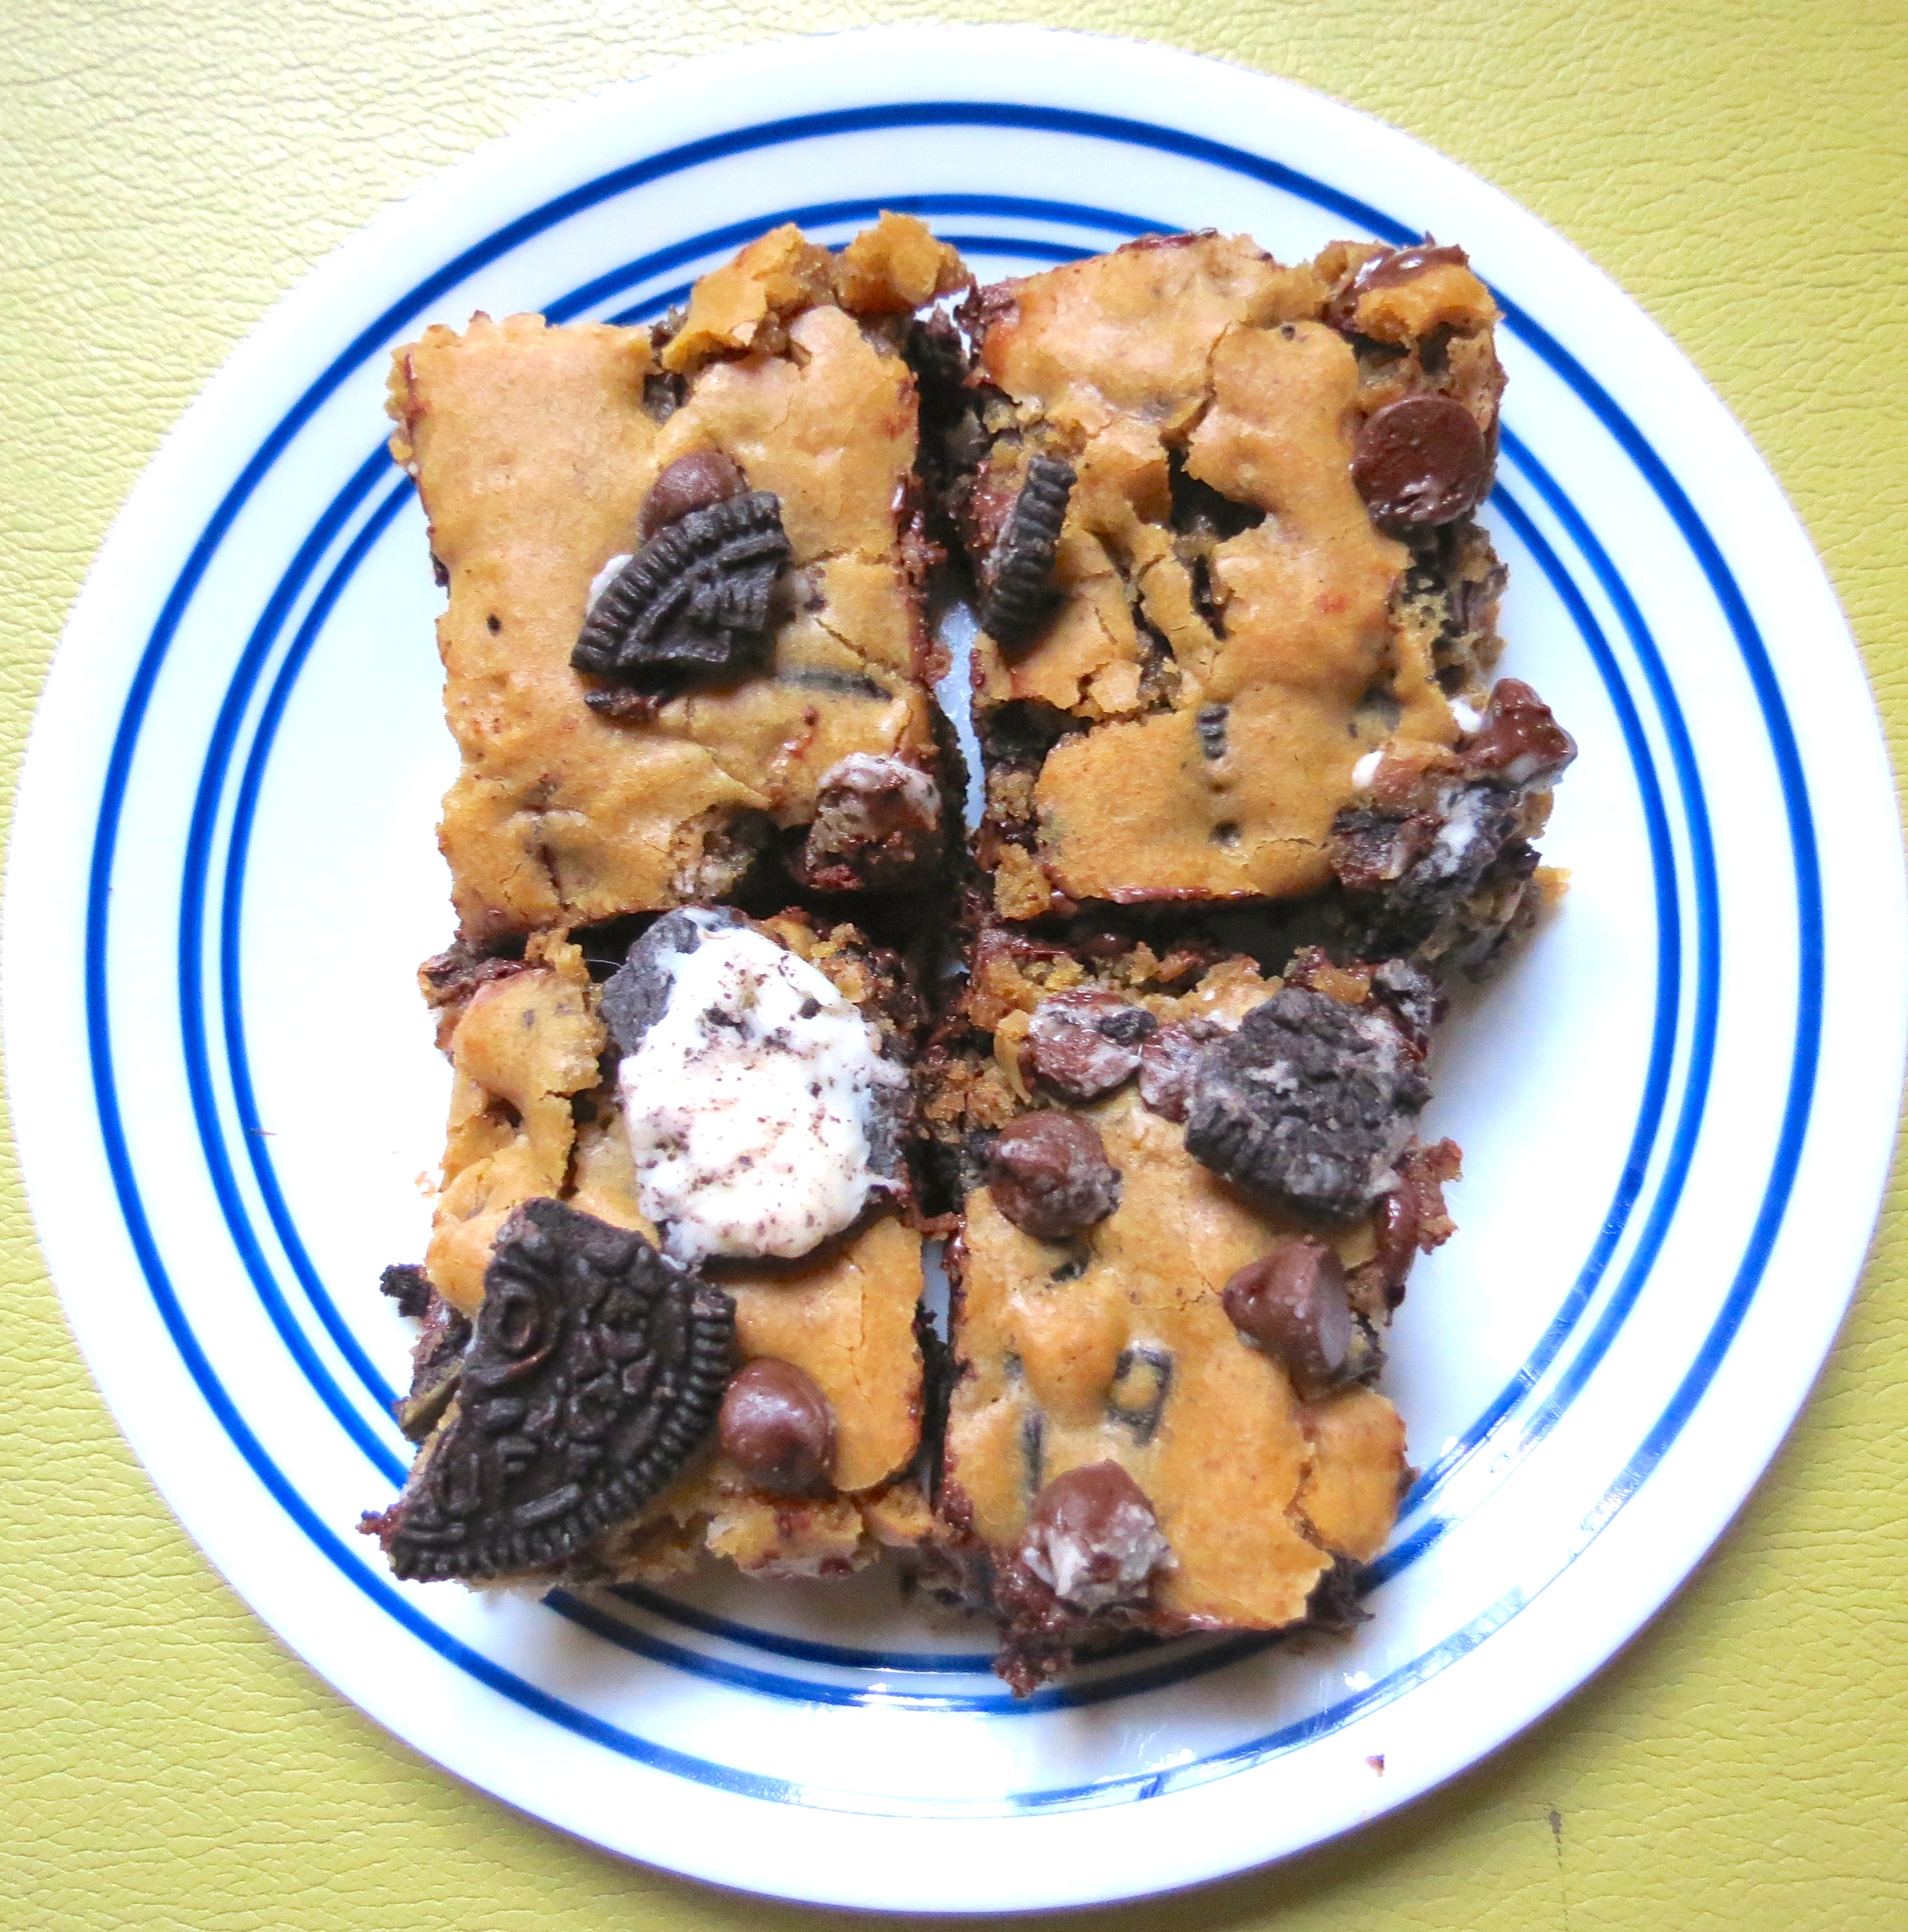
For these cookie bars I used double stuffed oreos.  Like I’ve said countless times, you can never go wrong with double stuffed!  From this endeavor I learned a few things about my new kitchen Including the fact that I have a pretty weak oven.  These had to cook for nearly 40 minutes when the recipe I based them on only had them in for 25! 

Also, because I don’t have an electric mixer I creamed the butter and sugar myself (cue your impressed faces at my powerful muscles) Either way they came out AMAZING and my sorority sisters devoured them at our chapter meeting!

IMG_5389

CHOCOLATE CHIP OREO COOKIE BARS

The Ingredients:

BARS-
2 cups brown sugar
2/3 cup salted butter
3 eggs
1 tsp vanilla
2 1/2 cup flour
2 1/4 tsp baking powder
1/2 tsp salt
12 crushed oreos
1 cup chocolate chips

TOPPING-
2 crushed oreos
1/4 cup chocolate chips

The Recipe:

1. Preheat oven to 325 degrees
2. Soften the butter in the microwave then add to the brown sugar in a large bowl.  Cream them together
3. Mix in eggs and vanilla
4. In a separate bowl mix together 1 cup of flour with the baking powder and salt
5. Pour the dry into the wet and mix together
6. Add in the rest of the flour
7. Fold in the oreos and chocolate chips
8. After baking for 15 minutes add the toppings and continue baking for another 10 to 20 minutes (depending on how useful your oven is)
9. ENJOY!

First week back in the Big Easy – Oreo Marshmallow Bars

IMG_5376

Hello friends!  Sorry that it has been almost a whole week since I have posted on here but I had to take a several day hiatus from any baking activity in order to move in to my apartment down here in New Orleans.  Things have been a little hectic and I lacked the means to bake anything for the first few days down here.

I have since settled in though and I finally found the time to focus on mind on having some fun in the kitchen!  I really enjoyed this first baking adventure in my new apartment for several reasons:
1. I didn’t’ have to use the oven, which is nice when the temperature outside never drops below 90 degrees
2. I had to be a little creative when deciding what to make because the ingredients I have available to me were limited to the small convenience store we have on campus

I was walking around the aforementioned convenience store trying to think of what I could make when my eyes landed on the marshmallows, “RICE KRISPY TREATS!” was my first thought and I grabbed the bag of mallows and some butter.  Then I went to go get some Rice Krispy cereal and realized that they didn’t have any.  I woefully stared at my other cereal options deciding which ones would be a good replacement for RK when my eyes landed on the Oreos next to the cereal on the shelf.  I’m a big fan of Oreos.  They’re crunchy, sweet, chocolatey, and vegan (who knew?).  I picked up a box for myself and as I was standing there with the marshmallows and Oreos in my hand I knew at once that I was going to try a little experiment and combine the two for the ultimate treat.  Thus, this magical indulgence was born!

I call them Oreo marshmallow bars because that’s what they are!  I can’t think of a name more perfect for them.  They’re incredibly easy to make and they take almost no time at all.  You get to crush Oreos in a bag too, so they’re a great stress reliever for if you really feel like punching something.  I mean, if you’re gonna punch something it might as well be a big bag of Oreos that you get to shove your mouth with later!

A few things to note from my experiment: After they set (and after I ate 3 straight from the pan… woops) I found that they were extremely difficult to remove smoothly from the pan, so maybe I would spray the pan before I put the mixture in.  Also, depending on your crunch preference level you could mash the Oreos up a little bit more than I did.  Or not, I liked em my way to be perfectly honest.

OREO MARSHMALLOW BARS

IMG_5367

The Ingredients:
1 package of Double Stuffed Oreos (it’s like 30 Oreos I think)
1 bag of mini marshmallows (somewhere around 6 cups to be more accurate)
1/2 stick of butter

The Method:
1. Place all of the Oreos in a bag and smash with a rolling pin or other heavy object until they are smushed to tiny bits
2. In a large pot heat the butter and marshmallows and stir until the two have melted together and have reached a smooth consistency
3. Remove the marshmallows from heat and add the crushed oreos
4. Mix and mix and mix!
5. Pour into an 8×8 baking dish and let sit in the fridge for ~15 minutes
6. Cut into 12 sections and enjoy!

One final hurrah – Chocolate Sugar Cookies

IMG_5363

I’m pretty much an expert on saying goodbye.  At least three times a year I bid adieu to my home, my family, my boyfriend, and of course, my cat.  Now it is once again time for me to pack up and head down to school in New Orleans.  Once again, I must say goodbye.  Missing my loved ones is not something I have an easy time with, and now I have added one more beloved item to my long list of things I will miss irrevocably.  My mother’s beautiful Kitchenaid electric mixer!  They all but had to drag me kicking and screaming away from that magical machine.  Baking will never be simple again without it in my kitchen.

However, before I left it all behind in New Hampshire I made sure to get in one last chance to use it.  I decided that whatever my last baked good in my mom’s kitchen was going to be needed to be my best yet.  This way, no matter what disasters await me in my ill-equipped and dangerously tiny kitchen at school, I would have one final delicious memory.

IMG_5365

For this special treat I decided to put a fun spin on an old classic.  Plain sugar cookies are some of the most wonderful tasting morsels that we can experience on this earth, add chocolate to them?  Well, forget about it!  People were swooning for these cookies (myself included) and it will not be the final time that I make them.  I made mine pretty big, because I was not settling for any bite sized cookies.  You could probably get more cookies out of this recipe by rolling smaller balls of dough and shortening the baking time by a minute or so.  I recommend making them jumbo though, you’re gonna want to eat a lot at once anyways!  Besides the fact that these cookies simply tasted amazing, they also had that chewy and soft texture that just makes cookies perfect.  Seriously, I can’t brag about myself enough with these cookies.  You’ll just have to try them for yourself and see what I’m talking about!

CHOCOLATE SUGAR COOKIES:

IMG_5361

The Ingredients:
2 cups + 2 tbsp flour
¾ cup cocoa powder
1 tsp bak­ing soda
¾ tsp salt
2 ½ sticks unsalted but­ter
2 cups sugar, plus 1/2 cup
2 eggs
2 tsp vanilla

The Method:
1. Preheat oven to 350 degrees
2. Mix flour, cocoa pow­der, bak­ing soda, and salt together
3. Using a stand­ing mixer (#BAE), cream the but­ter and 2 cups sugar together
4. Add the eggs and vanilla to butter and sugar
5. Add the flour mixture in slowly until it is all combined
6. Roll dough into balls and roll balls in sugar
7. Bake for ~12 minutes
8. Enjoy!

Baking frenzy! – Chocolate Chocolate Chip Banana Bread

IMG_2568

Well, I’ve come a long way with this site in the past few days.  I now own my own domain name and I’m beginning to understand how this whole blog thing works a little bit better.  Also, (and more importantly) I have been in baking mode for the past week!  I’ve experimented with tons of new recipes and kitchen tools, which is fantastic because now I have a lot of new recipes to roll out for the site!

I wasn’t quite sure what to make after my muffin craze so I decided to ask my boyfriend what he would be most likely to eat.  That’s the thing that I’ve discovered about baking, you need to have people willing to eat the final product or else you may find yourself up to your ears in cookies, cakes, and scones!

dont-keep-calm-it-s-raining-cookies-outside
Although, now that I think of it that wouldn’t be the worst thing in the world…

Back to my boyfriend, he’s a pretty typical boy – meaning that he can eat A LOT and not seem to have it effect him whatsoever!  (lucky young men and their superhuman metabolisms!)  So I decided he would be the perfect recipient of whatever I would bake.  He did not have any problem with that!  He told me he loved anything with chocolate in it, but that banana bread was one of his favorites.  With that information in mind I decided to combine the two and create a super chocolatey banana bread that he’d be sure to love.

CHOCOLATE CHOCOLATE CHIP BANANA BREAD

PicMonkey Collage.jpg

The Ingredients:

1 3/4 cups flour
1/4 cup unsweetened cocoa powder
1 cup sugar
1 teaspoon baking powder
1/4 teaspoon baking soda
1/4 teaspoon salt
2 large eggs, beaten
1 stick butter, melted
3 ripe bananas, mashed
1 teaspoon vanilla extract
1/2 cup chocolate chips

The method:

1. Preheat oven to 350 degrees
2. In one bowl, mix together the flour, cocoa powder, sugar, baking powder, baking soda, and salt
3. In a separate bowl stir the mashed bananas, eggs, melted butter, and vanilla
4. Carefully fold the wet mixture into the dry mixture until just combined
5. Mix in the chocolate chips
6. Pour into a greased loaf pan. Bake for 55 to 65 minutes until the bread has risen and a toothpick inserted in the center comes out clean

After having one slice, my boyfriend took three quarters of the loaf home with him.  I took the rest in to work and people were upset that I didn’t bring more!  It was gone within 30 minutes.  I had a slice myself and found it quite delicious,  It tastes like a mix of a brownie and banana bread.  People who love classic banana bread may not like the twist, but those who have a special place for chocolate in their hearts will be sure to love this!