Nostalgia. That sentimental feeling of remembrance for a time long in the past. Recently I experienced a great wave of nostalgia when I decided to bake these Pokeball cookies. These adorable sugar cookies were not for me, they were for a friend of mine who absolutely LOVES Pokemon. He refuses to outgrow the little Japanese cartoon animals and so I decided to make these special treats for him.
While I was making these cookies, I couldn’t help but remember Pokemon’s place in my own childhood. Every Saturday morning I would jump out of bed at an hour that seems obscene to me now. I would run downstairs and search endlessly for the remote until I could turn on the television to my Saturday morning lineup. This always included Power Rangers, Recess, Doug, and of course, Pokemon! I watched all of my shows and waited for my mom to come downstairs and pour me my cereal (frosted mini wheats of course!) These memories all came rushing back to me during the course of this baking adventure. Oh how I wish my life was still that simple…
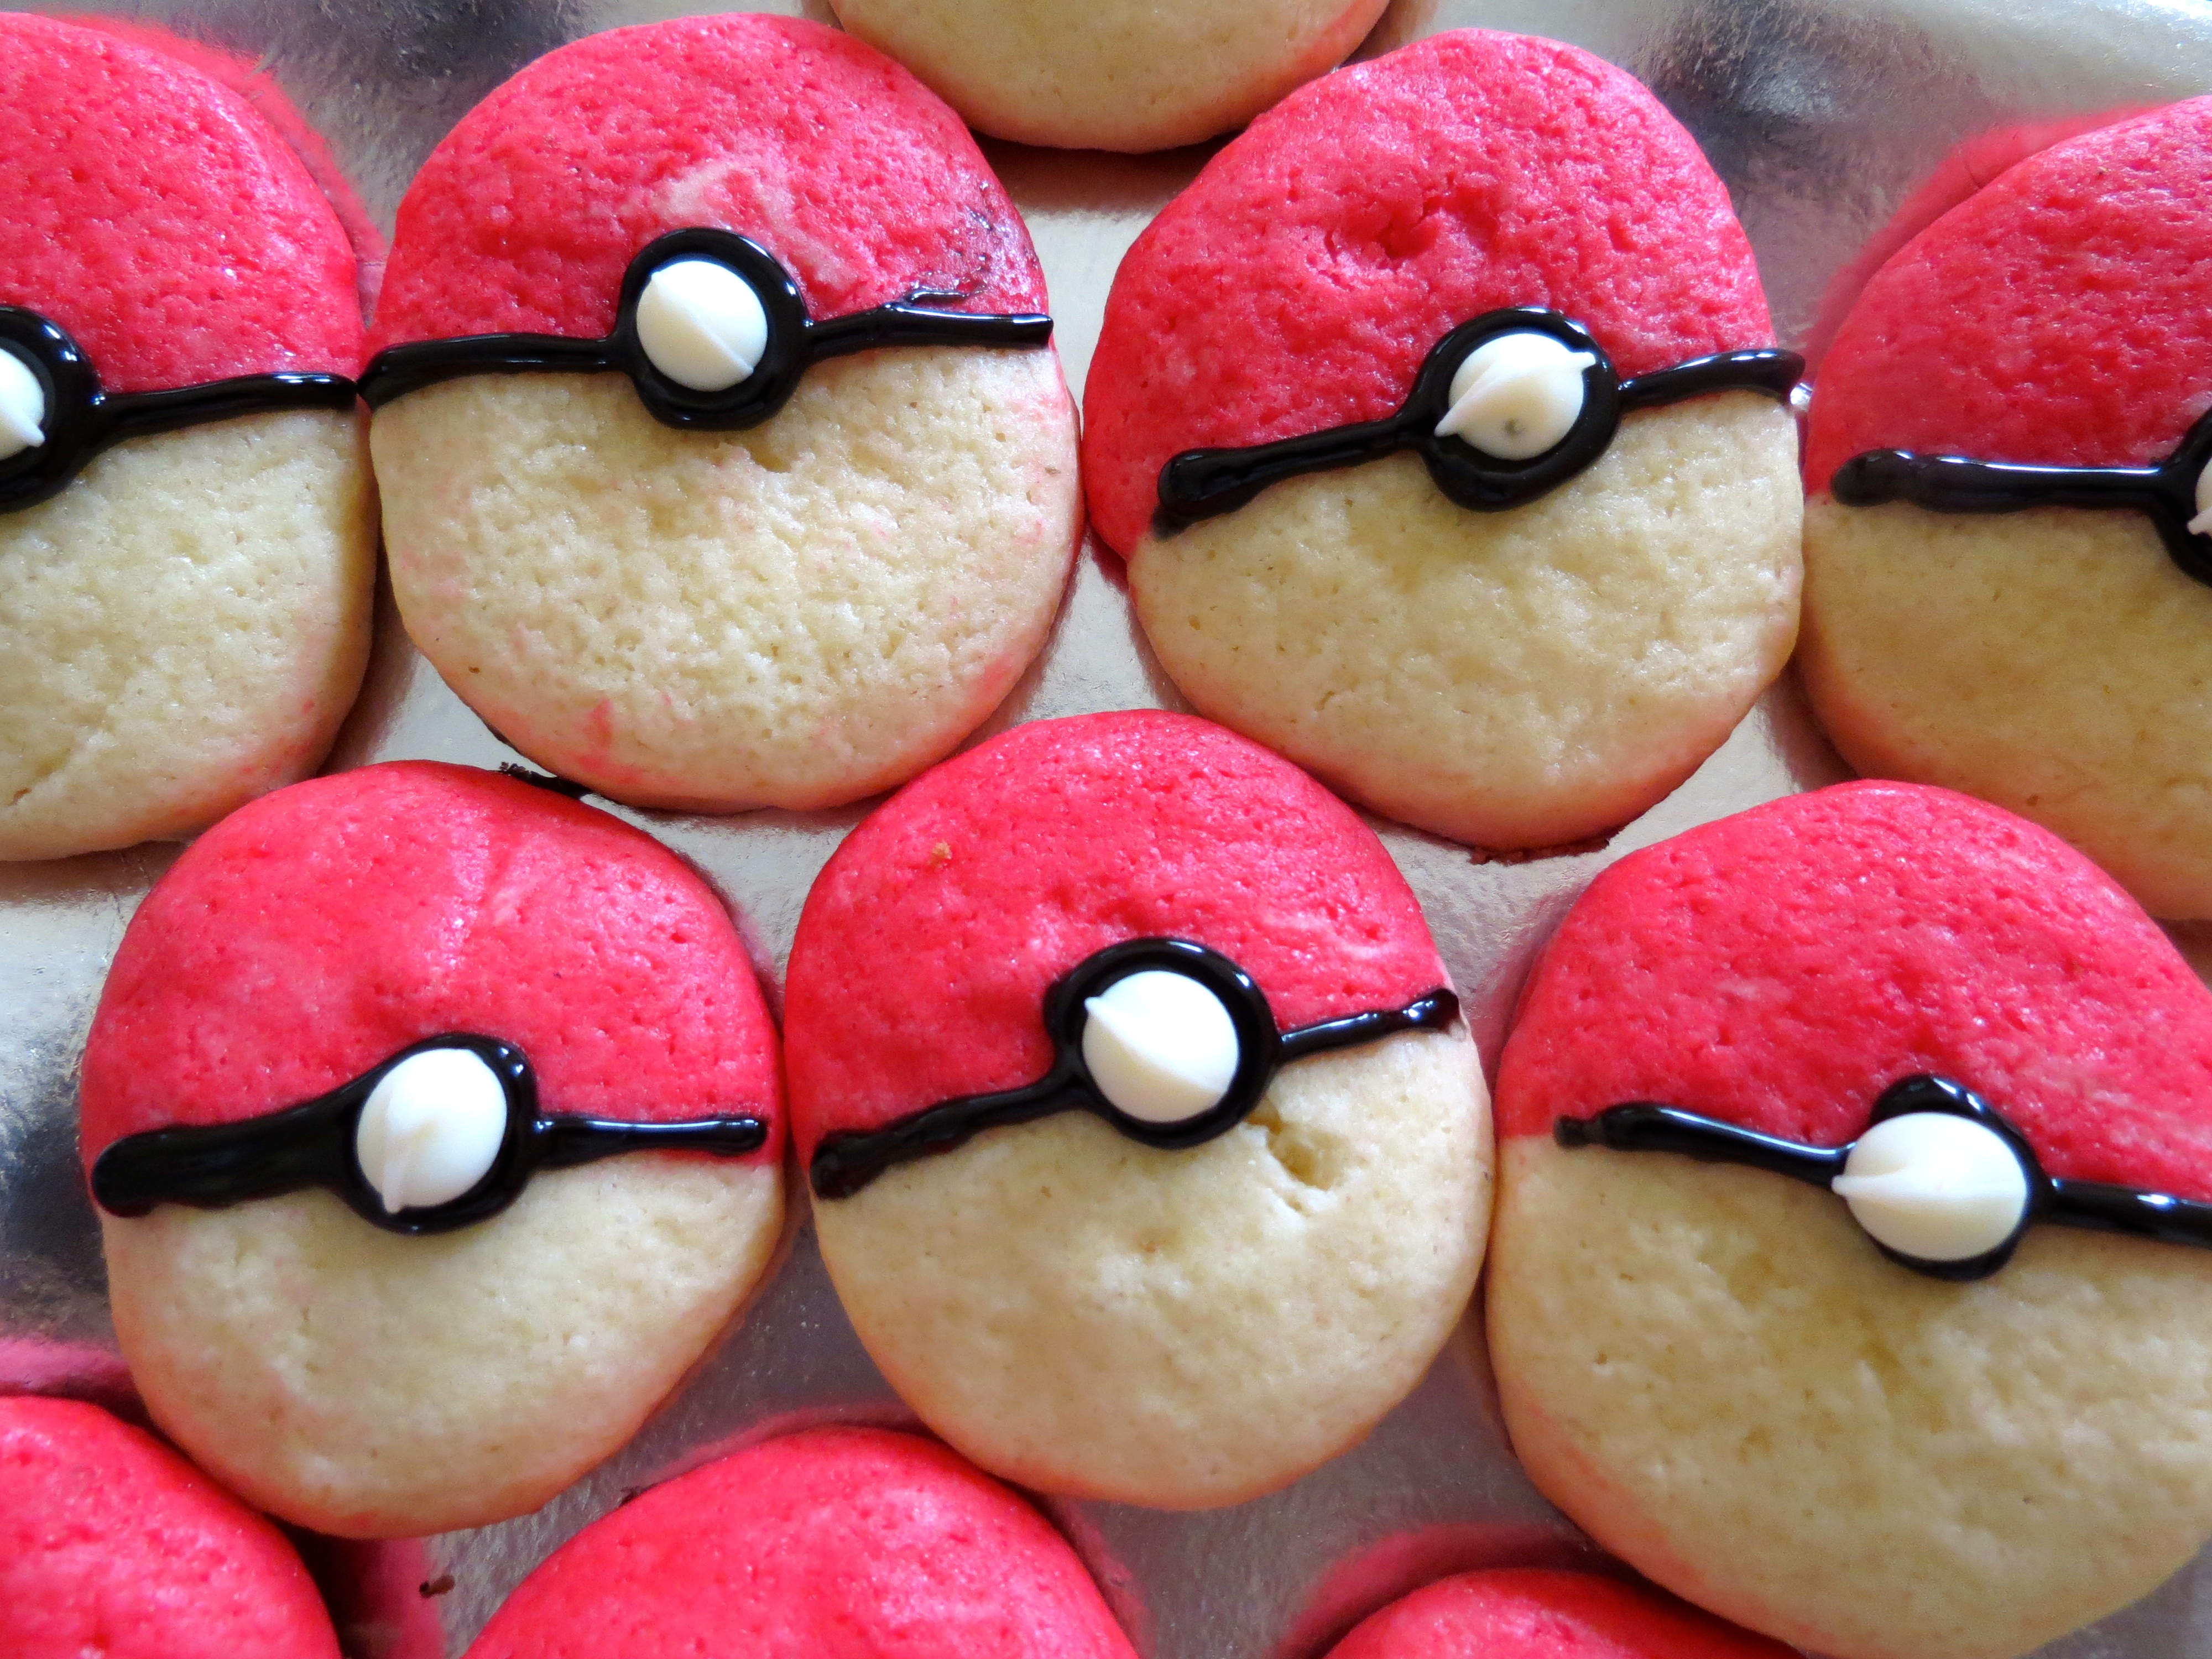
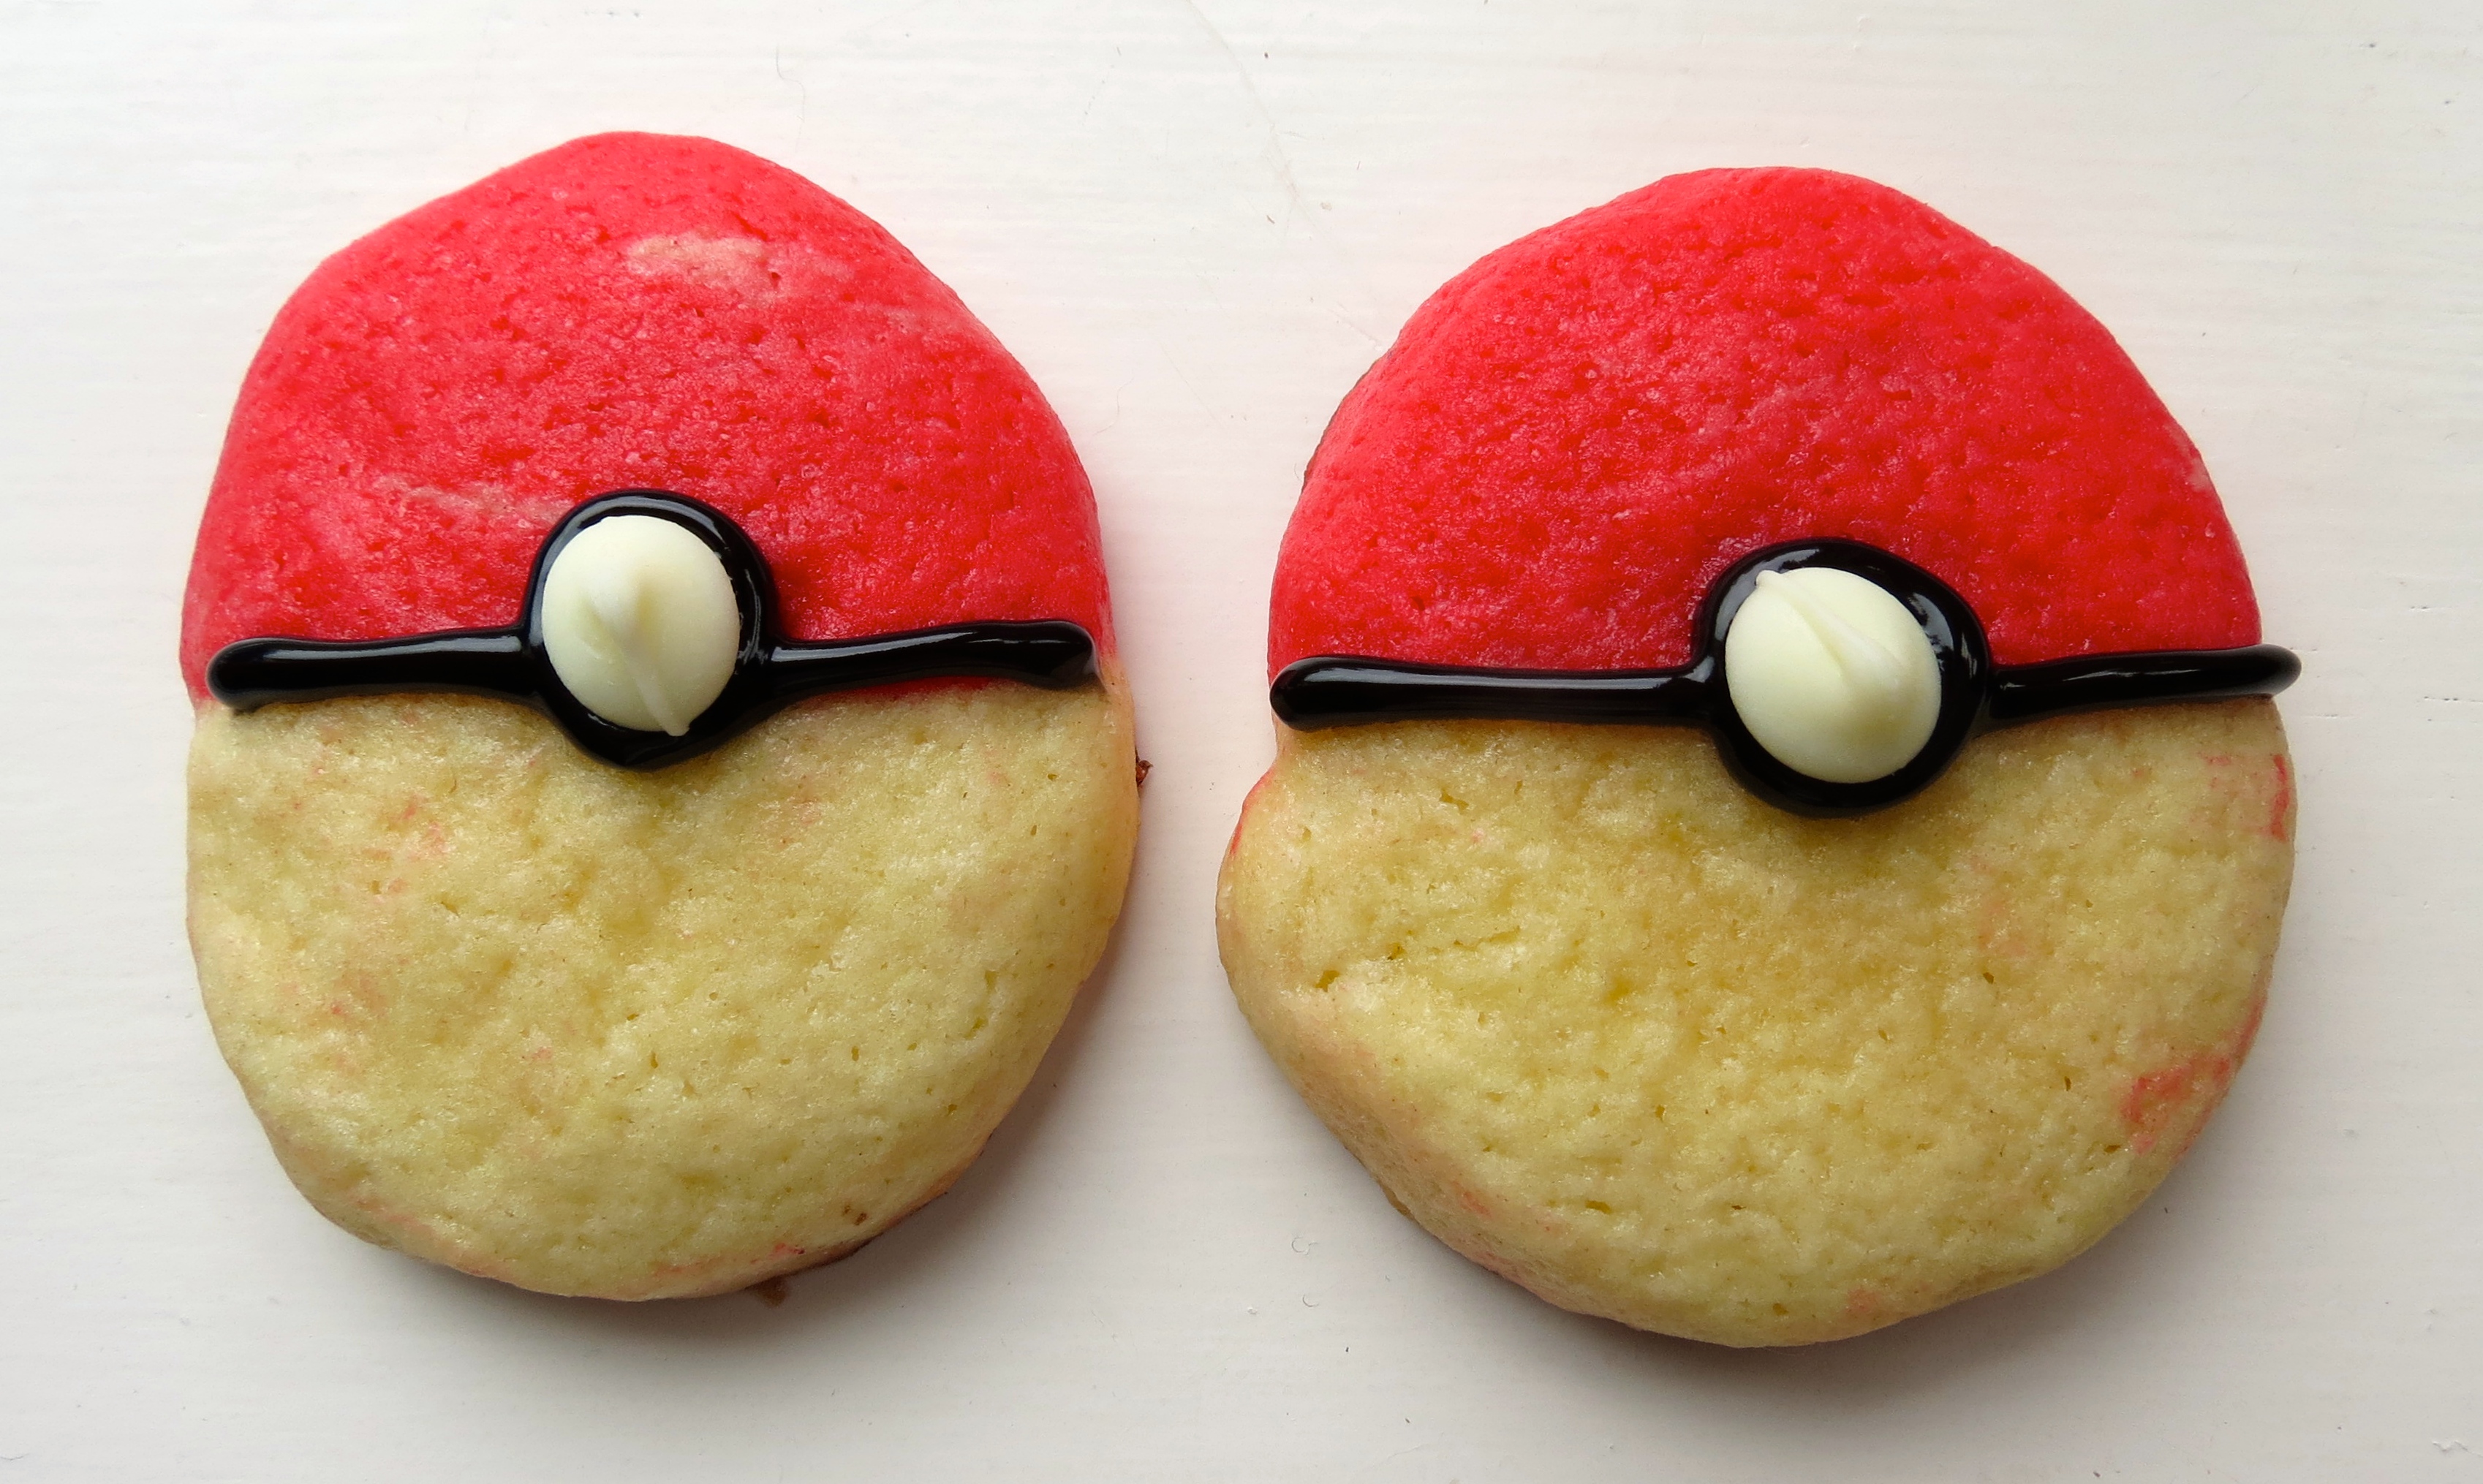
Anyways, these cookies were a gift for my friend, but I can imagine they would also be good for a Pokemon themed birthday party, or if you also simply want to relive the simpler times… The process to make these cookies is a bit more involved than usual, but each step is important to achieve that perfect taste and texture! They tasted lovely and my friend was overjoyed with his present!
POKEBALL SUGAR COOKIES
The Ingredients:
3/4 cup butter
1 cup sugar
3 eggs
1/2 tsp vanilla
2 1/2 cups flour
1 tsp baking powder
1/2 tsp salt
1 tbsp water
The Method:
1. In a large bowl, mix together sugar and butter until smooth. Beat in vanilla and 2 eggs until smooth
2. In a medium bowl, stir together flour, baking powder, and salt till well blended
3. Add the flour mixture to the wet mixture slowly one cup at a time to blend well. Once blended, take out half of the dough and set aside
4. To the remaining half, add red food coloring and mix until a deep red color is achieved
5. Cover both halves and chill dough for an hour
6. Once chilled, roll both into logs about the size you want your cookie
7. Place these logs into the freezer for about a half an hour
8. Make an egg wash by mixing one egg and water in a bowl
9. Cut each log down the middle, long side and match each red half with a white half
10. Paint the halves with the egg wash so they stick to each other and place back in freezer for 15 minutes
11. Preheat oven to 400 degrees F
12. Take dough from freezer and cut into 1/2 inch thick cookies
13. Place cookies 1 inch apart on a cookie sheet and bake for 6 to 8 minutes
14. Cool cookies completely then take out your black icing and draw a line down the center where the red and white dough tough. Then in the center of the line, make a dime size circle, fill it in and place a white chocolate chip in the center of the circle
15. Enjoy!