Gluten free goodies – Maple peanut butter cookies

IMG_2747

I have to be honest with you all about something, I have absolutely no idea what gluten is.  Nada. None. Zilch. I know that people with Celiacs can’t eat it, I know that it’s in pizza & beer, and i know that to get products without it costs you almost double your money.  Beyond that, what exactly gluten is is a complete mystery to me.  Once I found out it was in flour and that basically everything delicious in the world is made of it, I counted my lucky stars that I’m not intolerant of this mysterious compound.  (Is compound the right word?  Is it an element? who knows!?)  However, two of my very good friends are.  Intolerant, that is.  In honor of them I decided to incorporate some flour-less baked goods into my repertoire.  After doing a bit of searching around on the interwebs, I discovered that for flour-less baking to successful (and delicious), peanut butter needs to get involved.  Okay you guys, I’m about to drop another bomb on you – I hate peanut butter.  Fortunately, these cookies weren’t for me so I decided to go ahead and make them anyways regardless of my interests.  I’m not the gluten-free one here, this project was not about my own desires!

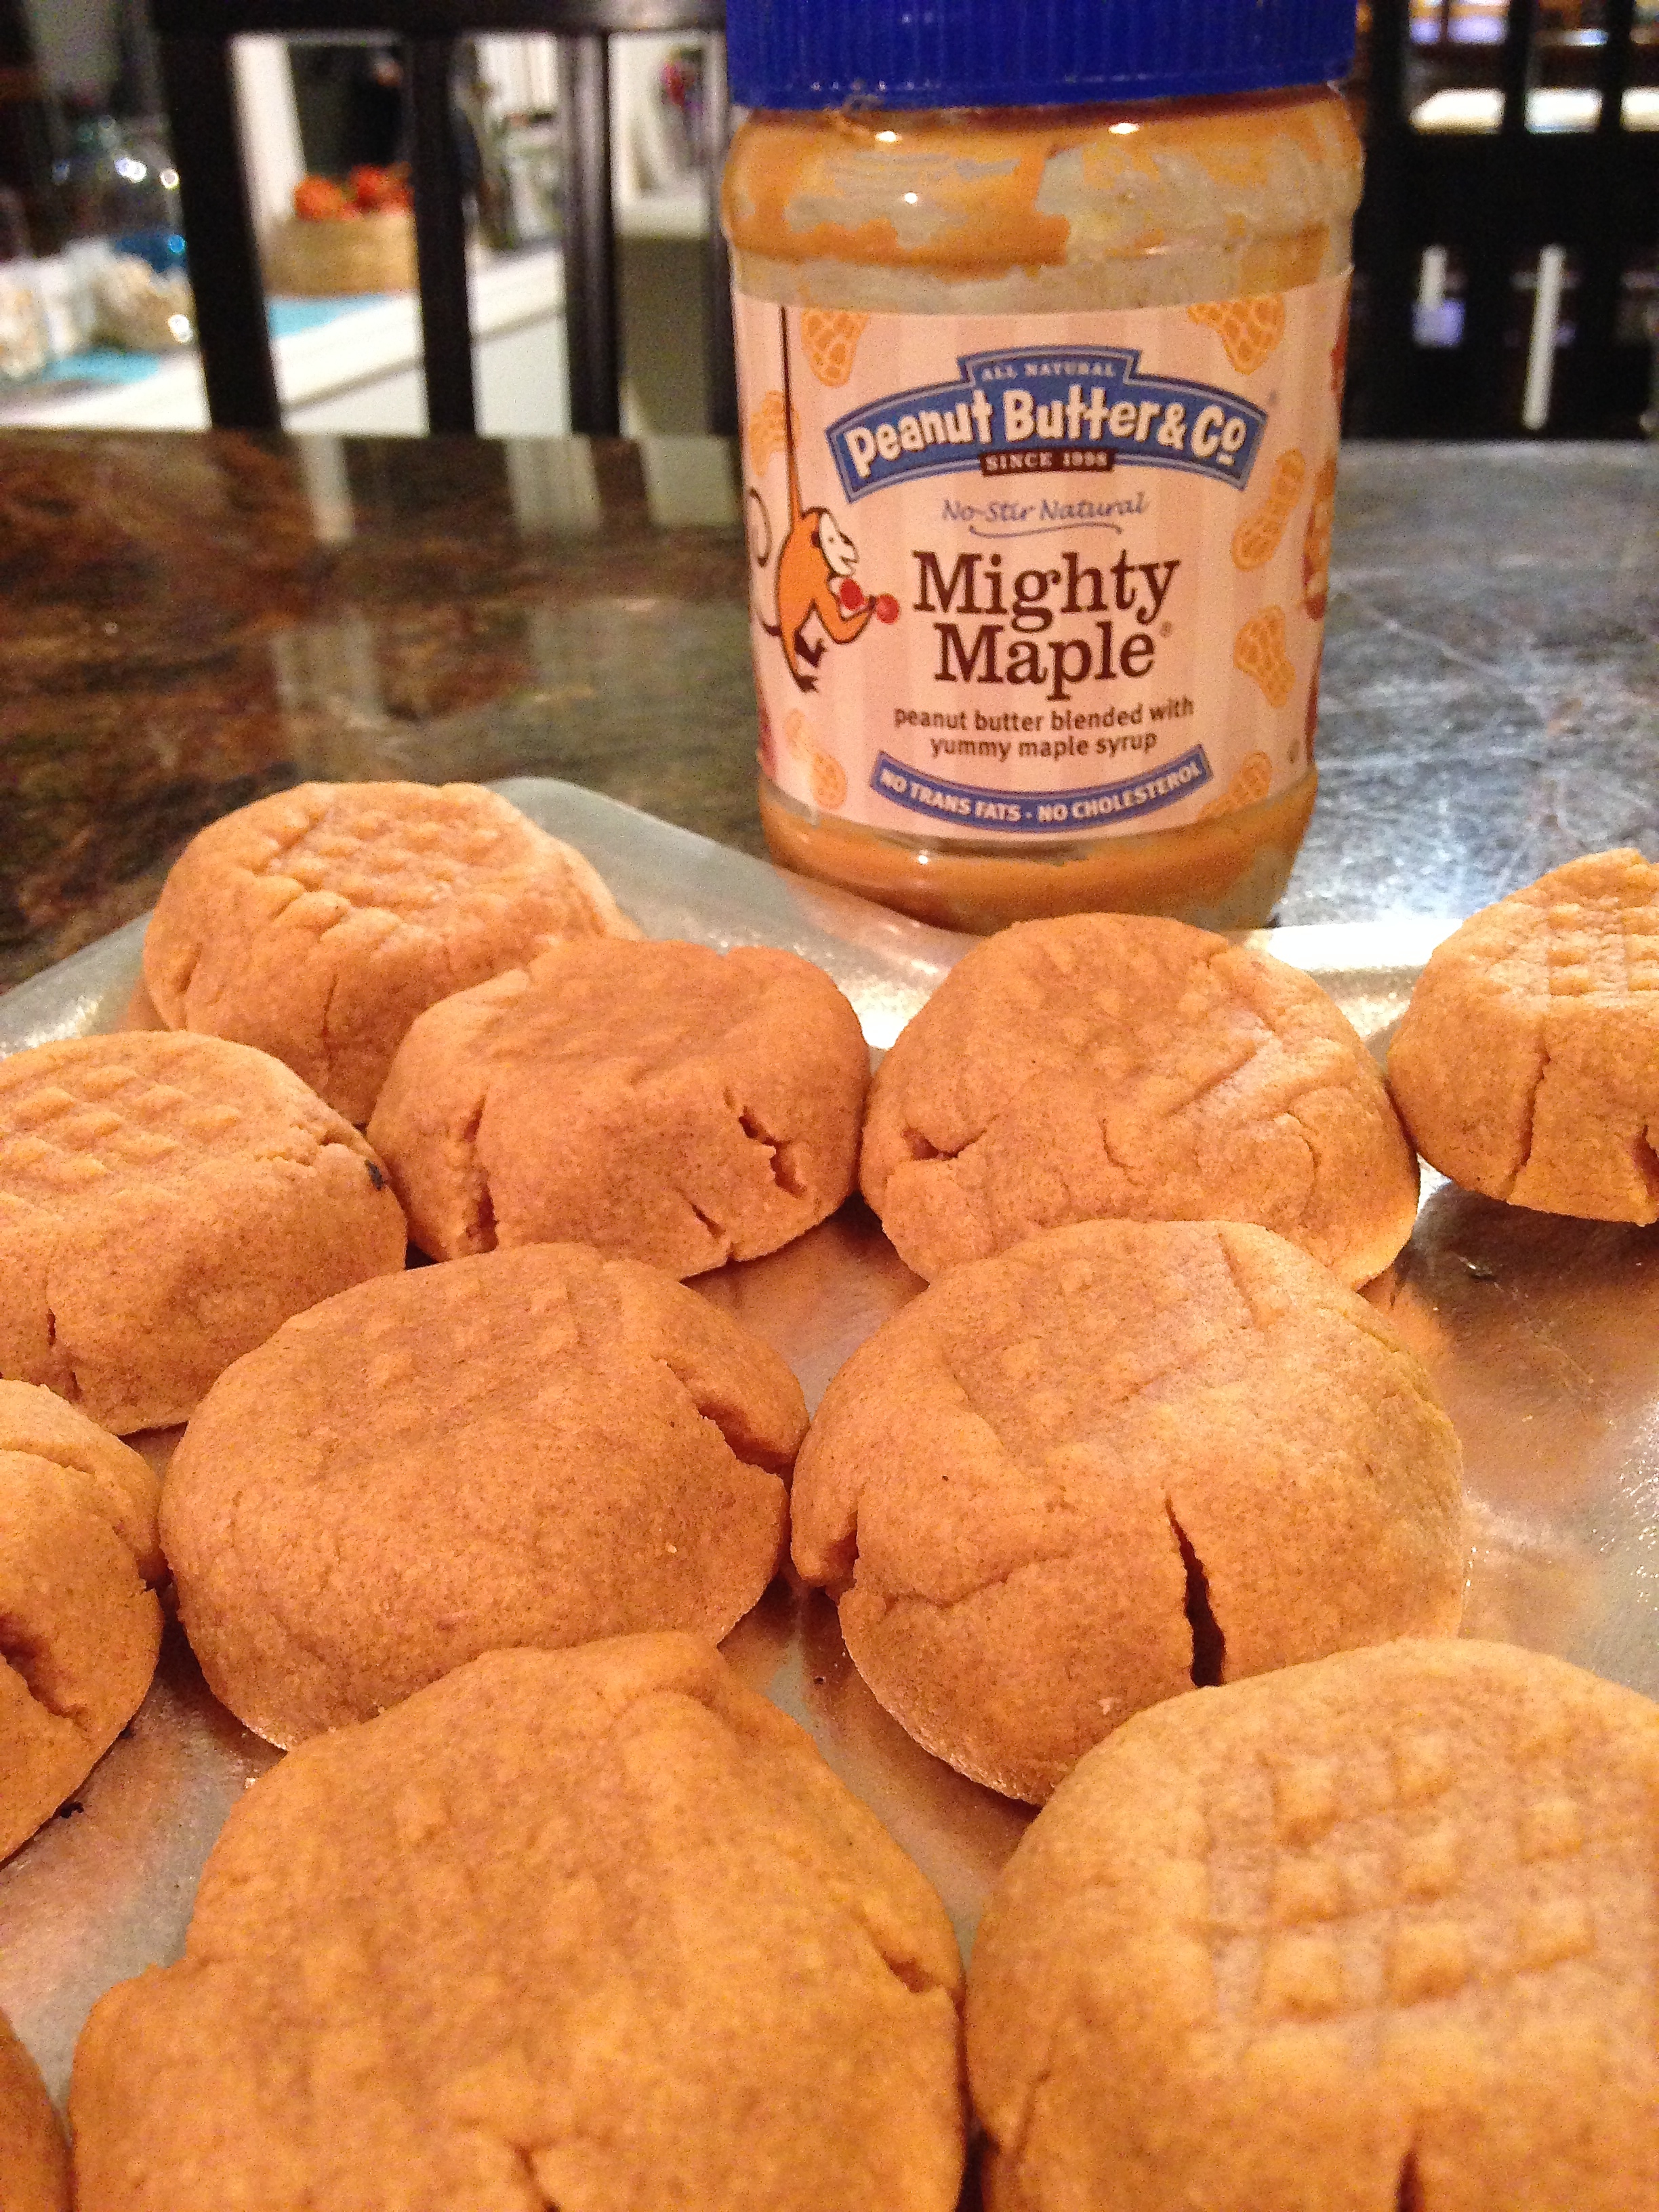
Here’s the thing, I don’t own regular peanut butter.  The only peanut butter that I have is Mighty Maple peanut butter from Peanut Butter & Co.  While I hate regular PB, this company’s flavored stuff is much more tolerable and I can actually be found eating it from time to time.  That’s the secret ingredient to this cookie – it’s what gives them the subtle (and wonderful) maple-y aftertaste.

The results of this gluten free adventure were wildly successful.  The cookies didn’t last long at work, and people who didn’t even care about gluten free baking were munching down on these things like they were the best cookies in the world. (Actually, I was told that they might be!)  Honestly, I think because I decided to go flour-less instead of using a replacement flour, these cookies are accessible to a number of crowds beyond just the gluten free folk.  My only recommendation would be to double the recipe, otherwise the cookies won’t last long!

GF Maple Peanut Butter Cookies
IMG_2756

The Ingredients:
1 cup maple peanut butter
1 teaspoon baking powder
1 cup sugar
1 egg

The Method:

1. Preheat oven to 350
2. Beat the maple peanut butter & sugar in a bowl, then mix in the baking powder and add the egg. Mix well until well combined
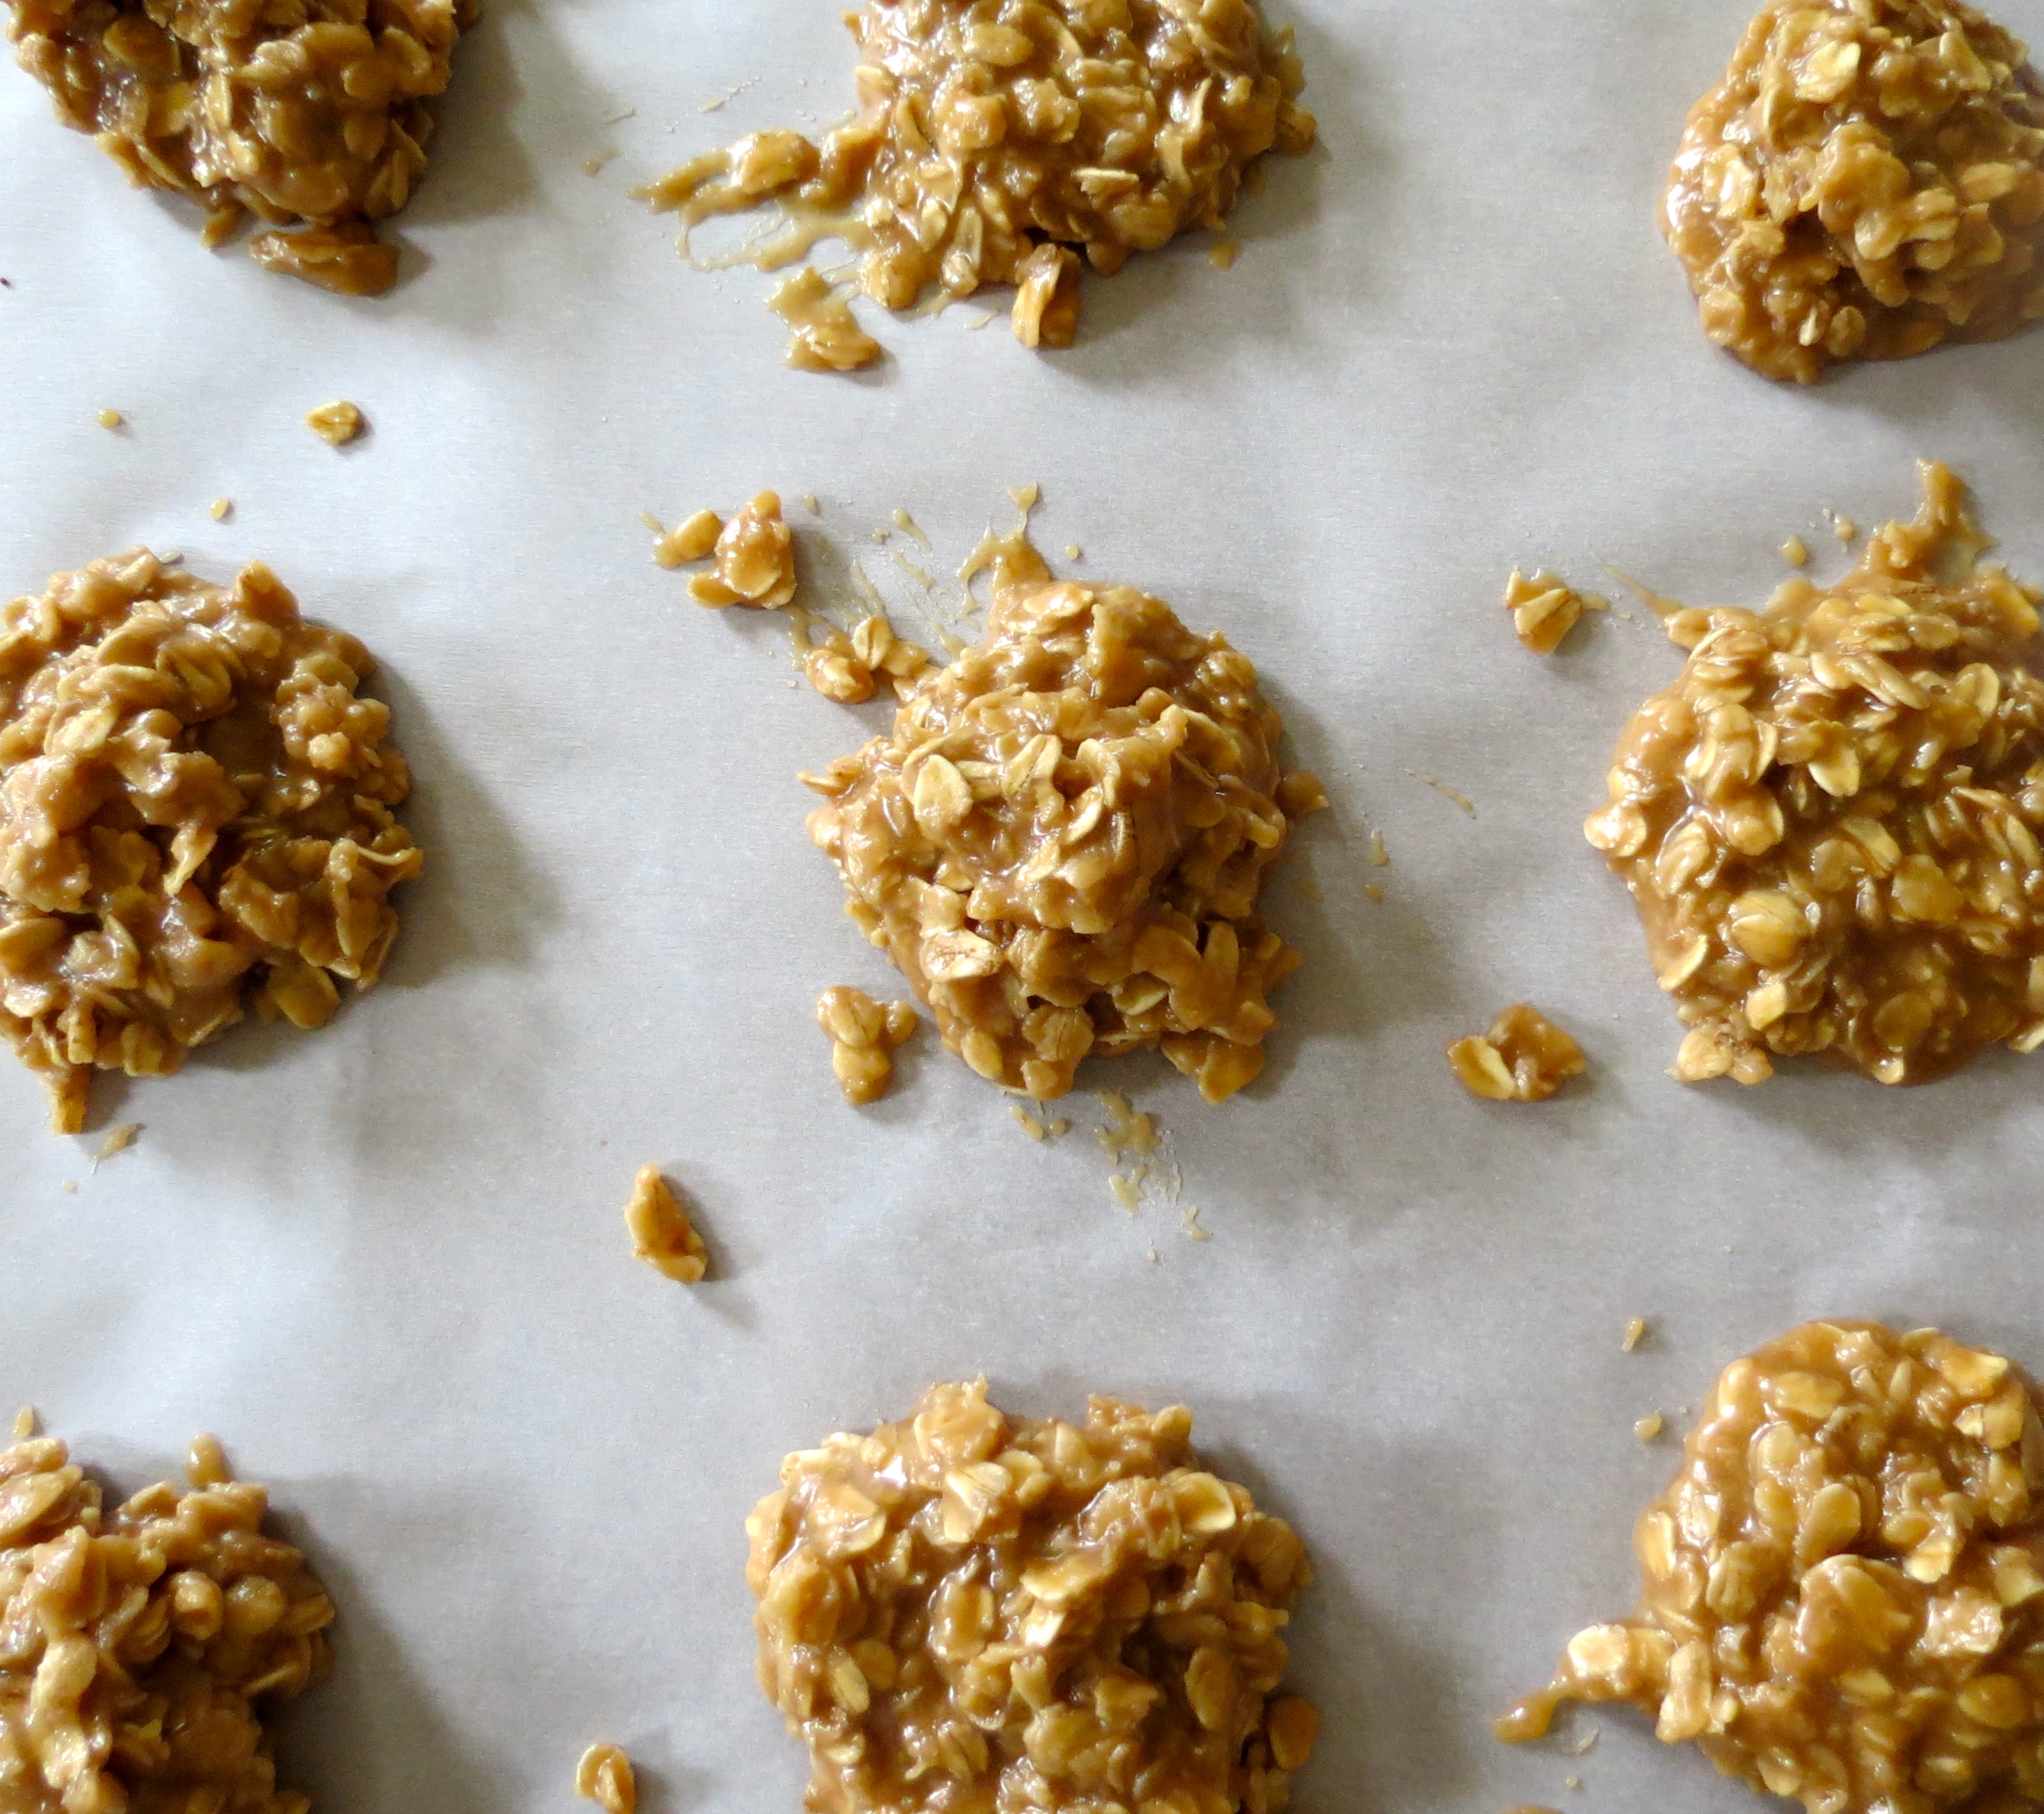
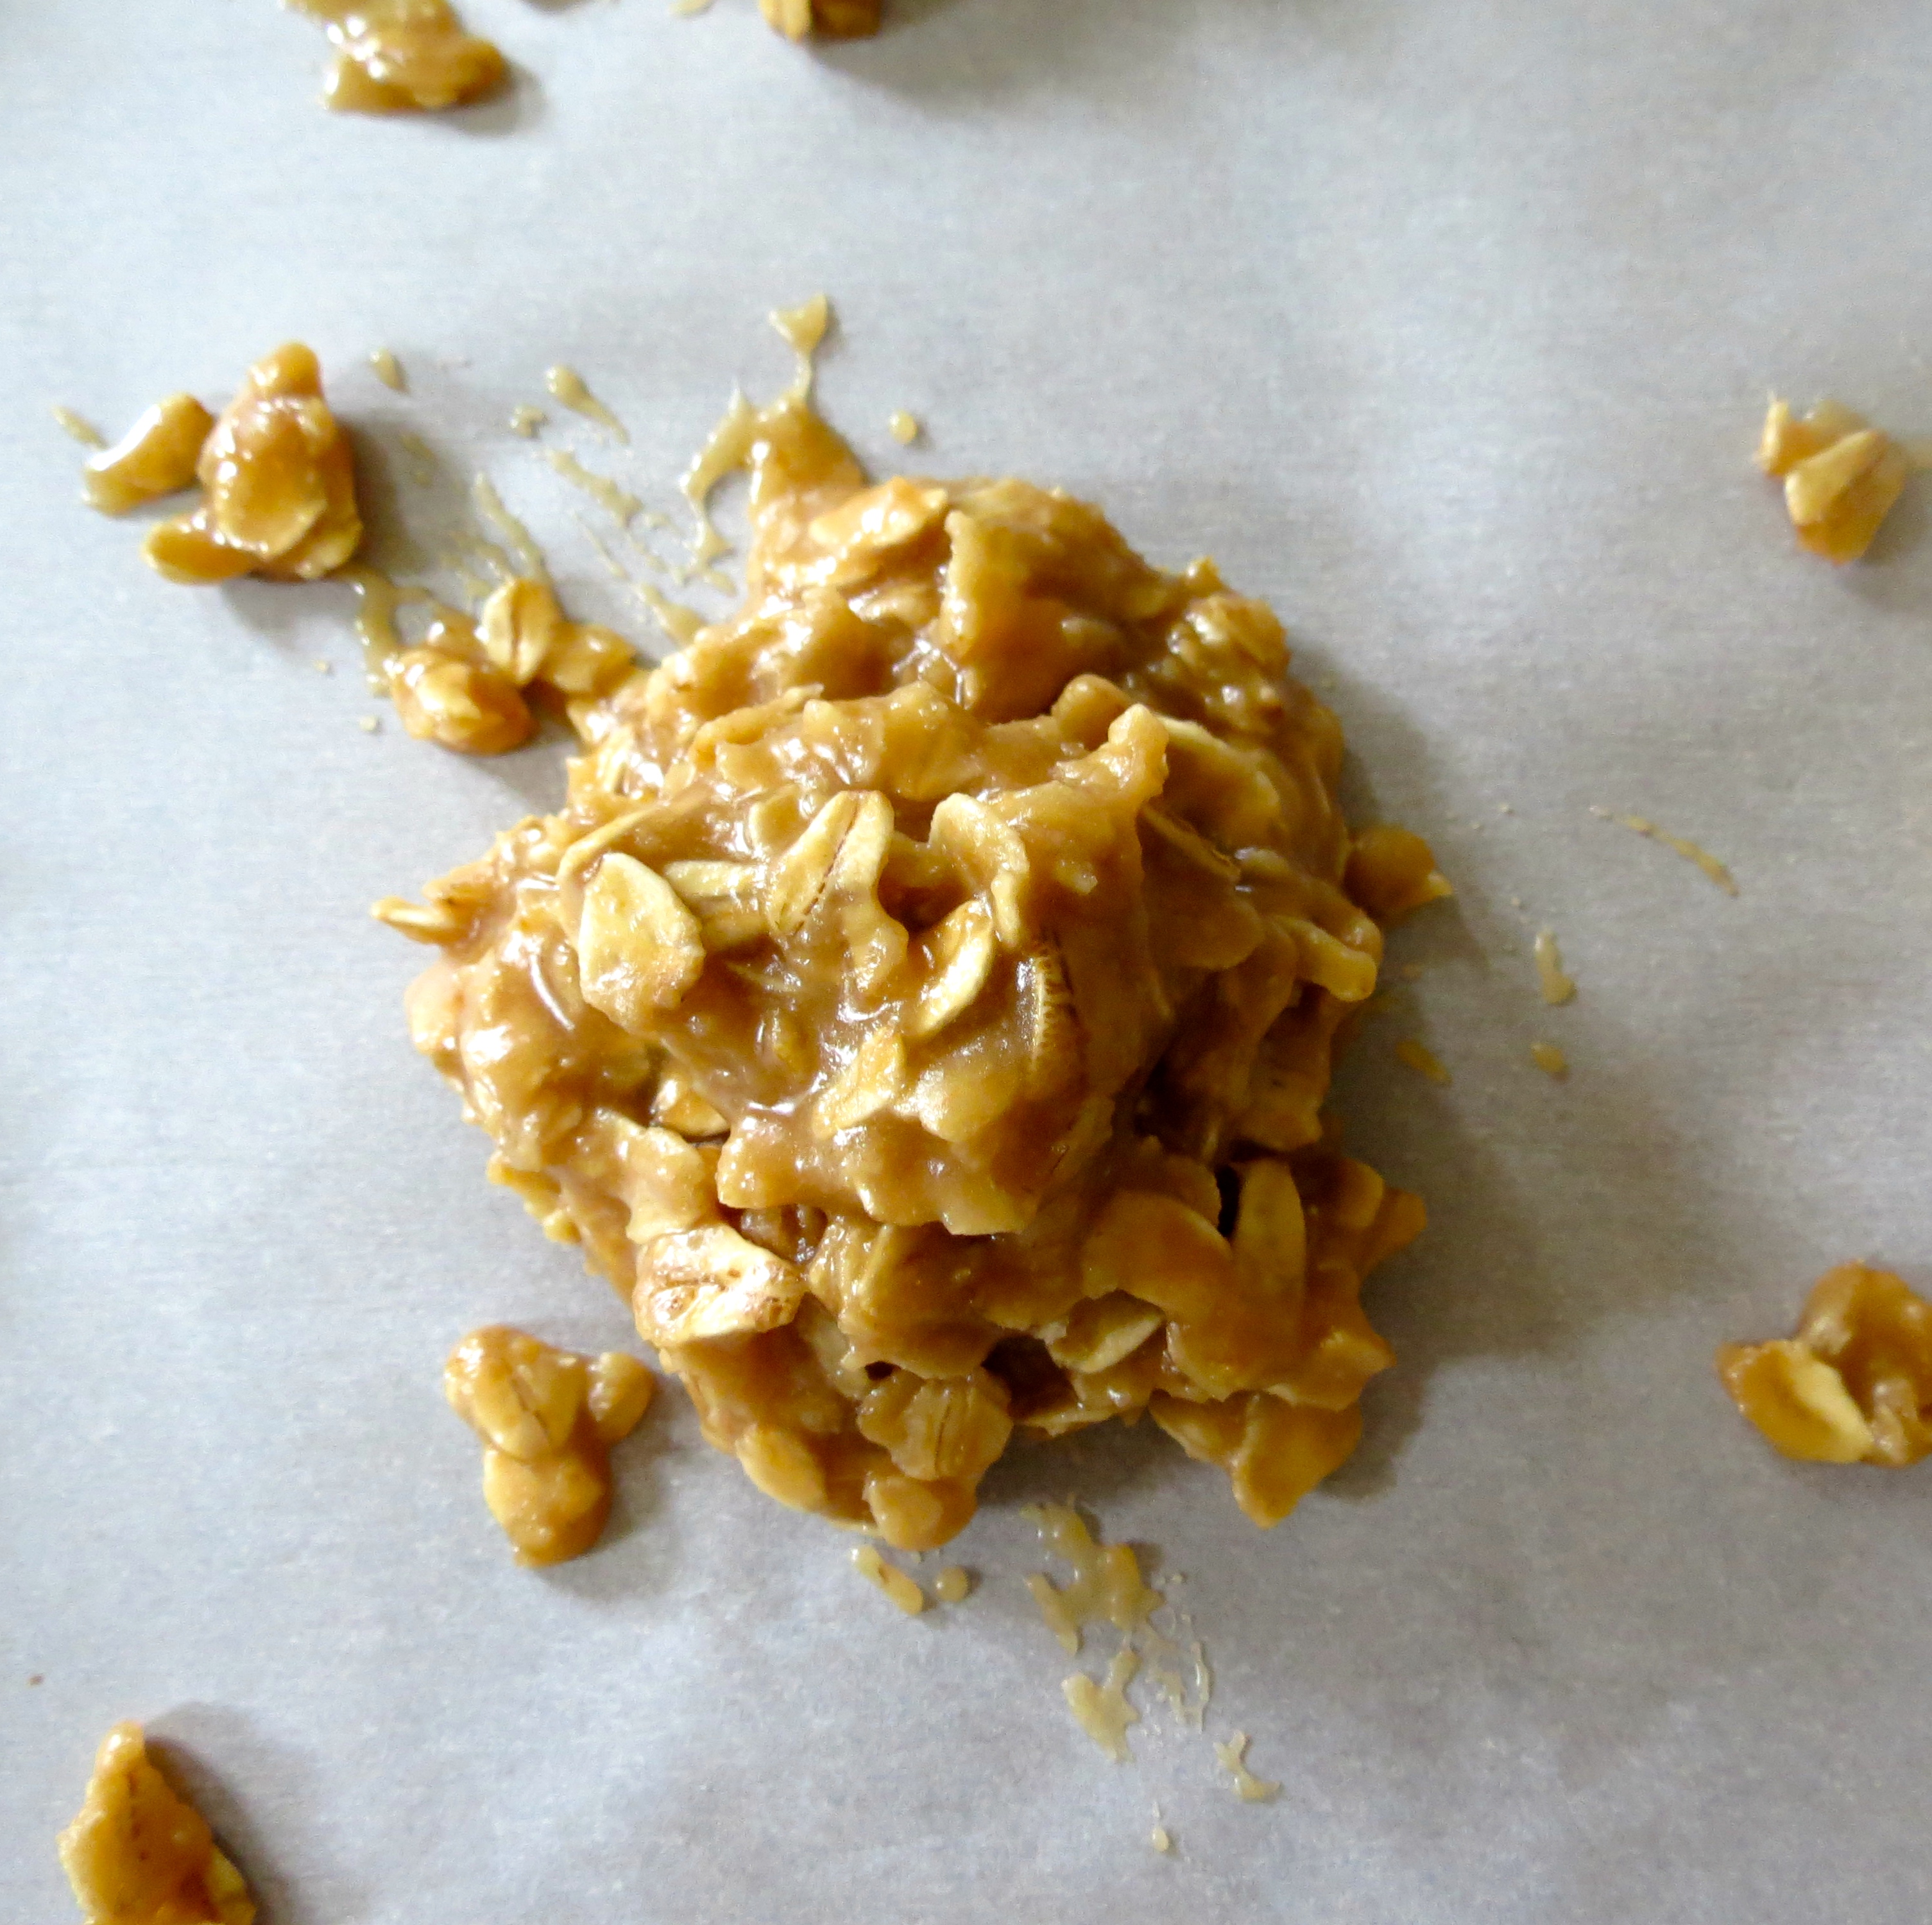
3. Roll the dough into small balls and place balls on a baking sheet (this is where I chose to make a pretty design on top of the cookies with a fork!)
4. Bake for 10 minutes
5. Enjoy!

Elevated simplicity – Bite Sized Oatmeal “Cookies”

IMG_5356

Sometimes in the morning, my standard bowl of oatmeal just doesn’t seem creative enough.  When I first heard of the magical 2-ingredient cookies I knew that it would be a fabulous base to transform my morning bowl of oatmeal into something even more spectacular.

IMG_5355

The idea is simply mixing oatmeal and a banana together and baking them into “cookies”.  (Fair warning: these are not really cookies, so I try not to think of them like that – no cookie should lack it’s necessary butter and sugar, that’s my golden rule)  I don’t stop with the oatmeal and banana in this fun recipe, to make my little oatmeal bites I add in what I would to my usual bowl of oats!  For this example I added cinnamon and raspberry.  You could also add cocoa powder, chocolate chips, raisins (yuck), coconut, nuts, seeds – the combinations are endless!  The greatest part about this breakfast is that it feels like you’re eating a plate of cookies for breakfast, but you’re getting all of the amazing nutrients of a regular bowl of oatmeal!  I like to eat them accompanied with a glass of almond milk for added nutritional value to round out this cute, simple, and fun breakfast!

OATMEAL BREAKFAST COOKIES

The Ingredients:
1 banana
1/2 cup oats
Optional:
Desired mix-ins! (cinnamon berries, nuts, chocolate chips, coconut, nut butters, etc.)

The Method:
1. Preheat oven to 350 degrees
2. Mush a banana into a bowl and mix in oats until thoroughly combined
3. Fold in any desired mix ins
4. Drop 6 circles of the “dough” onto a greased baking sheet
5. Bake for 14 minutes
6. Enjoy!

IMG_5359

Gotta catch ’em all! – Pokeball Sugar Cookies

IMG_5341

Nostalgia.  That sentimental feeling of remembrance for a time long in the past.  Recently I experienced a great wave of nostalgia when I decided to bake these Pokeball cookies.  These adorable sugar cookies were not for me, they were for a friend of mine who absolutely LOVES Pokemon.  He refuses to outgrow the little Japanese cartoon animals and so I decided to make these special treats for him. 

IMG_5339

While I was making these cookies, I couldn’t help but remember Pokemon’s place in my own childhood.  Every Saturday morning I would jump out of bed at an hour that seems obscene to me now.  I would run downstairs and search endlessly for the remote until I could turn on the television to my Saturday morning lineup.  This always included Power Rangers, Recess, Doug, and of course, Pokemon!  I watched all of my shows and waited for my mom to come downstairs and pour me my cereal (frosted mini wheats of course!)  These memories all came rushing back to me during the course of this baking adventure.  Oh how I wish my life was still that simple…

Anyways, these cookies were a gift for my friend, but I can imagine they would also be good for a Pokemon themed birthday party, or if you also simply want to relive the simpler times…  The process to make these cookies is a bit more involved than usual, but each step is important to achieve that perfect taste and texture!  They tasted lovely and my friend was overjoyed with his present!

POKEBALL SUGAR COOKIES

The Ingredients:
3/4 cup butter
1 cup sugar
3 eggs
1/2 tsp vanilla
2 1/2 cups flour
1 tsp baking powder
1/2 tsp salt
1 tbsp water

The Method:
1. In a large bowl, mix together sugar and butter until smooth. Beat in vanilla and 2 eggs until smooth
2. In a medium bowl, stir together flour, baking powder, and salt till well blended
3. Add the flour mixture to the wet mixture slowly one cup at a time to blend well. Once blended, take out half of the dough and set aside
4. To the remaining half, add red food coloring and mix until a deep red color is achieved
5. Cover both halves and chill dough for an hour
6. Once chilled, roll both into logs about the size you want your cookie
7. Place these logs into the freezer for about a half an hour
8. Make an egg wash by mixing one egg and water in a bowl
9. Cut each log down the middle, long side and match each red half with a white half
10. Paint the halves with the egg wash so they stick to each other and place back in freezer for 15 minutes
11. Preheat oven to 400 degrees F
12. Take dough from freezer and cut into 1/2 inch thick cookies
13. Place cookies 1 inch apart on a cookie sheet and bake for 6 to 8 minutes
14. Cool cookies completely then take out your black icing and draw a line down the center where the red and white dough tough. Then in the center of the line, make a dime size circle, fill it in and place a white chocolate chip in the center of the circle
15. Enjoy!


My morning miracle – White Chocolate Coconut Scones

IMG_5350

I think that the Gods and Goddesses of baking are watching over me.  Why do I think this?  Well, this morning I made coconut white chocolate scones and almost everything that could have gone wrong, did go wrong.  However, in the end, they still turned out INCREDIBLY scrumptious!  It’s kind of a miracle.

IMG_5352

I woke up extra early to make this morning time treat for my friends.  That was my first problem, I had barely wiped the sleep from my eyes when I began pulling ingredients.  The second problem arose when I was jolted awake by the realization that I didn’t have enough flour!  While that might deter the ordinary baker from continuing, I remained determined to see these scones through!  I was only about 1/4 cup short of flour so I began scouring my pantry for something I could potentially use as a filler.  I found cake flour.  I won’t lie, I have no idea what the difference between regular flour and cake flour is, but I decided they were similar enough that the cake flour could be used to make up for the little bit I needed.  I continued mixing all of the ingredients and hoped that the risk would pay off. 

are they not the same thing?
are these not the same thing?

The next hitch in the plan came when the recipe called for the use of a pastry knife to mix in the butter. A what? I thought about looking up what that was and figuring out the proper way to use one.  I thought about doing that, I really did, but then I just used my hands to mix it in instead.  I really hoped that whatever a pastry knife was worked in a similar way to fingers!  After that, the only problem was that I didn’t cut the scones into even triangles so some of them were HUGE!  While some were teeny tiny!  I don’t truly consider that a problem though because in the end, people just had size options!

After the entire baking adventure was complete and the scones were done, I felt good about the outcome.  The last step was to “drizzle” white chocolate over the top of them.  We all know how good I am at doing that… NOT.  So I didn’t even try,  I just melted the chocolate and smeared it on top with a knife!  Nobody complained.  Everybody loved them.  One of my co-workers told me that they were, “the best scones I’ve ever had!”  Wow!  I tried a bite and I won’t lie, they are amazing.

I’m telling ya, I’m being watched by the mysterious Gods and Goddesses of baking!

IMG_5349

WHITE CHOCOLATE COCONUT SCONES


The Ingredients:
2 cups flour
3 tablespoons sugar
1 tablespoon baking powder
1/4 teaspoon salt
1/4 cup butter, cold and cut into cubes
3/4 cup heavy cream
1 egg
1 teaspoon vanilla
1/2 cup +2-3 tablespoons coconut
1/3 cup white chocolate

The Method:
1. Preheat oven to 375
2. Combine flour, sugar, baking powder and salt in a large bowl
3. Mix in cold butter with your hands (or the mysterious pastry knife) until butter is mixed in and the dough is crumbly
4. In a separate bowl, mix egg cream and vanilla
5. Add the wet into the dry ingredients and mix just until combined
6. Stir in 1/2 cup coconut
7. Form dough into a flat round disk, about 8-9 inches in diameter
8. Place on a baking sheet and cut into 12 triangles
9. Brush each triangle with a a little bit more cream (just enough so the coconut will stick) and then sprinkle with the coconut
10. Bake for 20 minutes
11. Melt white chocolate in the microwave
12. “Drizzle” melted chocolate over scones
13. ENJOY!

We all scream for ice cream! – Multi-layered Ice Cream Cake

IMG_2672

This weekend is my good friend’s birthday!  Since I’ve been so inclined to bake lately I asked him, “If you could have any kind of cake in the entire world for your birthday what would it be?”  Much to my surprise, without a thought, he responded, “ICE CREAM CAKE!”  This man is turning 34.  Regardless, I was excited by the unexpected challenge so I began doing some research on ice cream cakes.

It seemed relatively simple, just layers of ice cream and cake!  Pretty much exactly what I expected.  I, however, was having a particularly busy week and the amount of work seemed like it would very time consuming.  A project for the weekend perhaps.  Unfortunately, I didn’t have a weekend since the party was planned with only a few days notice.  Instead, a neighbor of mine told me about a really simple way to assemble a delicious ice cream cake in no time at all and thus, this method was conceived!

10518707_10152552727384754_1090337394043754965_n

IMG_2669

Making this ice cream cake for him and enjoying it with the company of my friends reminded me that there is no age limit on the pure, unadulterated enjoyment that ice cream cake can give.  Who says adults can’t act like kids from time to time?  I’m certainly not mature and responsible most of the time anyways!  The night was a blast, we all dressed up and went out to a local Nepalese restaurant for dinner.  Then we drove to my house for cake, a bonfire, and swimming!  I love happy summer nights like that – what a treat.

IMG_5084

IMG_2673

SUPER SIMPLE AND QUICK ICE CREAM CAKE

The Ingredients:
18 generic grocery store ice cream sandwiches
cool whip
food coloring (optional)
sprinkles (NOT optional)

The Method:
1. If desired, dye the cool whip the color you want the outside of your cake.  The cool whip is the “frosting”
2. Begin by laying down six of the ice cream sandwiches side by side in a large baking dish
3. Cover the 6 sandwiches in a layer of cool whip
4. Lay down six more sandwiches on top of the cool whip layer in the opposite direction (see pictures)
5. Cover those sandwiches with another layer of cool whip
6. Continue this process with one more layer of sandwiches
7. Frost the entire outside of the cake with cool whip
8. Top with sprinkles
9. Freeze for at least a few hours, overnight if possible
10. Allow the cake to thaw for 15 minutes before serving
11. Enjoy!

A daybreak tradition – Oatmeal

IMG_5333

Did I mention that I have an oatmeal obsession?  Because if I haven’t then I’d like to make that abundantly clear right now: I LOVE OATMEAL!  Every morning I make myself a big bowl of it to start my day off right.  It took me a few months of trial and error to finally figure out exactly how I like my oatmeal.  Now that I have a great recipe that works, it’s difficult to stop myself from making it for EVERY meal!

My morning oatmeals all share the same base, though what I mix into it changes based on what I have available in my house at the time.

IMG_5327

I start with 1/2 cup of quick oats, 1/2 cup of vanilla almond milk, and 1/2 cup of water.  I throw those three things in a bowl, mix it up, and put it in the microwave for two minutes.  (Actually, I really put it in for exactly 2 minutes and 15 seconds.  I’m not sure why but at this point I’m obsessive about this timing)

While it’s cooking in the microwave I start preparing my mix-ins.  I cut any fruit that needs it and get together the right portion of anything else I might add in.

Once the oatmeal is done I let it sit for a minute to thicken up.  Then I mix in a packet of truvia and a bit of cinnamon.  You can substitute real sugar for the truvia, or any other sweetener you like.  Sometimes I sub in a tablespoon of vanilla protein powder.  As for the cinnamon, I rarely substitute anything in for it a;though occasionally I use a teaspoon of cocoa powder instead for a chocolatey flavor!

IMG_5331

Next come the mix-ins!  My favorite combination is a banana, raspberries, and almonds but some other options that I use from time to time are:
-coconut
-nectarines
-strawberries
-blueberries
-raisins
-pecans
-apples
-peanut/almond butter

You can mix and match anything that sounds good to you.  As long as you have the base of the oatmeal right it will be super delicious!

IMG_5332

The Holy Grail of my kitchen cabinets – No Bake Cookie Butter Cookies

IMG_5343

Living in New Hampshire there are a few main stream chains that just haven’t expanded into my tiny little state.  Although we are slowly seeing places such as Whole Foods and Chipotle pop up, they are still few and far between…  One such example of this unfortunate phenomenon is our lack of Trader Joe’s.  My entire extended family is from California so I’ve experienced my fair share of this wonderful food paradise.  However, the closest one to my home is roughly forty minutes away!  That doesn’t mean that I don’t venture out there from time to time, but it’s rare.  Therefore, when I do make the journey to Mecca (sorry, I mean Trader Joe’s) I make sure to stock up on my favorite items. One of which is predictably… cookie butter!

example A: my empty and therefore sad jar

This decadent and addictive cream of joy always seems to be singing at me from the shelf, “RACHEL! I AM RIGHT HERE, STOP PRETENDING YOU’RE NOT GOING TO BUY SEVERAL JARS OF ME!!”  From the aisle I feel compelled to reach forward and take this holy grail of butters.  It’s a very persuasive food product.

So it only seemed right that I incorporate my favorite treat into some baked goods!  I found this recipe on Pinterest and had to halve it because (surprise, surprise) I didn’t have enough cookie butter left in my jar!  This resulted in only ten cookies, though they were ten VERY delicious cookies!  I recommend doubling (or even tripling) what I did, you will not regret it!

NO BAKE COOKIE BUTTER COOKIES

IMG_5346

The Ingredients:

1/4 cup butter
1/4 cup milk
1 cup sugar
1/4 cup cookie butter
1 1/4 cup oatmeal
1 tsp vanilla

The Method:

1. In a sauce pan, bring butter, milk, and sugar to a boil
2.  Once boiling, remove from heat and mix in cookie butter, oatmeal, and vanilla
3.  Stir to thicken
4.  Drop large spoonfuls on to parchment paper and wait at least 30 minutes for cookies to firm up

The ultimate cookie – Mint Chocolate Chip Cookies

IMG_5334.jpg

All throughout my childhood I HATED mint chocolate chip ice cream.  I’m not sure why, perhaps it was the sickening green color or the bite of the mint flavoring – but I was simply not a fan.  I always preferred the big chunks of chocolate chip cookie dough or the sweetness of strawberry cheesecake.  However, as I grew up my tastes shifted and in my late teens I discovered a new found love for all things mint chocolate! 

the face of pure love

That’s why, when I stumbled upon this recipe idea I knew I simply had to try it!  Mint chocolate chip cookies!  What a treat!  And I must say in all honesty that out of everything I have made so far, these cookies are one hundred percent my favorite.  The recipe called for a lot of butter and less sugar than I was expecting.  The result was an extremely creamy texture that makes you want to go back for seconds, thirds, and maybe even sevenths or eighths!

I won't tell ;)
I won’t tell 😉

I probably accidentally used too much green food coloring and so my cookies came out EXTREMELY green – but that in no way effected the delicious sweet mint flavor (and it gave me a good idea for a St. Patricks day treat!)

I made 33 cookies with the recipe (probably would have made 36 if I could have stopped myself from eating the dough!)  Less than 5 hours later there are only 10 left!  My dad literally licked the bowl of dough clean. 

I would say this was another enormous success.

MINT CHOCOLATE CHIP COOKIES

IMG_5337.jpg

The ingredients:

2 1/2 cups flour
1 teaspoon baking soda
1/2 teaspoon salt
2 sticks butter, softened
1 1/4 cups sugar
2 eggs
1 teaspoon peppermint extract
1 1/2 cups chocolate chips
green food coloring

The method:

1. Preheat oven to 375°F.
2. Mix flour, baking soda and salt in medium bowl. Set aside.
3. Beat butter and sugar in large bowl with electric mixer on medium speed until light and fluffy.
4. Add eggs, food color and peppermint extract; mix well.
5. Gradually beat in flour mixture on low speed until well mixed.
6. Stir in chocolate chips.
7. Drop by heaping tablespoons about 1 inch apart onto ungreased baking sheets.
8. Bake 10 minutes

A scrumptious union – Red Velvet Shortbread Cookies

IMG_5324.jpg

Do you love shortbread cookies?  Do you love red velvet?  If the answer to both of those questions is yes, then you are probably my soulmate.  Shortbread cookies are always my favorite Christmastime treat and so I knew sooner or later I would need to bake my own version!  When I was looking for baking inspiration online I found a Buzzfeed post about red velvet and finally educated myself as to what a red velvet baked good actually entails. (Basically it’s just vague chocolatey flavoring and some red food dye).  That’s when the idea for these cookies was born: Red velvet shortbread cookies!  Doesn’t that combination just sound like a match made in heaven?

 rvsblove

Making these cookies was a little more complicated than I anticipated.  I used the electric mixer (which is a life saving tool) but the dough took a long time to form and I ended up having to knead it with my hands a lot.  This led to my hands looking bloody and scary for the next day because of all the food coloring that was in the dough!

nobody died in the making of these cookies… I promise.
nobody died in the making of these cookies… I promise!

Regardless, the cookies did eventually come out!  I had mixed reviews of this recipe, some people LOVED it and chowed down a few in a row (myself included) while some people let me know that they were, “good… but not your best ever”.  I think it all comes down to a personal preference for cookie types so I wasn’t too offended by the objectors.  Personally, I think they were delicious!

The real fun part of this recipe came when I decided to “drizzle” white chocolate on top of the cookies once they cooled.  This is where my inexperience in the kitchen definitely revealed itself.  I melted white chocolate in the microwave and made several valiant efforts to “drizzle” it on the cookies, but the chocolate just would not cooperate!  No matter how much I willed it to be melty and yummy looking with gentle coaxing, the chocolate did not want to come off the spoon and instead stayed solid like a stubborn child.  In the end I decided to just put a little button of white chocolate in the center of each cookie, it kind of looked artsy so I pretended that it was my plan all along… (shhhh don’t tell!)

RED VELVET SHORTBREAD COOKIES

PicMonkey Collage.jpg

The Ingredients:

1 1/4 cups all purpose flour
1/3 cup granulated sugar
2 Tbsp cocoa powder
1/4 tsp salt
1/2 cup butter
Red liquid food coloring
1/4 cup white chocolate

The Method:

1. Preheat oven to 325 degrees
2. In an electric mixer combine flour, sugar, cocoa powder and salt
3. Cut in butter and add in food coloring (until desired redness is reached), it will start to have a crumb-like texture
4. Knead with hands until the dough forms into a round ball
5. Roll out the dough to a 1/4 inch thickness and cut out cookies with a cookie cutter (or the top of a glass if you lack supplies like me)
6. With the scraps continue to roll out the dough until you have used all of it
7. Bake cookies for 18-20 minutes
8. Once cooled, melt your white chocolate and attempt a pretty “drizzle” (good luck!)

It’s a love affair – Dark Chocolate Coconut Oatmeal Cookies

IMG_2599

Sometimes I think that I might have an obsession with oatmeal.  Okay, okay I know that I definitely have an obsession with oatmeal.  So whenever someone asks me what my favorite kind of cookies are, there is no contest – oatmeal wins every time.  While I was growing up my parents always made the cookie recipe from the one printed on top of the oatmeal box.  Throughout the years I had slowly forgotten about that classic recipe.  However, the other morning as I was making my morning oatmeal I caught a glimpse of the recipe from my past and knew immediately what my next baking adventure was going to be!

who could resist this face?

Making oatmeal cookies sounded like a lot of fun, but the recipe called for raisins and I am not a big fan of those.  I am, however, a big fan of chocolate… so that’s what I decided to mix in instead!  I went to the store to pick up some chocolate chips and was shocked at all the different types of baking chips that I could choose from!  I picked up a bag of dark chocolate chips and some shredded coconut and decided to mix all of my favorite things together for some dark chocolate coconut oatmeal cookies!

This recipe was super fun to make, and it allowed me to use the hand beater for the very first time to mix up the dough.  There is definitely a learning curve with that particular machine…

They might as well call this the “get dough absolutely everywhere but in the bowl” beater

Regardless of my struggle with the hand beater, the cookies came out AMAZING! The recipe made almost 5 dozen bite sized cookies and the whole batch lasted less than 12 hours! (AKA, this was yet another massive baking success)

DARK CHOCOLATE COCONUT OATMEAL COOKIES

PicMonkey Collage.jpg

The Ingredients:

14 tablespoons of butter
3/4 cup brown sugar
1/2 cup granulated sugar
2 eggs
1 tsp vanilla
1 1/2 cups all purpose flour
1 tsp baking soda
1 tsp cinnamon
1/2 tsp salt
3 cups old fashioned oats
1 cup dark chocolate chips
1 cup coconut

The Method:

1. Preheat oven to 350 degrees
2. In one bowl mix flour, baking soda, cinnamon, and salt
3. In a separate large bowl beat butter and sugars with hand beater until creamy
4. Add eggs and vanilla to butter/sugar mix and continue beating
5. Beat dry mix into wet mix
6. Add oats, chocolate chips, and coconut and mix together
7. Drop small balls of dough onto cookie sheet
8. Bake for 9 minutes one sheet at a time